Having a reliable email transport system is very important no matter what you are using it for. Be it for personal emails with friends or for business, you want fast, reliable, and safe email send-outs. By default, TYPO3 comes with a really basic mail configuration, utilizing the Unix open-source “sendmail” routing facility. While it does the job well and typically sends out emails at a satisfactory rate with this very basic configuration, it hits a wall when sending mail to incoming mail servers that have a robust filtering system, such as Gmail and Outlook.
These email systems are highly utilized by mail users, and you will inevitably face a lot of frustration if you want to send emails there while using the default settings. The main problem is the fact that no authentication is required. The email header does not include the “From” field, which strongly suggests the email is associated with spam and will almost certainly get filtered by the incoming mail server of the receiver.
This is why we advise setting up your TYPO3 CMS to use SMTP. It’s highly reliable when it comes to email delivery, especially if you are using a renowned email service provider. In this tutorial, we are going to go over the way of configuring your TYPO3 website to use SMTP and how you can test it out afterward! Let’s begin.
To start the SMTP setup process, you need to log into your admin dashboard first. To do that, please add “/typo3” to your domain name - for example, “mycms.com/typo3” where “mycms.com” is your actual domain.
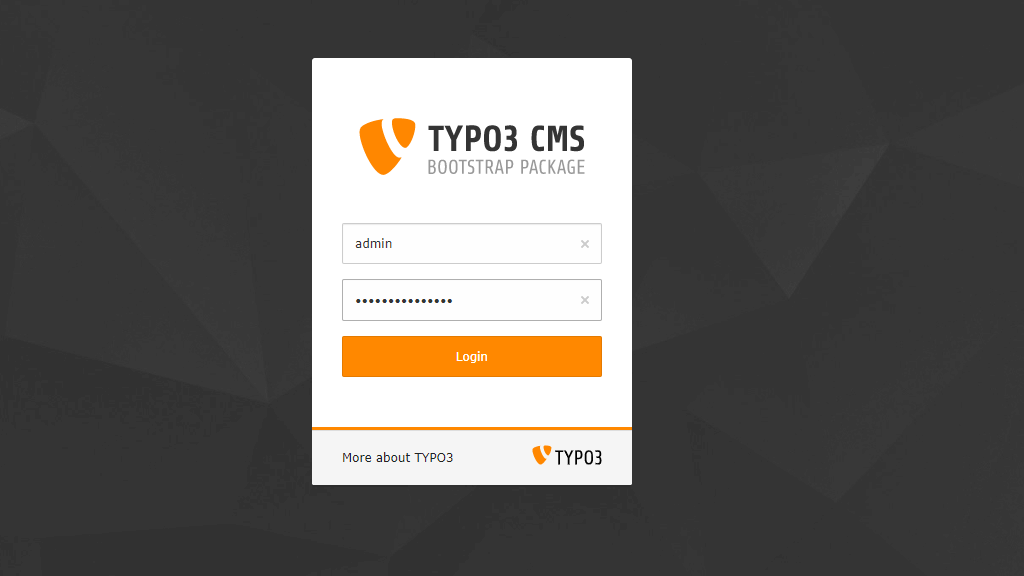
Accessing the mentioned URL will show a login page, where you have to enter your login credentials to access the backend. We also highly recommend checking our TYPO3 Backend Overview tutorial, which will teach you the basics.
Once you have logged into your dashboard, please point your attention to the left, where you will see the Module Menu.
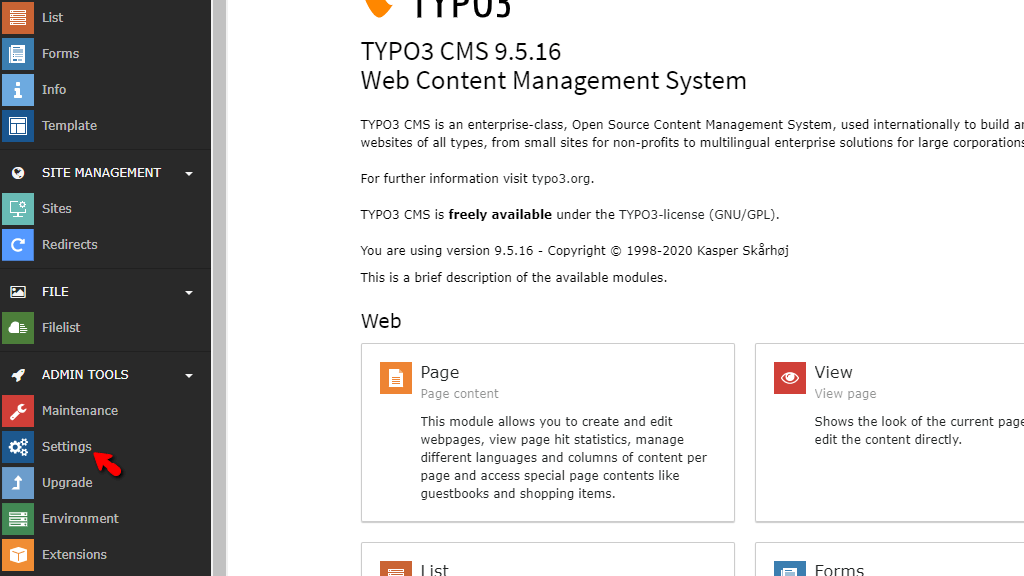
Right under the “Admin Tools” section, you will see the “Settings” option, and when you click on it, the page will be refreshed. You will see a couple of panels in the middle of the screen, which will allow you to perform specific actions.
There are four main configuration details required to configure TYPO3 or any application which supports SMTP to use it. They are as follows:
Once you have access to this information from the “Settings” page, which was mentioned in the previous paragraph, please click the “Configure options” button, which is located inside the “Configure Installation-Wide Options” panel.

Once the “Configure options” button is clicked, a popup window will show up. On the top, you will see a search field, allowing you to look for any configuration setting you need. Underneath, you will see multiple dropdown menus. The one you should expand is the “Mail” dropdown menu. You may do so by clicking on it.

Expanding it will reveal a huge number of options you can modify. To avoid any confusion, we are going to focus only on the fields and information required for the SMTP configuration. You may follow our instructions step-by-step and disregard the rest of the settings.
The first field you should look for is the one under the “[MAIL][transport]” section. As we mentioned in the beginning, its default value is “sendmail”. Please click on the field, remove the “sendmail” value, and enter “SMTP” instead.

Up next is the “[MAIL][transport_smtp_server]” section. Inside the text field there, please enter the SMTP server hostname, followed by a colon and the port name. for example, ger1.armadaservers.com:587.
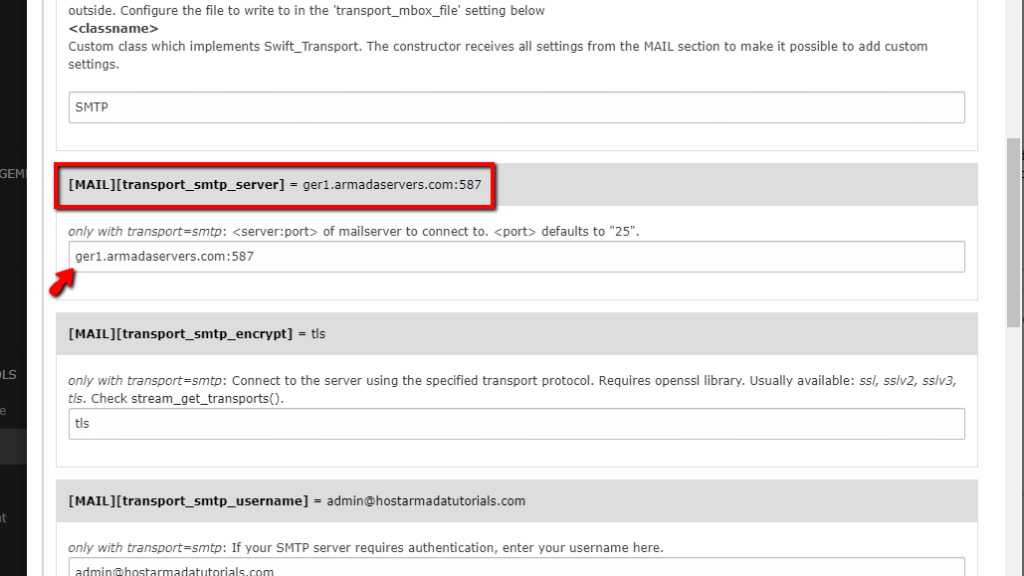
The next important field we have on this page is under the “[MAIL][transport_smtp_encrypt]” section. While it is not mandatory to set and you can skip it, we recommend adding an extra layer of security by typing in the “tls” encryption method.

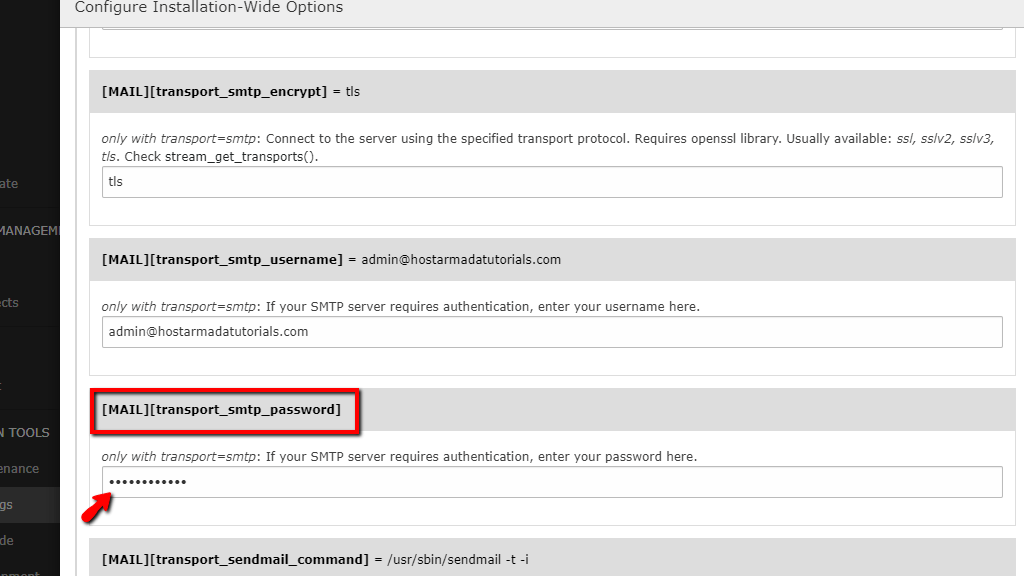
Next up is the “[MAIL][transport_smtp_username]” section. Inside the text field underneath, please type in the name of the email account you are going to use for sending emails. If you are using HostArmada’s mail server, this would typically be an email account that is under your cPanel’s “Email Accounts” feature.

Naturally, after the username, you would need a password, which coincidently, is the next section underneath - the “[MAIL][transport_smtp_password]”. Please type in the password of your mail account.
The last sections we are going to talk about on this settings page are the “[MAIL][defaultMailFromAddress]” and the “[MAIL][defaultMailFromName]”. We recommend setting up the "defaultMailFromAddress" value to your email account, while the "defaultMailFromName" can be the name of the account owner, or his position in the company or firm. Please check the example we provided in the screenshot below.

Finally, when all the required information is specified, please scroll down to the bottom of the popup window and press the “Write Configuration” button, located on the left side.

If your settings are accepted, you will see green notification boxes on the top right side of the page.

Now that the SMTP configuration has been complete, it is time to test it out!
To test out the new settings you submitted, please close the popup window by clicking on the “X” located on the top right corner of the window itself.

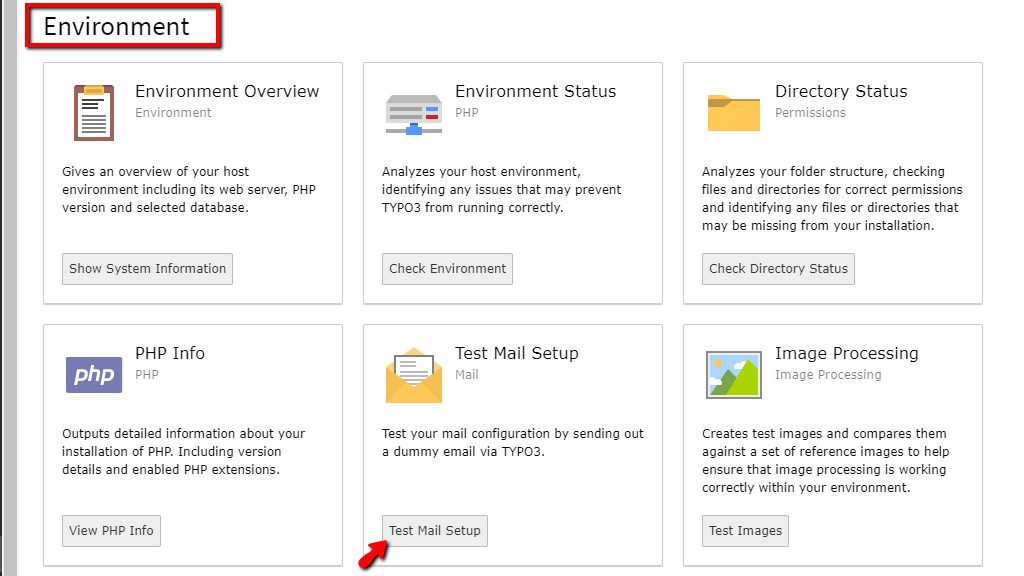
Afterward, please point your attention to the Module Menu on the left side of the screen. Under the “Admin Tools” section, you will see the “Environment” option, please click on it.

Clicking on the “Environment” option will refresh the middle section of the page, and you will be presented with new panels, allowing you to test out the hosting environment of your CMS. Please look for the “Test Mail Setup” panel and click on the “Test Mail Setup” button located there.
Clicking the “Test Mail Setup” button will open a popup window. On this popup window, you will find the “Email Address:” label and underneath, a text field. Inside this text field, please write an email account to which you want to send the test email and check if the new SMTP settings are working.

After entering the recipient's email address, please press the “Send test mail” button, located right below it.
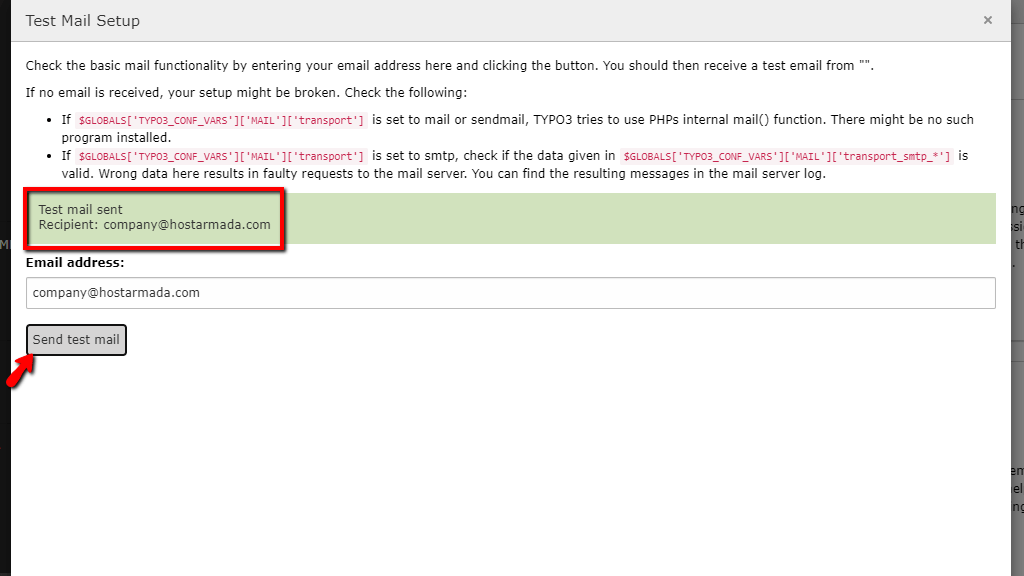
If the settings you entered on the configuration page are correct, you should receive a successful notification message above the “Email address:” label.
If you go to the inbox of the recipient email account, you should see the test email there.

There you have it! The way of configuring your Typo3 CMS to utilize SMTP for email sending. As you could probably tell, it is not that difficult to set up and if you follow this tutorial closely, you will have absolutely no issues. As always, our technical support team is 24/7 available at your disposal, so you need any help getting this to work! They are reachable through the ticketing system in your Client Area.

Sebahat is a young and bright woman who has become an invaluable part of our team. She started as a Customer Care Representative, mastering that role and, along the way, growing into a tech-savvy individual who is well acquainted with every support layer of the company. Driven by her aim to improve our customers’ experience constantly, she is committed to enhancing the extraordinary support we deliver.
Learn more about TYPO3 in the other tutorials that we have:
