The main URLs that are created when deploying pages in TYPO3 are indexed in such a way, so they have an ID, and each following page has an incremental increase in that regard. Unfortunately, this URL representation is something that does not look nice in the browser, nor does it give you information about the contents of the page. Here is an example of such an URL:
http://typo3.hostarmadatutorials.com/index.php?id=91
These addresses are hard to read, hard to remember, and are looked at as SEO unfriendly by search engines. This means that as long as they remain as such, you cannot expect the rankings of your website and its position in search results to increase.
TYPO3 offers a way to fix your default URLs to more visually pleasing and understandable ones, which will not only boost the rankings of your site but will also reduce visitor bounce rate and will allow easier website navigation. Here is an example of an SEO-friendly URL:
http://typo3.hostarmadatutorials.com/awesome-page-content
Note that being able to utilize such an URL structure requires the apache Mod_Rewrite to be active. If you are hosting your TYPO3 project on HostArmada, there is absolutely nothing to worry about, as this module is enabled by default. In this tutorial, we are going to show you the way of enabling SEO-friendly URLs in TYPO3 and how you can change their structure. Let’s begin!
To configure friendly URLs in TYPO3, you need to log into your admin dashboard first. To do that, please add “/typo3” to your domain name - for example, “mycms.com/typo3” where “mycms.com” is your actual domain.
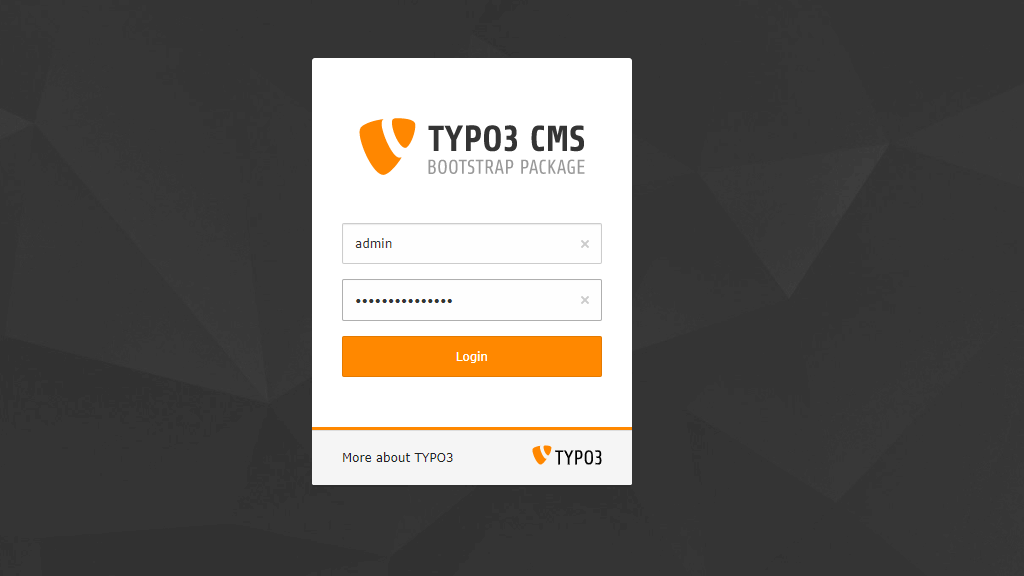
Accessing the mentioned URL will show a login page, where you have to enter your login credentials to access the backend. We also highly recommend checking our TYPO3 Backend Overview tutorial, which will introduce the basics.
Once you have logged inside your dashboard, please point your attention to the left, where you will see the Module Menu.

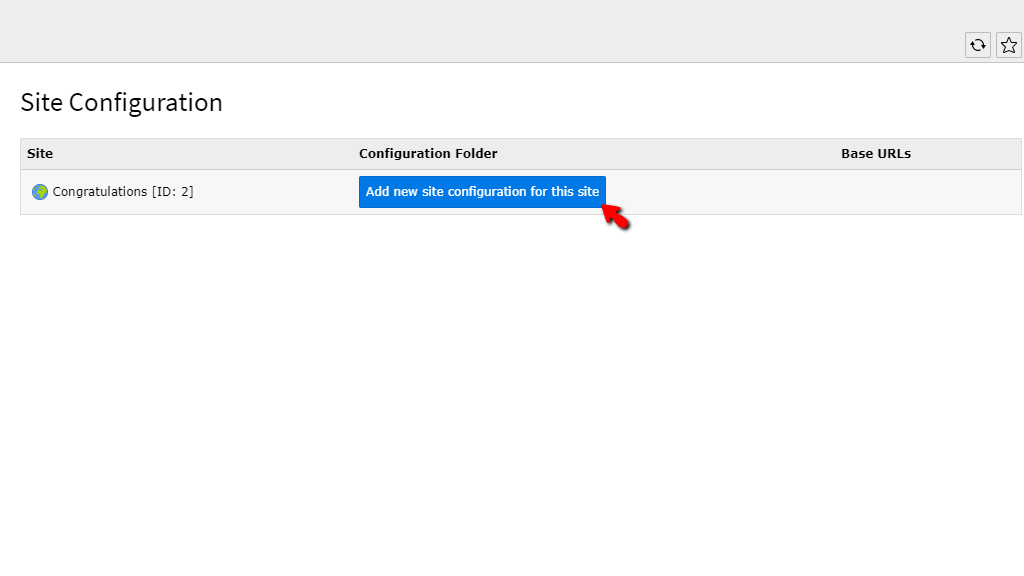
Right under the “Site Management” section, you will see the “Sites” option. When you click on it, the page will be refreshed, and you will see the “Site Configuration” section in the middle.
TYPO3 is a robust platform that allows you to have a multi-site network. To enable SEO URLs, you need to create a configuration for your site first. To add a configuration for your site, please press the “Add new site configuration for this site” button in the row, corresponding to the desired website.
The configuration page will be represented by four tabs. We will be only discussing two of them, as they are mandatory to create a site configuration, which will enable SEO URLs.
The first tab, open by default, is the “General” tab. Let’s go over all the settings in there.
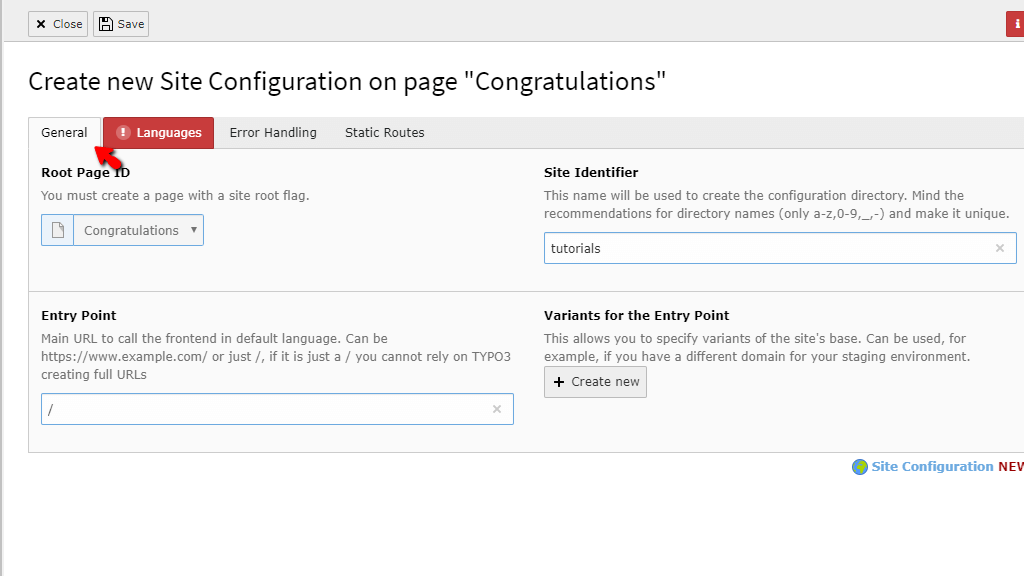
The second tab we are going to be discussing is the “Languages” tab. You can use this area to create a separate multi-lingual version of your site. For example, you can host a German version of the site at http://typo3.hostarmada.tutorials/de/

Let’s go over all of the available options under this tab.
Finally, when all of the settings are configured, please click the “Save” button located on the top left side of the page.

Once you have saved the configuration, please go back to the starting point by once again navigating through the Module Menu to Site Management > Sites. Under it, you will see your new site configuration.

Now that this is done, we can proceed and start configuring the SEO-friendly URLs of your website pages!
To access the functionality allowing you to set SEO URLs for your pages, please click on the “Page” option, located under the “Web” section inside the Module Menu on the left side of the page.

Clicking on the menu item will refresh the page in the middle and will display the Page Tree. Using the Page Tree, please select the page you want to set an SEO-friendly URL for.

Once the page screen is loaded, please point your attention to the upper side of the screen. You should see three icons there. The first one will be a page with a little eye in the bottom right corner, the second one will resemble a page with a pen on its right corner, and the last one will be a magnifying glass. Please click on the middle icon with the pen.

The page will be refreshed, and you will now see the page properties displayed. Please locate the “URL Segment” text field, which will most likely contain the “/default-title” entry. By default, it is grayed one, which means it is not editable. However, you can unlock it by clicking on the first icon, located on the far right side of the text field.
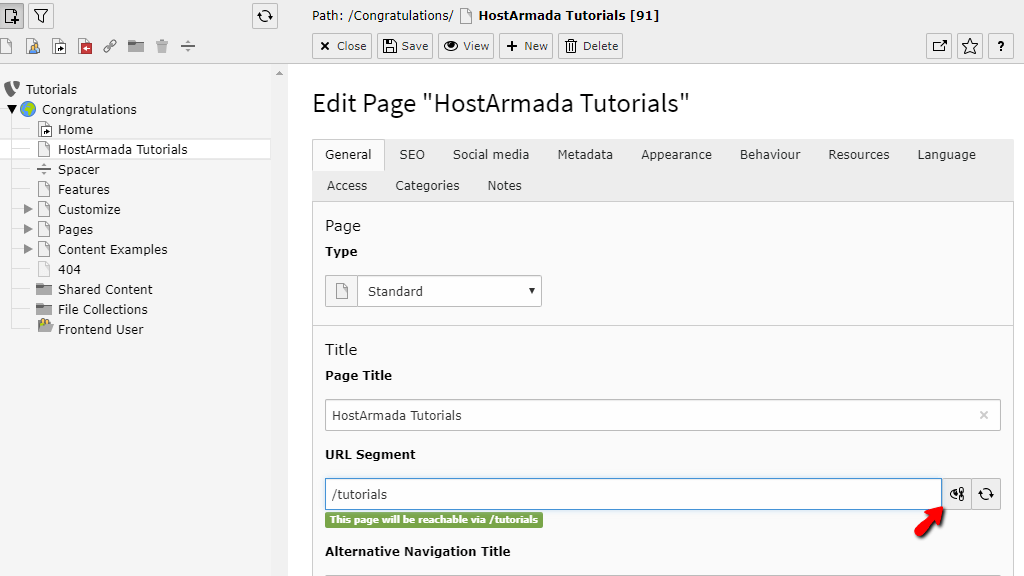
Note that the name of the URL needs to be preceded by a forward slash (/). If you recall from earlier, we set the / as our base. Thus the URL needs to start with it. After entering the desired URL, please press the “Save” button located at the top of the screen.

Now, to view your page, please click the “View” button, which is located next to the “Save” button.

This action will open the page in a separate browser tab, and it will display the new structure of your URL!

Please do not be alarmed about the “?no_cache=1” at the end of the URL. This indicates that the page is accessed while the cache is being ignored. This is done with consideration to being able to see the actual result without any interference that could be caused due to cached content.
And that is it! The way to enable SEO-friendly URLs in your TYPO3 CMS. As you can see, the process is not that complicated. However, there is a prerequisite that enables this functionality. If you do not create the site configuration - SEO-Friendly URLs will simply not be functional.

Sebahat is a young and bright woman who has become an invaluable part of our team. She started as a Customer Care Representative, mastering that role and, along the way, growing into a tech-savvy individual who is well acquainted with every support layer of the company. Driven by her aim to improve our customers’ experience constantly, she is committed to enhancing the extraordinary support we deliver.
Learn more about TYPO3 in the other tutorials that we have:
