
In WordPress, Posts resemble the information you want to publish on your website. They are the primary method of creating content, in terms of blog posts, articles, news, and any other information that might be of interest to your reader audience.
As an owner of а WordPress-based website, this is one of the tasks you will probably be doing on a daily bases. With consideration of this statement, you should aim to be adept in the routine of creating posts.
If this is something you have not done yet, or you are not sure if you are doing it properly, in this tutorial, you will find comprehensive instructions that will cover every tiny bit of detail of this process. Let's not waste more time and start right away!
For a start, we need you to log into your WordPress Admin Dashboard by accessing yourdomain.com/wp-admin and navigate through the left-hand sidebar to Posts.
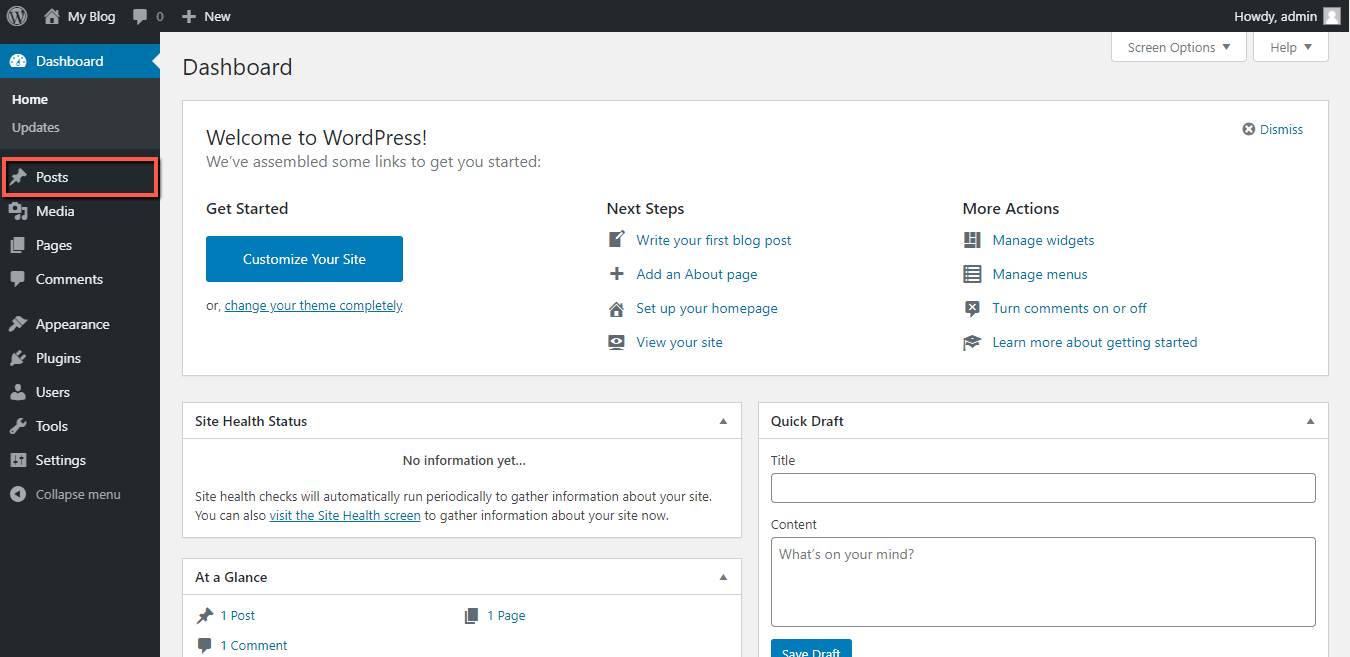
This action will take you to the "Posts" section, where you can start the process of creating your very first post. This is also where you will be managing all your existing posts in the future.
Note that you are also able to directly start the creation of the new post by hovering over the "Posts" link and selecting the "Add New" option from the dialog box.
Now that you have accessed the "Posts" section, you will be presented with a list of all posts created on your WordPress website.
Your first step is to click on the "Add New" button positioned at the top of the page.

Upon doing that, you are going to be presented with the post creation interface. Now, let's start with the essential post details.
The first "Add title" field is intended for your post title. The title appears as the main heading of the post when it is published. It will also represent the post in navigation menus if it is assigned to such. Find a suitable one for your post, because that is the main thing that captures peoples’ attention.
Once the post title is specified, WordPress will automatically generate the post URL address based on it. You can see it displayed right beneath the title field and further edit it if required.
The WYSIWYG editor below is intended for the actual post content. As you can see, it provides many useful tools you can take advantage of to customize your text. If you click on the "Toolbar Toggle" icon, an additional set of tools will be displayed, allowing you even more flexibility.
You are going to notice two modes in the content editor itself. They allow you to select the most convenient way of entering your post content.

We all know that not the text, but pictures or videos are the ones to intrigue the reader. To make your post more engaging for people, you can play with a few more options.
As you will most definitely add lots of media files to your posts, let's see how to achieve that. For a start, please click on the "Add Media" button.
Upon doing that, a new dialog appears where you can click on the "Select Files" button to choose the desired files from your local computer or directly drag and drop them into the empty area. You are also allowed to select images from your WordPress gallery if they are already uploaded or provide an image source URL address, in case you want to load it from another source.

As soon as the image is uploaded or selected, you will be able to configure its settings in the right "Attachment Details" section. You can specify an "Alt text," which is going to be displayed in case the image cannot be loaded by some reason, "Title", "Caption", and "Description". You are able to align the image as desired, link it to other content, and determine whether to be displayed in full size or used as a thumbnail.

When you perform the required changes, please click on the "Insert into post" button.
A few additional settings we have not yet explained, and you will be ready to publish it. You can see there are several blocks in the right end on the page.
Under the "Categories" block, you will see all your current categories listed, and you will be able to select the appropriate category by ticking the corresponding checkbox or add a new category by clicking on the blue "+ Add new category" text.
Right below, you will see the "Tags" block where you will be able to select from your existing tags or add new tags applicable to this post.
The "Attributes" block is where you select the appropriate attributes to your post.
From the "Featured image" block, you can set the image which is going to be used as a thumbnail image. This image will appear in various places throughout your website. For example, in the "Recent Posts" section, in menu items, etc.

Now, let’s review the final section before you are ready to publish your post. At the top right end of the page, you will see the "Publish" section. There are three buttons there that will allow you to "Save draft" of your post, "Preview" it, and directly "Publish" it.

You will also notice some additional settings that could be edited. You will be able to change the "Status" of the post by clicking on the "Edit" button and selecting the appropriate one from the dropdown menu. You can control the "Visibility" of the post by selecting between "Public", "Password protected," or "Private". The "Publish immediately" option will allow you to schedule the publication of the product in case you do not want to publish it immediately.
Whether you save or publish the post, it will always be preserved in the database of your website and also you can always come back and further edit the same.
Congratulations! You have just learned how to create a new Post in WordPress! Creating posts in WordPress is quite an easy task for users who are just beginning to work with WordPress. To understand the central concept of WordPress sometimes is to know how each individual feature works. This way, you can feel confident when managing your WordPress website.

Sebahat is a young and bright woman who has become an invaluable part of our team. She started as a Customer Care Representative, mastering that role and, along the way, growing into a tech-savvy individual who is well acquainted with every support layer of the company. Driven by her aim to improve our customers’ experience constantly, she is committed to enhancing the extraordinary support we deliver.
Learn more about Wordpress in the other tutorials that we have: