
Learn Wordpress
WordPress Media Library represents a virtual storage interface of all media files that you can use on your sites, such as images, videos, audio, and other documents. You can upload and manage media files, attach them to posts and pages. While operating with the WordPress platform, you may reach a point where you want to make some changes to the existing media files. The most common actions you may need to take are file name changes, visual change, description changes, and so on. In this tutorial, we are going to show you how to do that and get you familiar with all the options WordPress introduces for image editing.
Before we step into the actual topic of this guide, we would like to encourage you to take a look at our How to manage Media Content in WordPress tutorial where you can get familiar with the Media Library interface if required.
For a start, please log into your WordPress Admin Dashboard. You can do that by accessing your domain followed by "/wp-admin", i.e., "yourdomain.com/wp-admin", where "yourdomain.com" stands for your actual domain name.
Once logged, please navigate through the left-hand side menu bar to Media > Library.
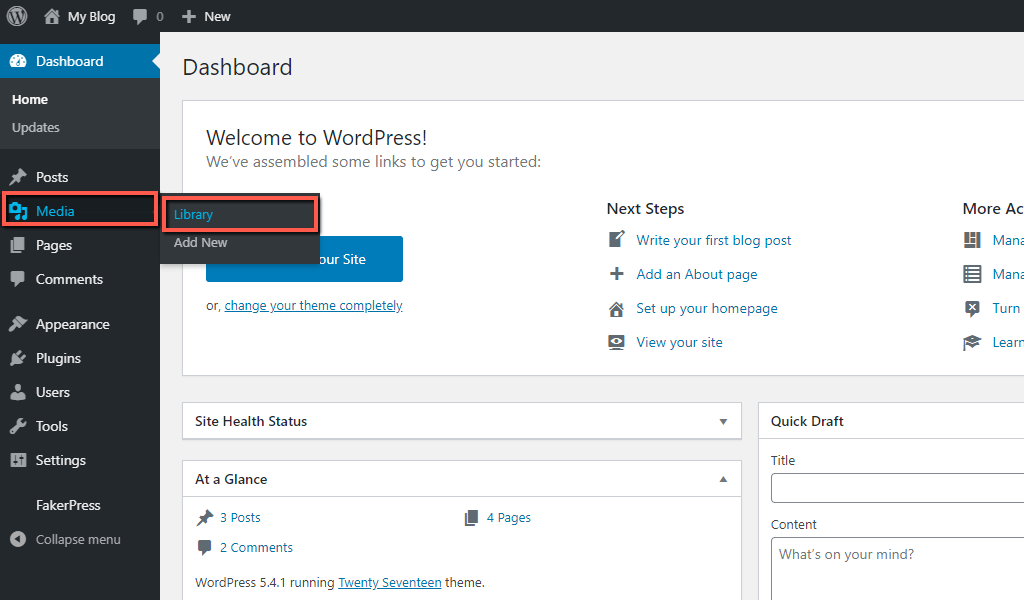
Once you click on that option, you will be redirected to the "Media Library" page where you can find a list of all uploaded media contents.
Before we move forward to the actual customization of the images, we would like to point out one detail. Note that based on the current Media Library view, the method of accessing the file editing interface will differ. In addition, some of the tools and features are going to be located in different positions. However, the general idea and tools available are exactly the same.
The default view of the Media Library is grid-like. We will be using the "List" view in this guide. In case you want to follow our instructions step-by-step, you may want to consider switching to it.
The icons at the top left corner of the table control the Media Library view.
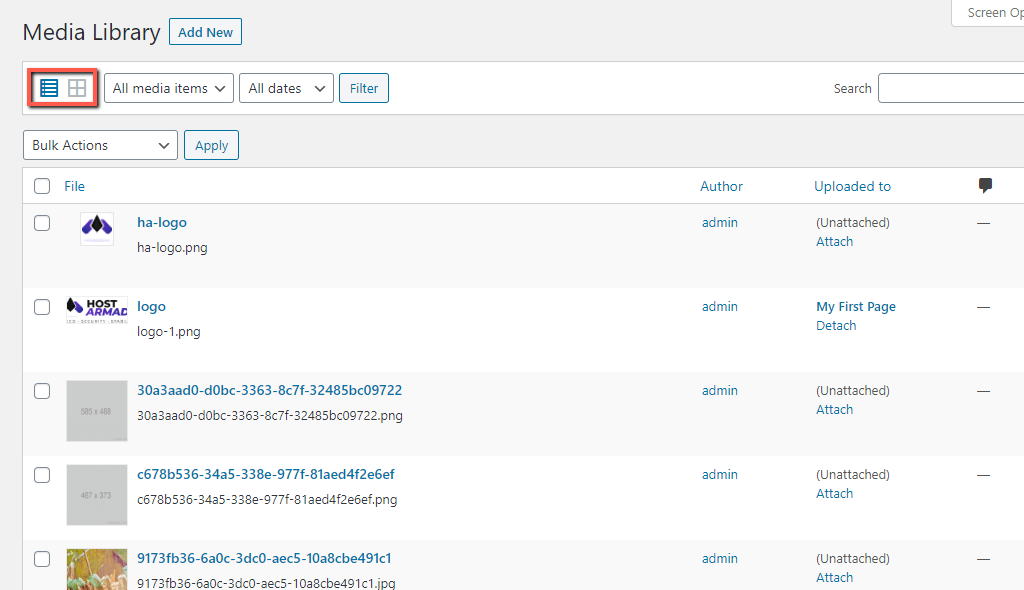
If the files on your end are listed in the same way as shown at the screenshot example above, you are ready to begin.
For a start, please locate the intended file, hover over it, and click on the "Edit" link.

Upon doing that, you will be redirected to the "Edit Media" interface, which holds the image information and tools you can use to customize it.
At first, you must know that every image in WordPress has its own Attachment Post, you can think of that as a separate post dedicated to the image available on your website. Upon uploading an image while adding posts, pages, featured images, thumbnail images, or directly uploading them, an Attachment Post is automatically created for that image.
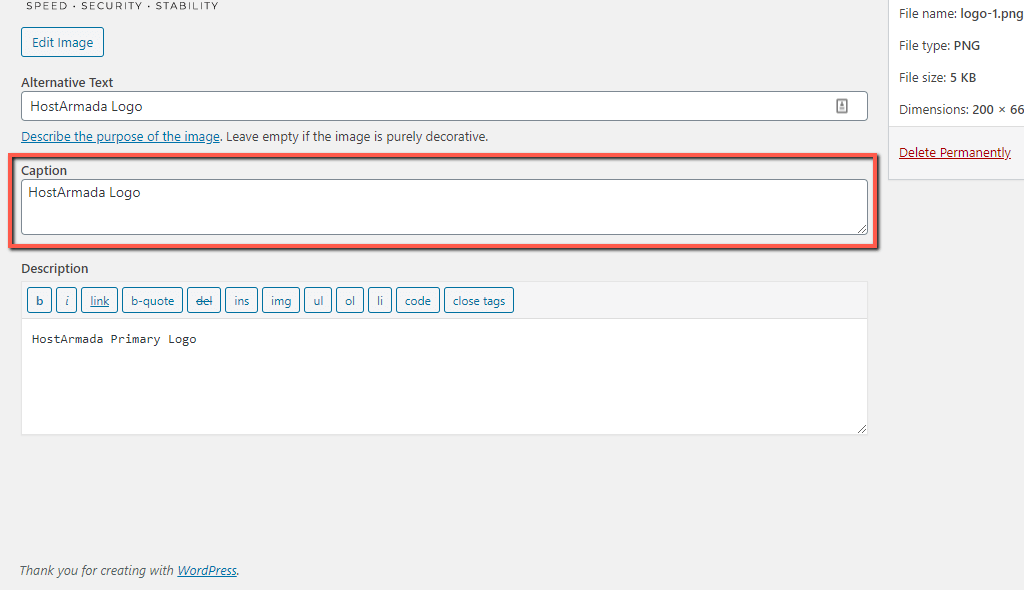
Let' begin with the general image details, positioned at the left side of the page.


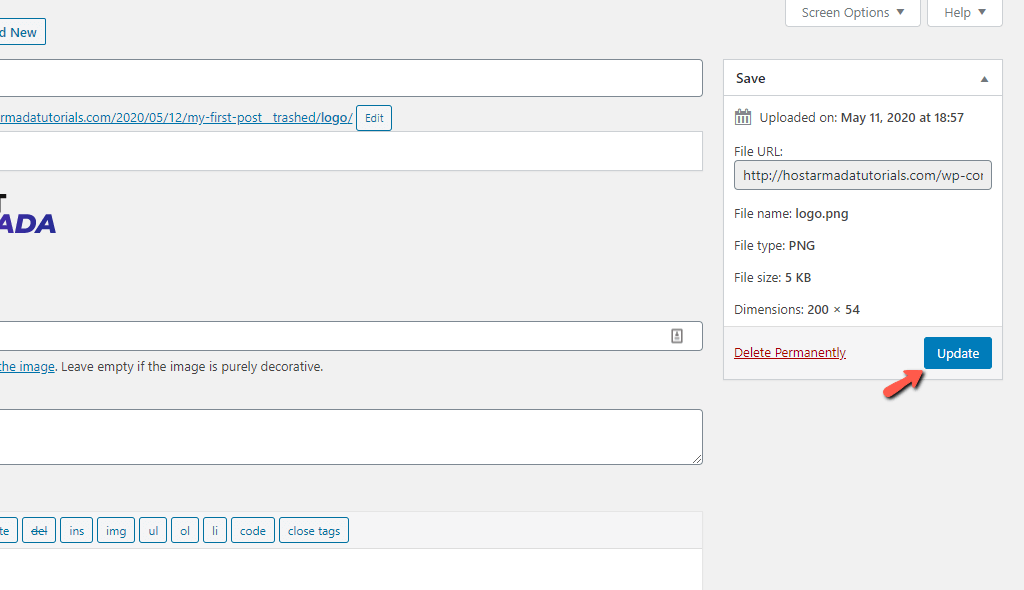
Within the right end of the page, you will see the "Save" meta box. It contains information about your images, such as the upload date, file name, file type, size, and dimensions. The File URL is the source URL of the image, or in other words, the direct link to the actual image file.
WordPress comes with some handy built-in editing tools. Even though you can perform only basic changes, it is quite convenient to be able to do them right through your website backend. This eliminates the need for downloading the image locally and uploading it again when edited.
To explore the tools we are referring to, please click on the "Edit Image" button positioned beneath the image itself.
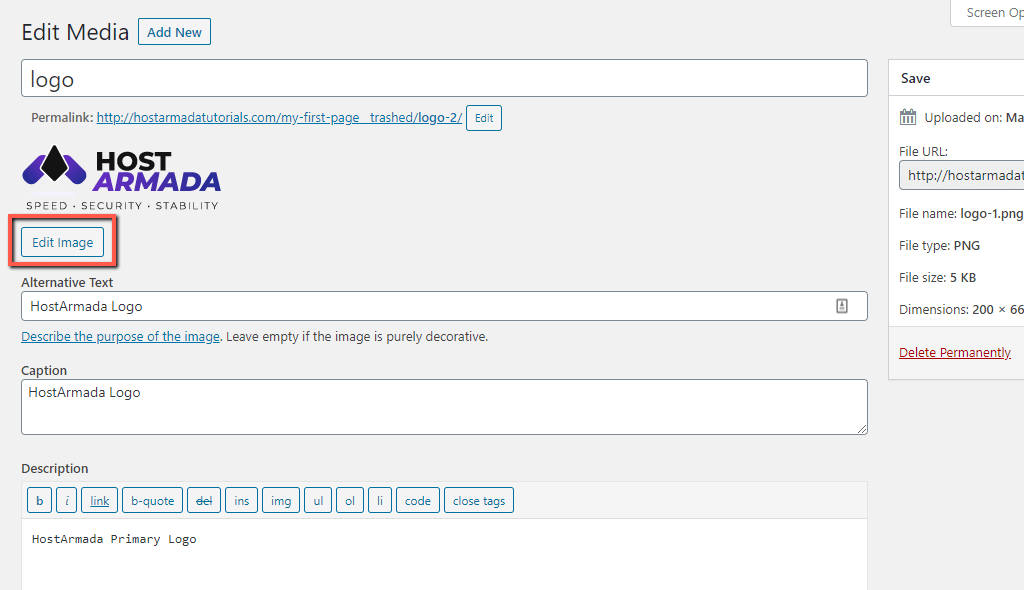
When you click on it, WordPress will present you with some additional options which you can use to edit your image.
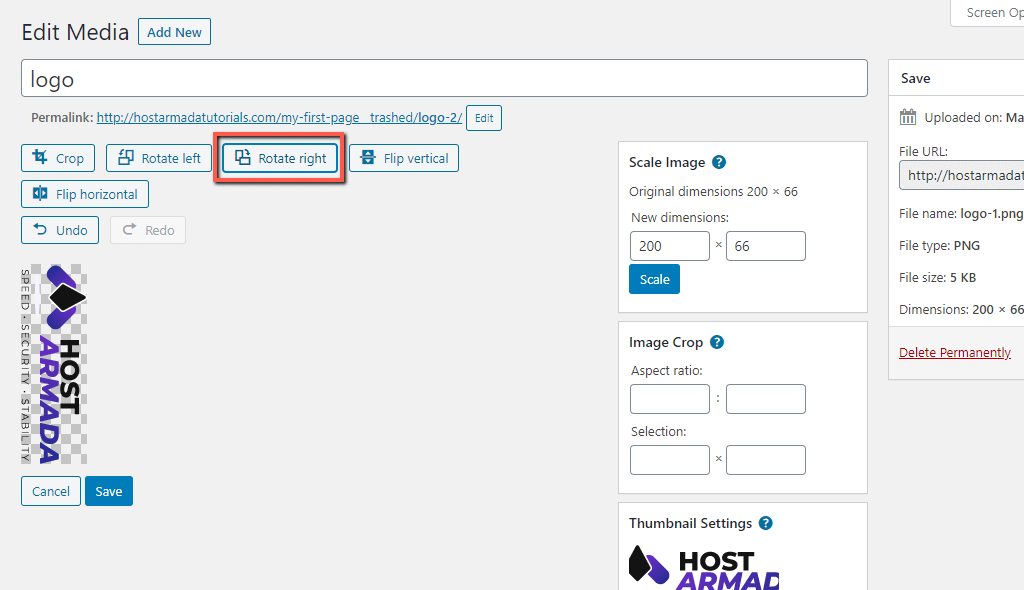
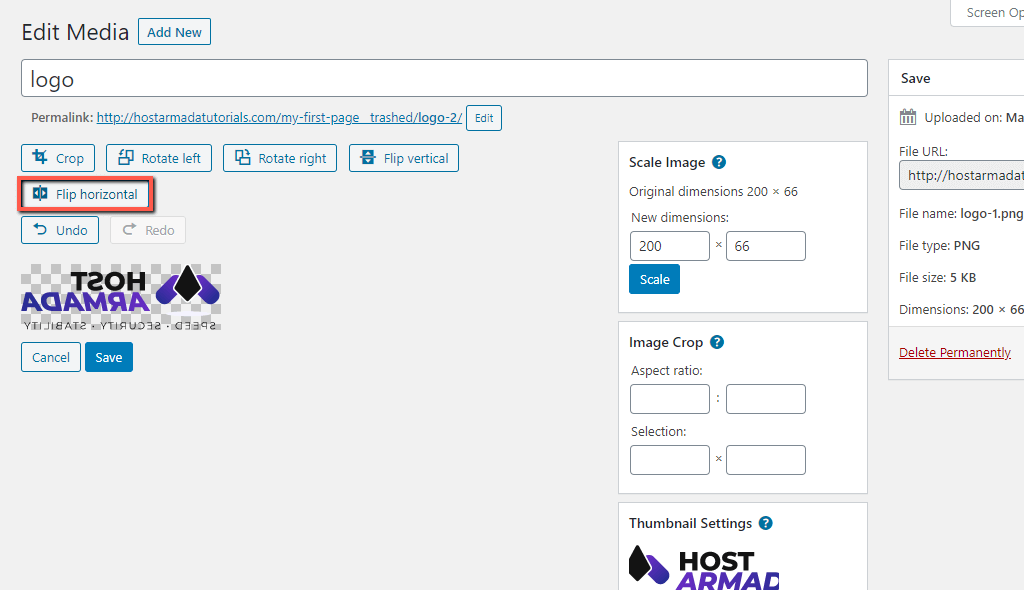
Let's first start with the tools shown on top of the image.
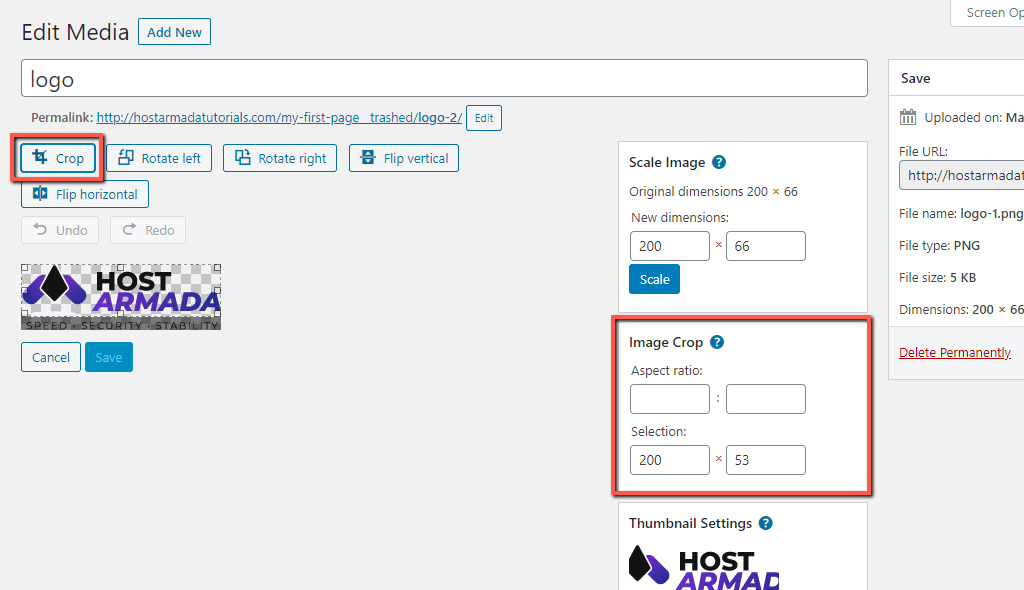
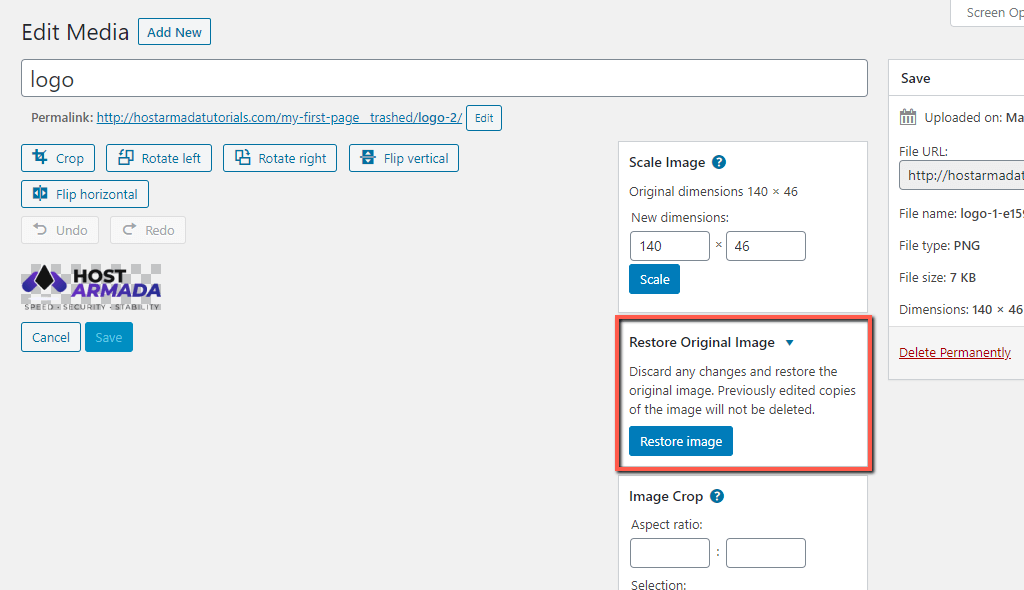
In case the change had not been applied yet, you can use the "Undo" button instead. There is no limitation on the number of times you can click the "Undo/Redo" options. You can keep repeating that action until you reach your editing goal.

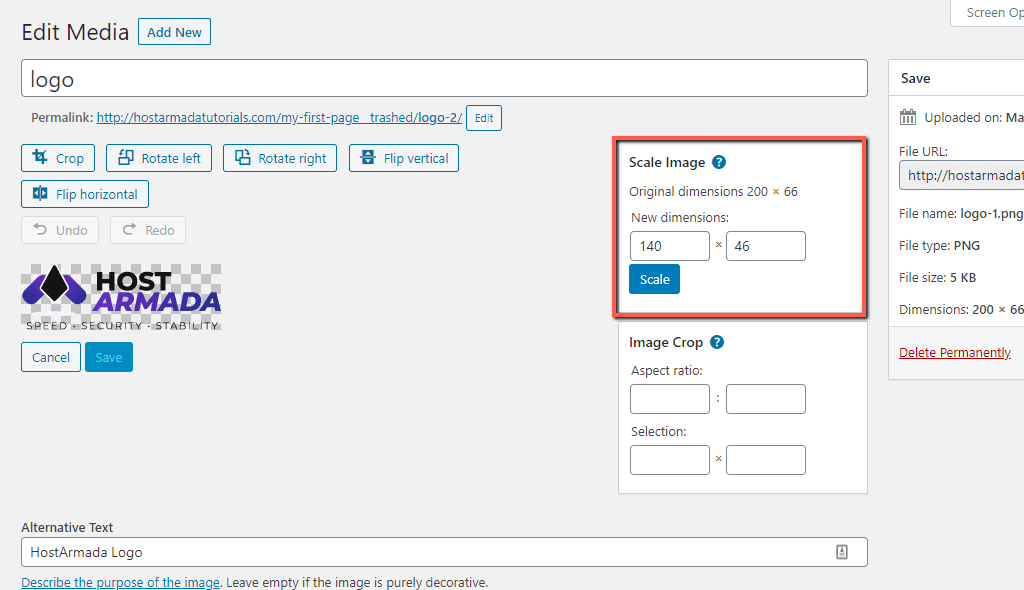
When you perform the desired changes on the image, please click on the "Save" button to apply them.

Once the changes are saved, you will be returned to the "Edit Media" page. To finalize the process, all you have to do is click on the "Update" button.
Congratulations! In this tutorial, you have learned how to edit the images in your WordPress gallery by using the Media Library tools. We hope eliminating the need for downloading and editing them locally will save you a lot of time in the future management of your website.

Sebahat is a young and bright woman who has become an invaluable part of our team. She started as a Customer Care Representative, mastering that role and, along the way, growing into a tech-savvy individual who is well acquainted with every support layer of the company. Driven by her aim to improve our customers’ experience constantly, she is committed to enhancing the extraordinary support we deliver.
Learn more about Wordpress in the other tutorials that we have: