
Two of the most useful functionalities phpMyAdmin has to offer are surely the options of repairing and optimizing your database tables. During the standard functionality of your website, there are times when you can end up with a crashed table that could make it inaccessible for your viewers. The repair option is a great utility that comes in handy when this happens. A quick repair can return the database table to its normal state, thus bringing your website up and running again.
The optimization option is also crucial because, during the constant query execution, your database does overhead is bound to ramp up. The overheads are “leftover” queries, rows, columns, indexes, etc. your database used in the past. When it is not optimized for a long time, they stack up and slow down your website. You can imagine the optimization being the regular service you take your car to once per year.
In this tutorial, we are going to explain how to use the repair and optimization functionalities in phpMyAdmin. Let’s get started!
Before you can access the PHPMyAdmin functionality, you need to log into your cPanel account with us. To do so, please check our tutorial on How to access the cPanel service.
Once logged in, please navigate to the “Database” section and click on the “phpMyAdmin” icon.

Clicking on the result redirects you to the “PHPMyAdmin” feature. In the left sidebar of it, you can see a list of all your databases.

From the list, please select the database which you want to optimize or repair.
Once the database is selected, all of the tables are displayed in the middle of the screen. Scrolling down to the bottom of the page, you can see the “With selected:” dropdown menu.

When expanded, this dropdown contains various operations you can do with your tables. The one you should be looking for is “Optimize Table”.
To start the “Optimize Table” operation, please select one of the database tables using the checkboxes located on the left side of the middle table section. You may also choose multiple databases by ticking the corresponding checkbox.

After the table is selected, please click the “Optimize Table” option from the dropdown. The process is initiated immediately, and after a brief loading screen, the table is optimized.

This is acknowledged by a “Your SQL query has been executed successfully” message on top of the page.
Sometimes when performing optimization on a table utilizing the InnoDB database storage engine, you could receive a warning, which may lead you to believe that this process failed. Do not be alarmed as in essence despite the warning “Table does not support optimize...” phpMyAdmin still performs a similar action leading to an equivalent result. It re-creates the table, exports the SQL code, and re-imports it. If MyISAM is selected, phpMyAdmin executes a standard optimization action, and you receive an “OK” under the “Msg_text” column.
Once the database is selected, all of the tables are displayed in the middle of the screen. You have to scroll down to the bottom of the page, where the “With selected:” dropdown is located.
Among the options, you should be looking for the “Repair Table” one.
To start the “Repair Table” process, please select one of the database tables using the checkboxes located on the left side of the middle table section. You may also choose multiple databases by ticking the corresponding checkbox.
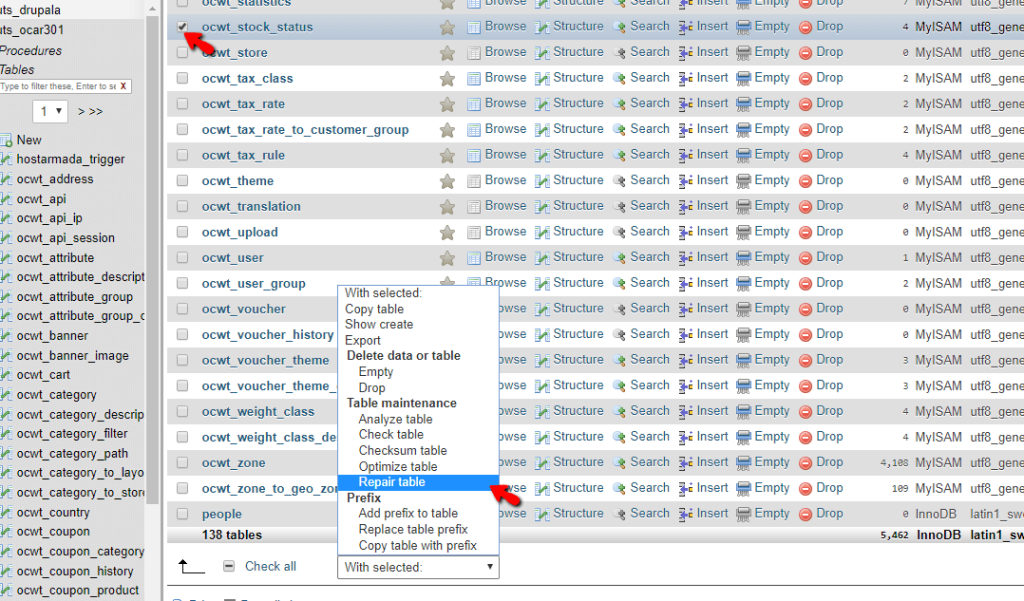
Once the tables are selected, please click the “Repair Table” option. The process is initiated immediately, and after a brief loading screen, the table is repaired.
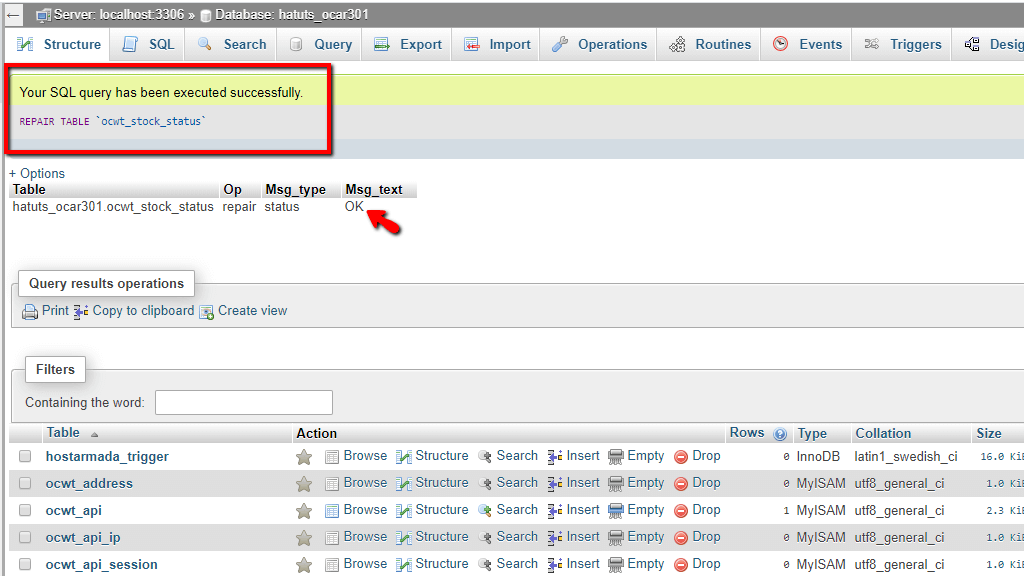
This is acknowledged by a “Your SQL query has been executed successfully” message on top of the page.
Similarly to the “Optimize table” utility, the “Repair table” option shows a warning when used on a table using the InnoDB storage engine. To understand why this happens, you need to have a good understanding of database storage engines. The process of repairing an InnoDB table is pretty complex and delicate to execute, and if you are in a situation where your InnoDB table has crashed, please be sure to contact our Technical Support team immediately. They are very experienced in performing the InnoDB recovery procedure, and they might be able to assist you, as long as the damage is not disastrous. Repairing a MyISAM table should give you a standard “OK” message under the “Msg_text” column.
There you have it! The phpMyAdmin method of running optimization and repair procedures on your databases from the cPanel. If you ever run into trouble using these operations, please feel free to contact our technical support team. They are 24/7 available over the ticketing system in your Client Area.

Nikola is an accomplished tech-savvy extraordinaire with over six years of experience in the web hosting field. He started as a customer care representative and quickly rose the ranks to become a support supervisor and, eventually - the head of the technical department in HostArmada. His deep understanding of the client's needs, combined with his technical knowledge, makes him the perfect man to create the ideal harmony between client satisfaction and professional problem-solving. You will often find him creating helpful tutorials, articles, and blog posts that help existing customers get around.
Learn more about cPanel in the other tutorials that we have:
