
Learn FTP Service
In this tutorial, we will guide you on how to remotely manage your web files using the CuteFTP Client. You will get familiar with the interface and learn how to easily handle numerous tasks, such as how to create, remove and move files and folders, how to rename them and how to change their permissions.
This tutorial assumes that you have the CuteFTP Client already installed on your local computer and connected to your web hosting account.
If you have not done this yet, please take a moment to review our guide based on How to configure CuteFTP Client.
As soon as you initiate a successful connection to your web hosting account and you see your web files listed in the right panel, you will be ready to move forward.
The process of creating new directories is extremely simple. All you need to do is right-click somewhere on the blank space (in the right panel) and select the “New Folder” option. Alternatively, you can click on the “New Folder” icon available at the top menu bar.
Please note that the folder will be created under the directory you are currently located in. Therefore, you will need to ensure you have accessed the accordant directory where you wish to create the new folder.

In both cases, you will be presented with a new pop-up window where you will need to specify the folder name. Once you enter it, please click on “OK” to finalize the folder creation.

Note that if you need to delete or rename a file or folder, you can do it anytime in the future by right-clicking on it and selecting the corresponding “Delete” or “Rename” options from the list.
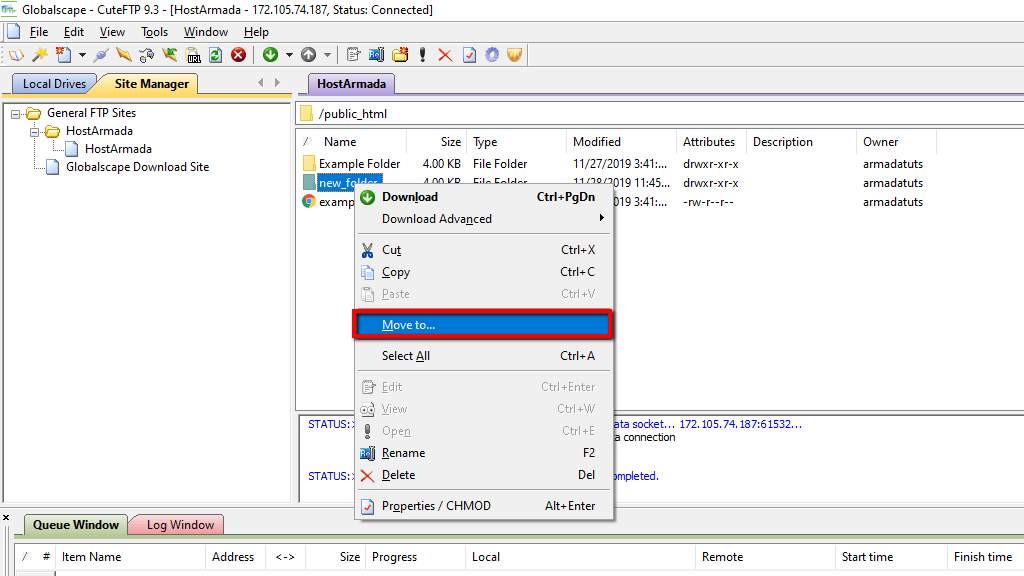
At some point, you might need to move files/folders from one directory to another. This can be done with just a few clicks using CuteFTP. All you will need to do is simply right-click on the intended file/folder and select “Move To”. Note that in case you need to move multiple files/folders you can mark them by pressing the “ctrl” (PC) / “command” (Mac) button on the keyboard and clicking on them.
Afterward, a pop-up window will be displayed and you will need to enter the path of the directory where the file/folder should be moved.

When you specify the path, please hit “OK” and the file/folder will be moved into the destination directory.
The last thing we will show you in this guide is how to change file and directory permissions. As a website owner, you are aware of how important it is to ensure all your files and folders and set with the correct permissions. The process of changing permissions for files and folders is quite simple. All you need to do is right-click on the desired file/folder and select the “Properties / CHMOD” option.

Once this is done, you will be presented with the “Properties” dialog. You can edit the permissions by ticking/unticking the corresponding boxes, or by directly entering the permission value in the “Permissions” field.

When you are ready, please click on the “OK” button to save the changes you have made.
All done! We hope you are now familiar and comfortable with CuteFTP’s interface and you will be able to easily manage your web files via it. We would like to thank you for trusting our guidance and welcome you to contact our Support Team in case any further instructions are needed.

Sebahat is a young and bright woman who has become an invaluable part of our team. She started as a Customer Care Representative, mastering that role and, along the way, growing into a tech-savvy individual who is well acquainted with every support layer of the company. Driven by her aim to improve our customers’ experience constantly, she is committed to enhancing the extraordinary support we deliver.
Learn more about FTP Service in the other tutorials that we have: