
Attributes allow distinguishing products by providing additional information on the product details page. There are three types of Product Attributes in X-Cart:
Depending on the products you are selling, you have to decide how to configure the attributes in your store so they can best fit your requirements.
Classes, on the other hand, are used to group products in reliance on similar characteristics and allow product filtering based on these properties.
In this tutorial, we are going to review the whole Product Classes and Attributes concept in X-Cart and guide you on how to efficiently organize your products using them.
For a start, please log in to your X-Cart Admin Area and navigate through the left-hand side menu bar to Catalog > Classes & attributes.
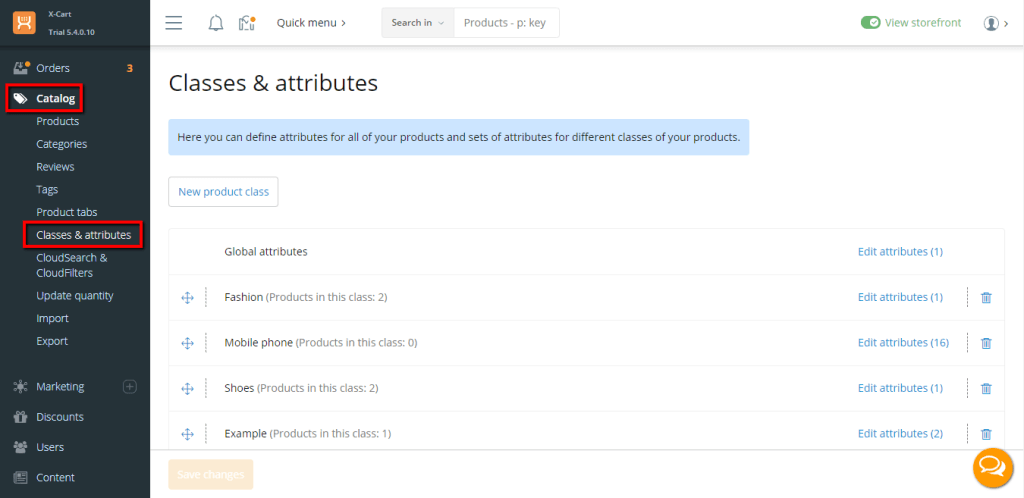
In this section, you can see a table listing all currently configured product classes in your store. In here, you are able to manage the global and product class attributes. The product-specific attributes are being managed under the product details page on a per-product basis.
First off, you have to create a Product Class. To do so, please click on the "New product class" button.
When this is done, a new empty row appears where you need to specify the name of the Product Class.
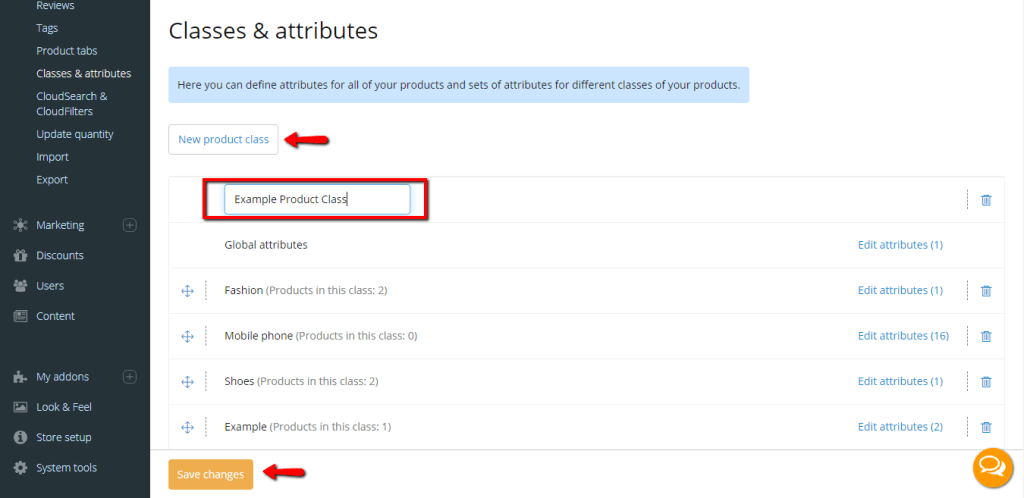
Once you are ready, please click on the "Save changes" button to finalize the creation of your new product class.
Now that the Class is created, it is time to add Attributes to it.
There are two methods for creating Product Attributes in X-Cart. The first method is to create them within the "Classes & attributes" section. The second method is to create them on the go within any product details page. Generally, the process is the same with each method. Therefore we are going to review the first one.
To begin with, please click on the "Edit attributes" link of your newly created Product Class.

When you are redirected to the Class Attributes section, please click on the "New attribute" button.

Afterward, a new pop-up window appears where you have to configure the Attribute details. Please specify the Attribute name, select an attribute group if necessary, and choose the attribute type. As you can see from the dropdown menu, there are three options:

When you are ready, please click on the "Next" button.
Afterward, you have to configure the Attribute Values. To do that, please click on the "New value" button as many times as needed according to the number of values you have to add. In the empty fields, you have to specify the Values as they are going to be displayed on the storefront.
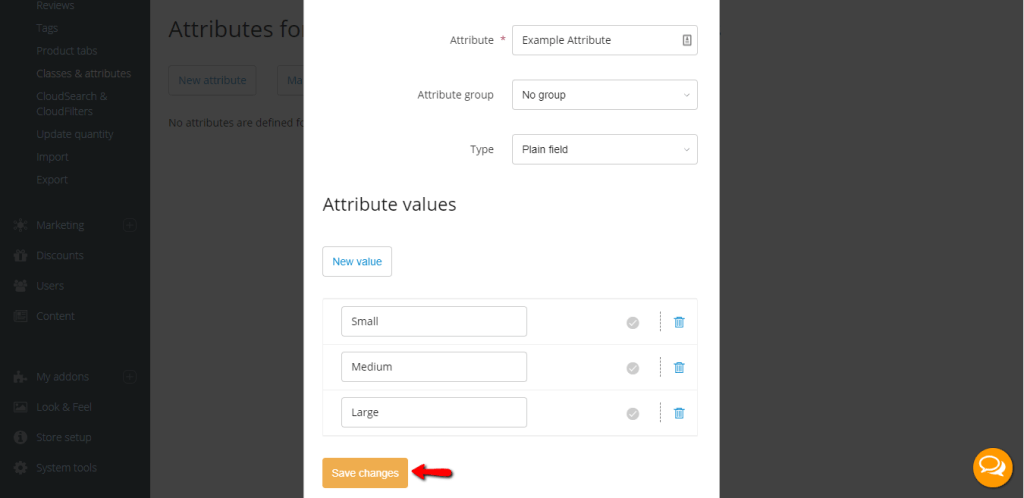
Once done, please click on the "Save changes" button, and your new Product Class along with the Product Attributes and Values is going to be created.
Attribute Groups are intended to allow you to organize your Product Attributes effectively. If you have a long list of Attributes, you are going to need to consider this as an option.
The name of the Attribute Group is displayed on the storefront under the product details page.
To create a new Attribute Group, you have first to create the Product Class. Once your Class is created, please click on the "Edit attributes" link. This action takes you to the Class Attributes section, which you are already familiar with.
When there, please click on the "Manage group" button.

In the pop-up window, please click on the "New group" button and enter the Attribute Group name into the empty field.

Once you are ready, please click on the "Save changes" button. With this done, your new Group is created, and you can assign it to your Attributes.
To sum up, in this tutorial, you have learned what Product Classes and Attributes are in X-Cart, for what purposes you can use them, and how to create them. We hope the topic discussed was interesting to you, and it is going to come to good use while you are developing and managing your Online Store. In case you have additional questions, we would like to welcome you to contact our Support Team.

Sebahat is a young and bright woman who has become an invaluable part of our team. She started as a Customer Care Representative, mastering that role and, along the way, growing into a tech-savvy individual who is well acquainted with every support layer of the company. Driven by her aim to improve our customers’ experience constantly, she is committed to enhancing the extraordinary support we deliver.
Learn more about X-Cart in the other tutorials that we have: