SSH (Secure Shell) is a powerful tool that allows you to securely connect to your server and execute commands directly from the command line. This gives you full control over your hosting environment, enabling you to manage files, run scripts, perform maintenance tasks, and handle advanced server operations.
Plesk provides an easy way to access SSH, either through an in-browser terminal (when available) or by using an external SSH client like PuTTY, Terminal (macOS/Linux), or any preferred SSH tool.
In this tutorial, we will guide you through the different ways to access the SSH terminal in Plesk.
First and foremost, please ensure you are logged in to your Plesk control panel. To do that, please enter your IP address, hostname, or domain name inside your web browser’s search bar and add “:8443” at the end. It should look something like: “https://yourdomain.com:8443”. By doing so, you will be prompted by a login form that requests your username and password.

After logging in with your username and password, Plesk should automatically display the “Websites & Domains” page, which will serve as the index page from where you can manage everything related to your websites and domains on Plesk.
Typically, not all Plesk user accounts have SSH access enabled. To verify that and enable SSH access, please
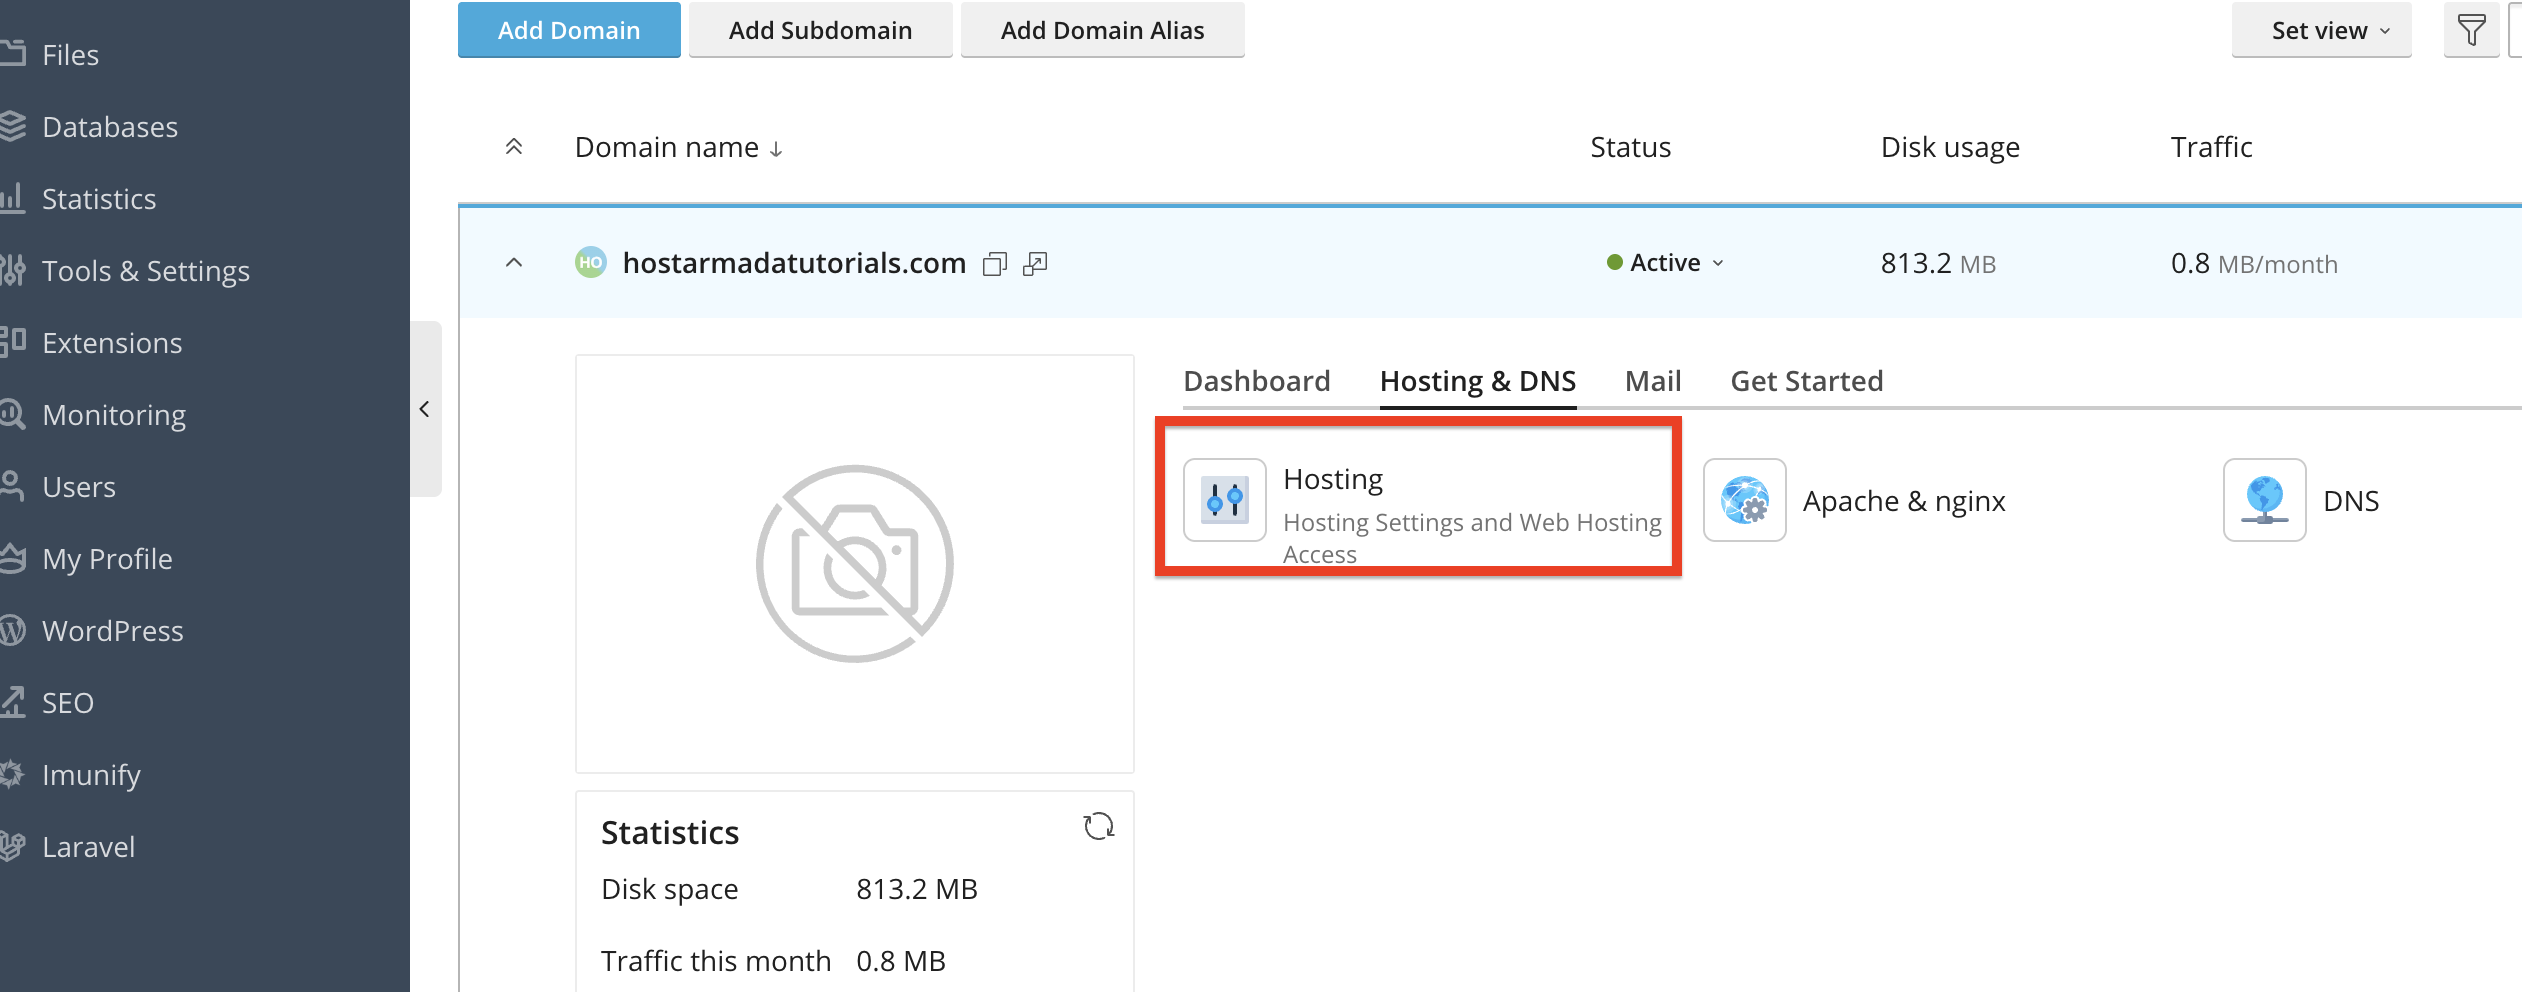
From the “Websites & Domains” index page, expand the domain tools by clicking the down arrow, then select “Hosting & DNS” from the tabs below.

From the tools unveiled by clicking the “Hosting & DNS” tab, please click the “Hosting” option.
Performing that will expand a side menu from the left side, which will contain many settings. Please locate the settings under “SSH Access,” then select the shell you would like to use from the drop-down menu. The options are:
If SSH is disabled, the setting will be set as:
The most widely used shell is (/bin/bash), thus, we recommend picking that one.

Once you select the desired shell, please click on the “Save” button located at the bottom of the side menu.
Now that we have enabled SSH, you may use shell access to connect to your web hosting account via a terminal or an SSH application. We have an excellent knowledge base section about SSH, which should be extremely helpful if you are new to this.
Some Plesk installations include a built-in SSH Terminal extension that lets you access the shell directly from your browser.
To open the web terminal, please click on the “Tools & Settings” option located on the left-hand side

Performing the action above will redirect you to a page with a huge variety of tools. Under the “Tools & Resources” section, please locate the “SSH Terminal” tool and click on it.

After executing the above, Plesk will launch a browser-based SSH terminal session with your selected shell.
Tip: This option is very convenient if you do not want to install an external SSH client, which usually requires some setup to work before you can use it properly.
As you can see, Plesk offers multiple convenient ways to access your server via SSH - either via the built-in terminal or an external client. By enabling SSH access and using the appropriate connection method, you can perform advanced management tasks and maintain full control over your server environment.
We hope this tutorial was helpful, and we kindly encourage you to use SSH whenever you need secure and direct access to your server’s command line.

Nikola is an accomplished tech-savvy extraordinaire with over six years of experience in the web hosting field. He started as a customer care representative and quickly rose the ranks to become a support supervisor and, eventually - the head of the technical department in HostArmada. His deep understanding of the client's needs, combined with his technical knowledge, makes him the perfect man to create the ideal harmony between client satisfaction and professional problem-solving. You will often find him creating helpful tutorials, articles, and blog posts that help existing customers get around.
Learn more about Plesk in the other tutorials that we have:
