ModSecurity is a powerful web application firewall (WAF) designed to protect your website from various online threats, including SQL injections, cross-site scripting (XSS), brute-force attempts, and other malicious activities.
Plesk includes built-in ModSecurity support, allowing you to enable, configure, and manage firewall rules directly from your control panel. Whether you want to increase security, fine-tune rule sensitivity, or analyze security logs, Plesk makes ModSecurity easy to work with.
In this tutorial, we will guide you through the process of configuring and using ModSecurity in Plesk.
First and foremost, make sure you are logged in to your Plesk control panel. To perform that, please enter your IP address, hostname, or domain name inside your web browser’s search bar and add “:8443” at the end. It should look something like: “https://yourdomain.com:8443”. By doing that, you will be prompted by a login form requesting your username and password.

After logging in with your username and password, Plesk will automatically display the “Websites & Domains” page, which will be your index page from where you can manage everything related to your websites and domains on Plesk.
To access and configure ModSecurity, please click on the “Tools & Settings” option from the left-hand menu.

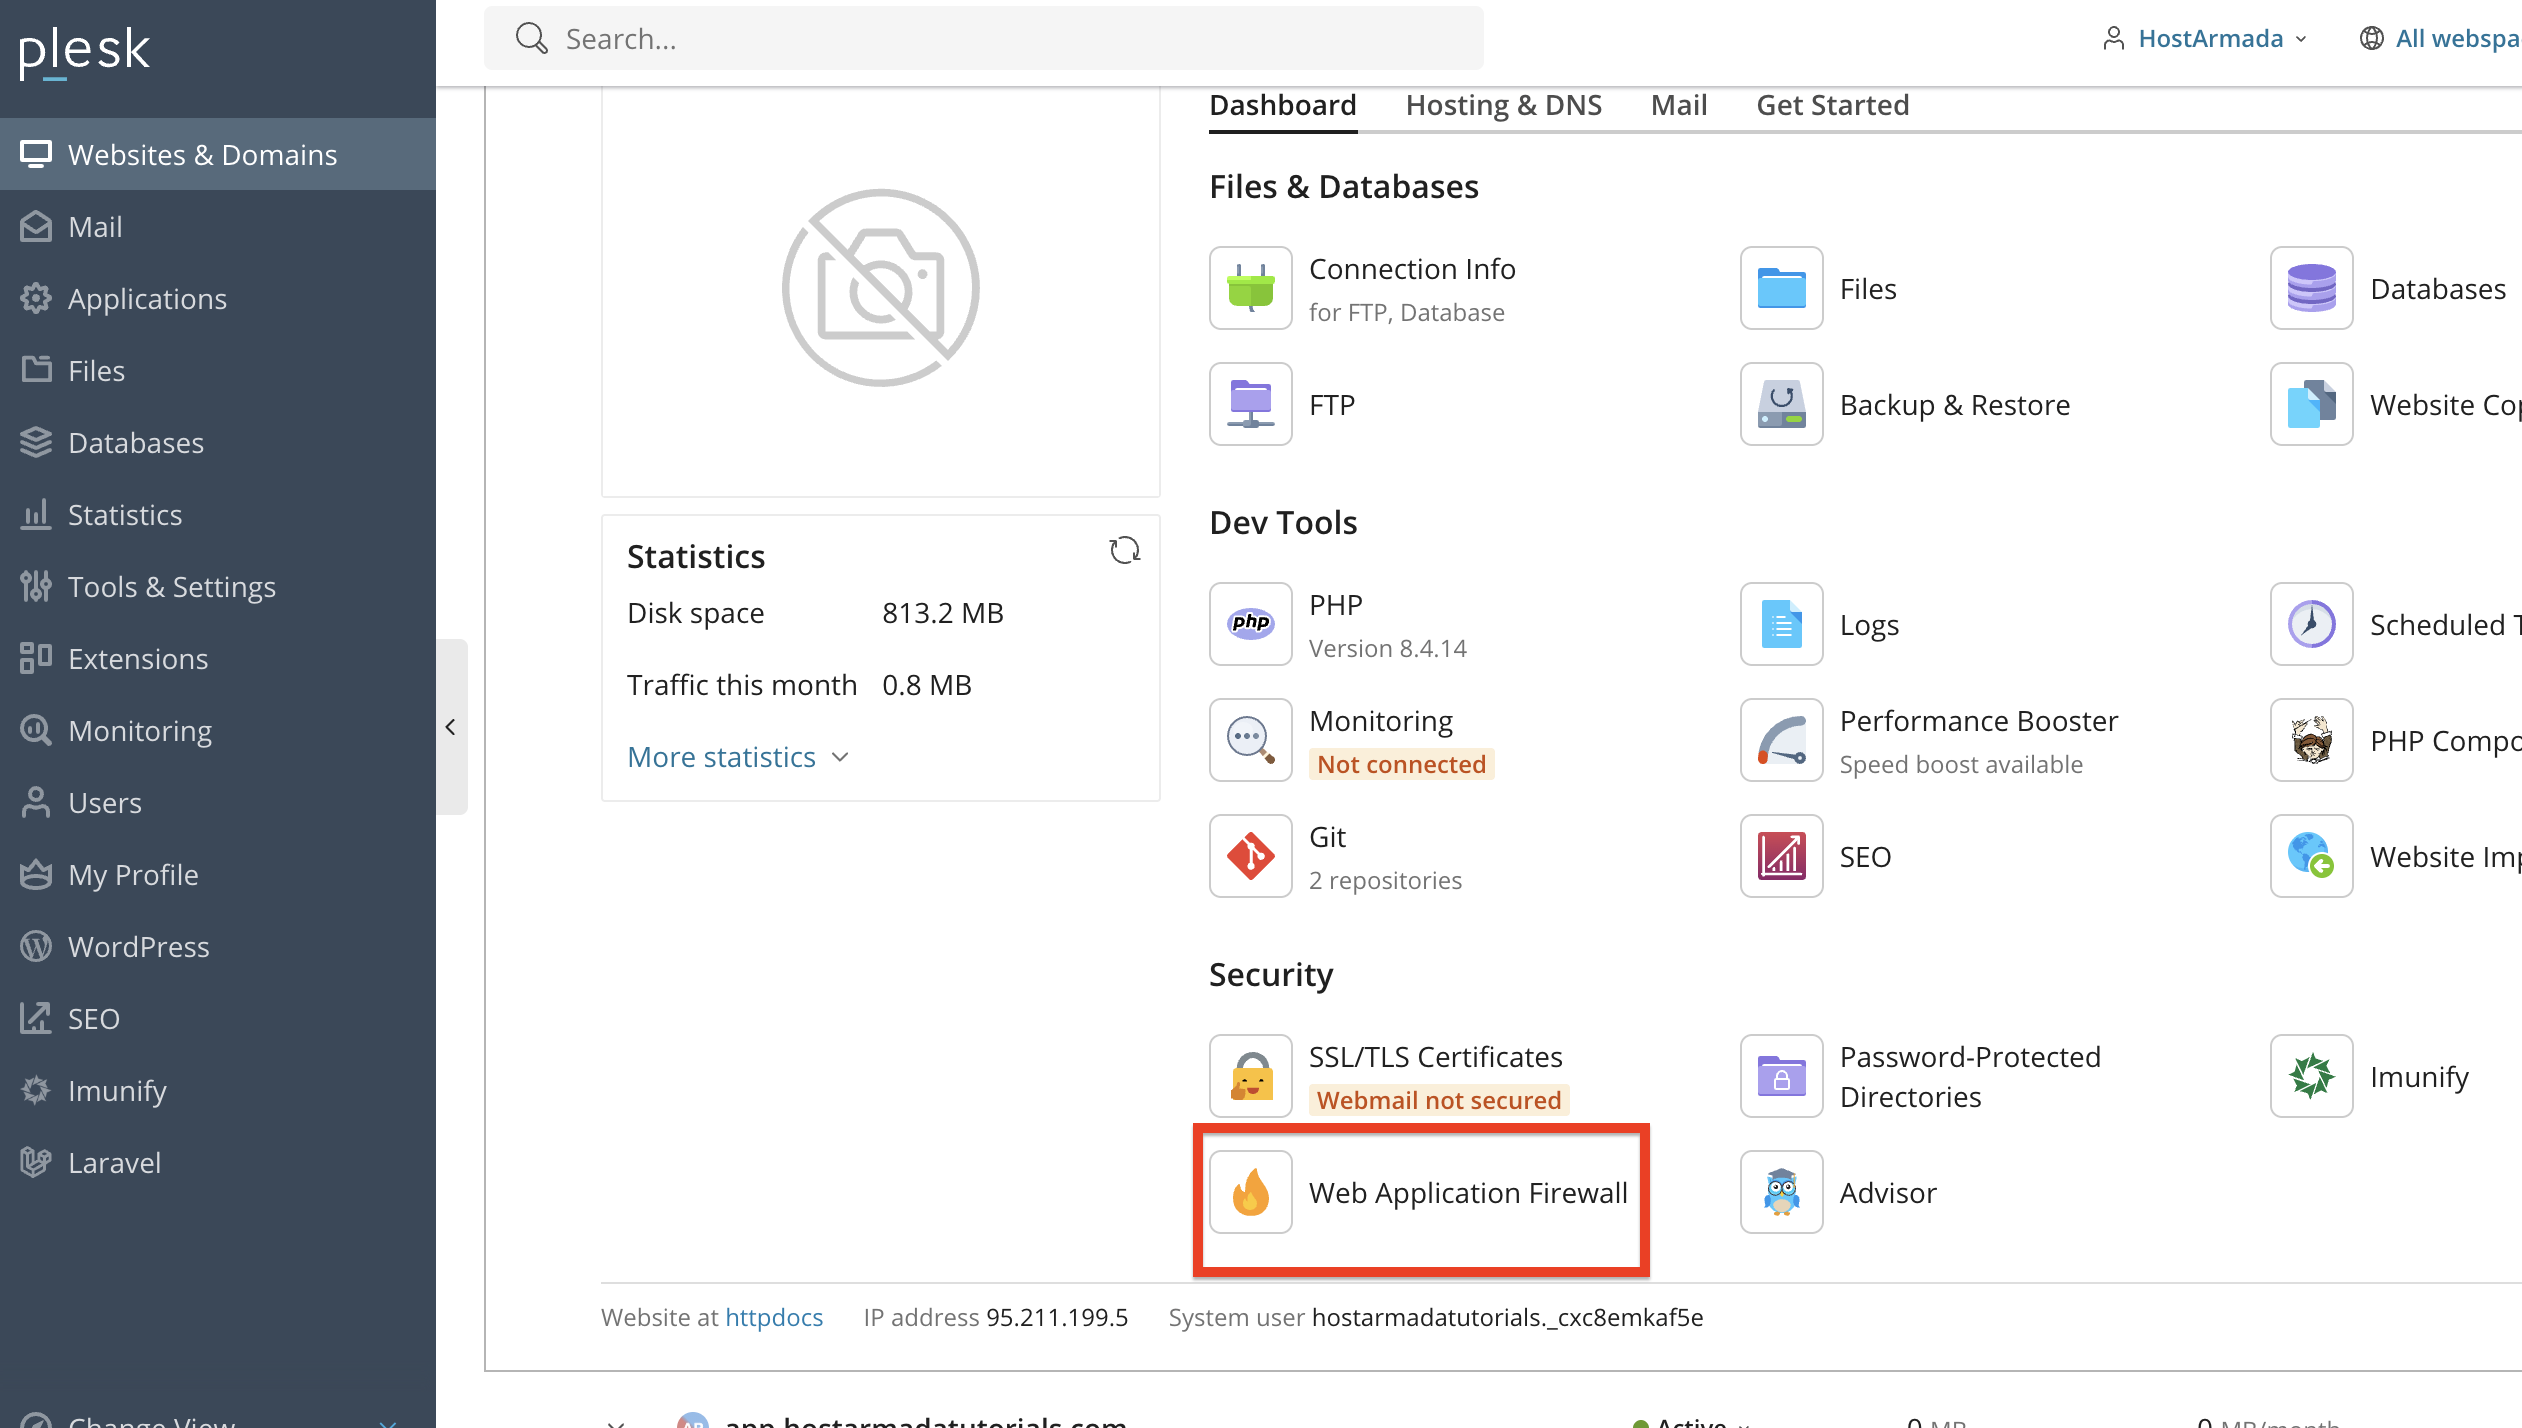
Under the Security section, click on “Web Application Firewall (ModSecurity)” functionality.

Performing the action above will open the main ModSecurity configuration page. From there, you will have complete control over your server’s ModSecurity settings.
After landing on the ModSecurity page, you will initially see the general settings. At the top of the ModSecurity settings page, you will see a radio button that will allow you to enable, disable, or turn on a detection mode only.

Recommendation: We strongly recommend enabling “On” for active protection unless you are testing rules.
After changing the mod_security behaviour, scrolling down on the same page will provide a brief explanation of the mod_security audit log. Underneath the explanation, you will find two links:
ModSecurity Log File - Please click on this link to open a new tab showing the content of the mod_security audit log itself.
Logs Archive - Please click on this link to download an archive containing the mod_secuty audit logs for either this month or the previous months.

Scrolling further down will allow you to switch off certain security rules enforced by ModSecurity. You can do that using one of three criteria:

After entering the details about the ruleset you would like to block, please click on the “OK” button at the bottom of the page to save them and be redirected back to the “Tools & Settings” page, or click on the “Apply” button to save the settings and remain on the same page.
ModSecurity relies on rule sets that define what actions are considered suspicious. Plesk typically includes the following choices when it comes to rule sets. These rule sets can be selected from the “Settings” tab on the “Web Application Firewall” page. To access them, please click the “Settings” tab.

Performing the action above will unveil all the mod_security rule sets, along with other settings, which we will review further down the tutorial. Let’s go over the default rule sets typically available with Plesk. At the top, you will find a drop-down menu that allows you to select the version of the rule sets. Generally, it will depend on the web server you use (Apache, NGINX, LiteSpeed), thus, please select the one you are currently using.

Recommendations: The OWASP CRS is widely used and recommended for general protection, unless you have your own ruleset or use the services of a third-party security vendor.
After selecting your rule set, scrolling down will allow you to perform additional configurations for your mod_security service. You can configure your WAF using either a predefined set of parameters or your custom ModSecurity directives.

Please select the level that best suits your security needs, and afterward, please click on the “OK” button at the bottom of the page to save your settings and be redirected back to the “Tools & Settings” page, or click on the “Apply” button to save the settings and remain on the same page.
You can also control ModSecurity at the domain level. You can do that by returning to the “Websites & Domains” index page, which we covered at the beginning of our tutorial.

From there, please expand the settings for the domain you want to disable the mod_security feature for. Then, from the expanded settings, locate and click on the “Web Application Firewall” functionality.
After performing the action above, you will be redirected to a familiar page, from which you will have the option to disable or enable mod_security for this particular domain.
Additionally, you will be able to disable specific security rules if only some of them are a nuisance for your website!

This is useful when one website requires stricter or more relaxed settings. Finally, to apply your settings, please click on the “Ok” button located at the bottom of the page and be redirected back to the “Websites & Domains” page, or click on the “Apply” button to save the settings and remain on the same page.
As you can see, ModSecurity in Plesk provides a powerful and flexible way to protect your website from a wide range of threats. With easy configuration options, adjustable rule sets, domain-level controls, and detailed logging, you can maintain strong security while ensuring compatibility with your applications.
We hope this tutorial was helpful, and we kindly encourage you to review your ModSecurity settings regularly to keep your website secure.

Nikola is an accomplished tech-savvy extraordinaire with over six years of experience in the web hosting field. He started as a customer care representative and quickly rose the ranks to become a support supervisor and, eventually - the head of the technical department in HostArmada. His deep understanding of the client's needs, combined with his technical knowledge, makes him the perfect man to create the ideal harmony between client satisfaction and professional problem-solving. You will often find him creating helpful tutorials, articles, and blog posts that help existing customers get around.
Learn more about Plesk in the other tutorials that we have:
