In Plesk, customers represent individual hosting accounts you manage as a server administrator or reseller. Each customer can have one or more subscriptions, domains, users, and resources assigned to them. Managing customers allows you to:
Proper customer management is essential for hosting providers, resellers, agencies, and anyone managing multiple client environments.
In this tutorial, we will guide you through the process of managing customers in Plesk.
First and foremost, please ensure you are logged in to your Plesk control panel. To do that, please enter your IP address, hostname, or domain name inside your web browser’s search bar and add “:8443” at the end. It should look something like: “https://yourdomain.com:8443”. By doing so, you will be prompted by a login form that requests your username and password.

After logging in with your username and password, Plesk will automatically display the “Websites & Domains” page, which will serve as the index page from where you can manage everything related to your websites and domains on Plesk.
To open the list of customers, please click on the “Customers” functionality located on the left-hand menu.

Performing the action above will redirect you to a page that displays all customer accounts currently created on your server.
To add a new customer, please click on the “Add Customer” button located at the top left side of the “Customers” page.

Once you do that, a side menu will appear on the left side where you need to fill in the required information:


Once you are done adding the customer information, please click on the “Add Customer” button located at the bottom of the pop-up window. The customer will now appear in the list and can log in using the provided credentials.
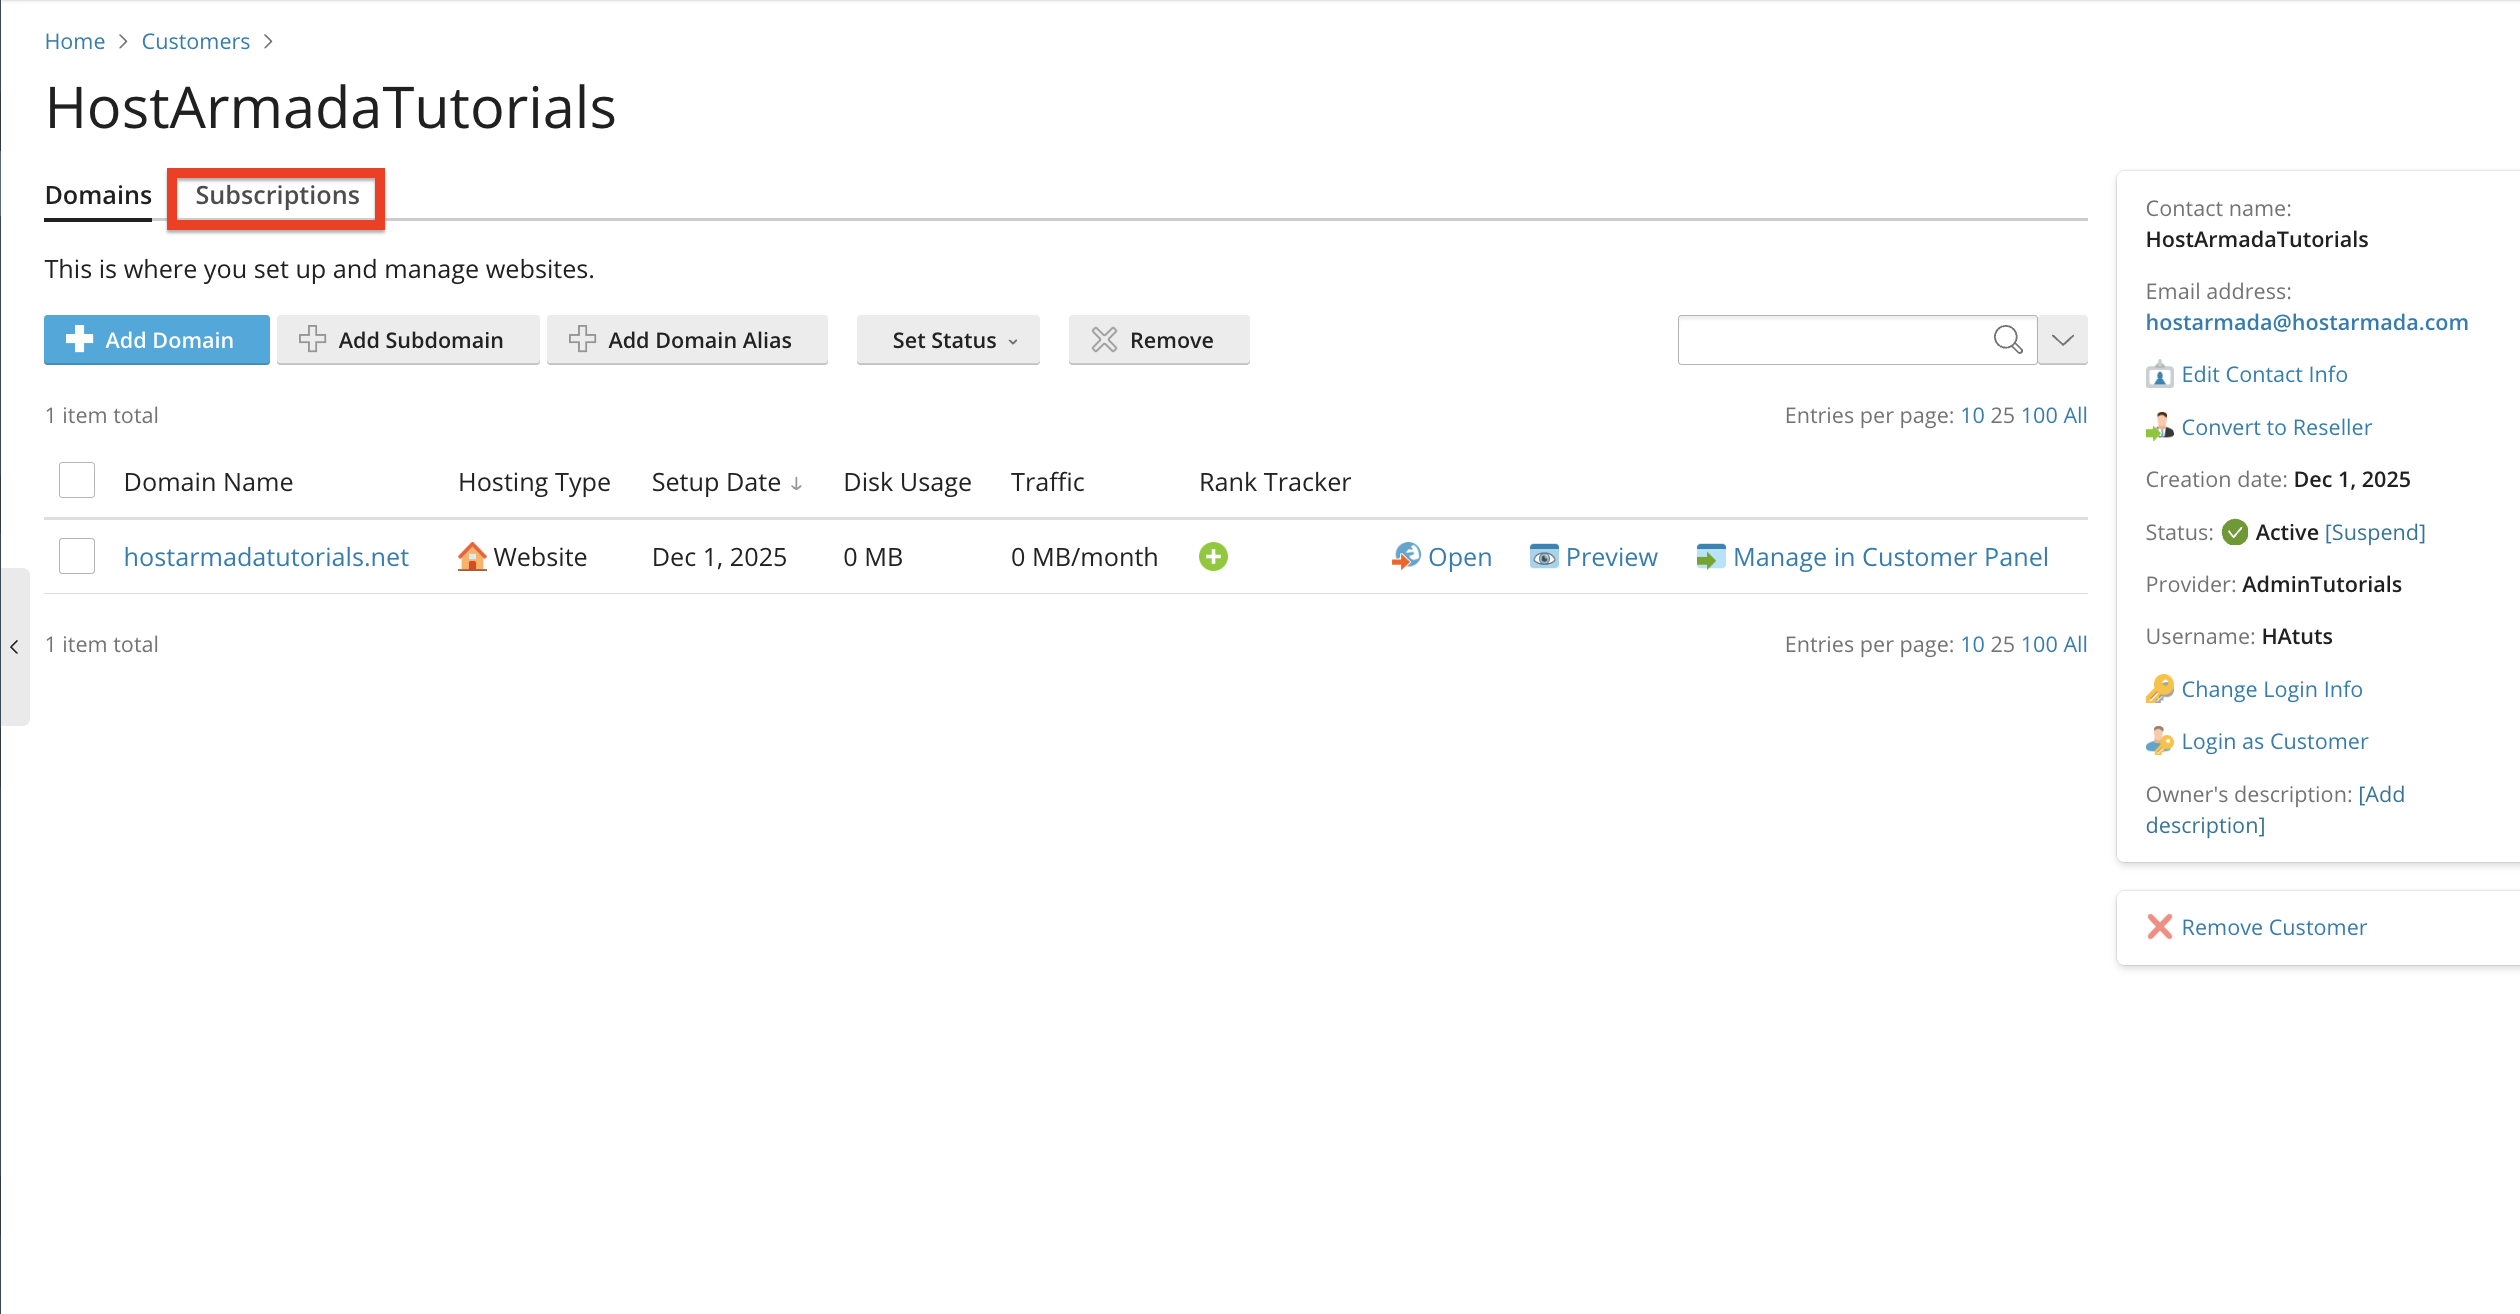
Subscriptions determine the domains, hosting settings, and resources a customer can use. To assign or modify a subscription, please click on the “Subscription” tab, located on the “Customers” Page.
Under the “Subscriptions” tab, you will see all your customers’ domains and their plans conveniently listed in a table section. To change a customer’s subscription, please select the customer itself using the checkbox on the left side of the table section, and then please click on the “Change Plan” button above the table section.

Performing the action above will redirect you to a page where you can change the subscription by using the drop-down menu to select the new one and then clicking on the “Ok” button underneath.

After clicking on the “Ok” button, the plan’s subscription will be changed, and you will be redirected to the previous page.
To update a customer’s details, go back to the “Customers” index page and, from there, focus on the far right side of the page, where you will see an area showing information about your customer. One of the options there is “Edit Contact Info”. Please click on it.

Clicking the “Edit Contact Info” link shown in the screenshot above takes you to a page where you can update the details we discussed in the previous paragraph.

This is useful for keeping records accurate or adjusting account access. Once you are done editing your customer’s details, please click on the “Apply” button to save them and remain on the same page, or click on the “OK” button to save the changes and be redirected to the previous page.
To temporarily disable or suspend a customer account (for example, because they have not paid their invoice). You can do that from the “Customers” page by selecting a customer using the checkbox on the left side of the table section, then choosing the “Change Status” drop-down menu at the top of the table section.

From the options on the drop-down menu, please select the “Suspend” one. Upon doing so, the page will refresh, and you will see the status of the account change in the table section.

If you wish to reactivate the customer again, please use the same path as above; however, instead of selecting the “Suspend” option from the drop-down menu, please select the “Activate” one instead. Suspension removes access to all subscriptions, websites, and services for that customer.
To permanently delete a customer, please mark the customer using the tickbox on the left side of the table section, and afterward, please click on the “Remove” button located above the table section.

Important: Removing a customer also deletes their domains, subscriptions, email accounts, and website data. Please be sure you want to remove the customer before proceeding. Make sure backups are created beforehand if necessary.
As you can see, Plesk provides a comprehensive and user-friendly interface for managing customers, their subscriptions, permissions, and account settings. Whether you're a hosting provider, reseller, or system administrator, Plesk allows you to maintain a clean, structured, and secure customer environment with ease.
We hope this tutorial was helpful, and we kindly encourage you to review customer accounts regularly to ensure they align with your service plans and resource allocations.

Nikola is an accomplished tech-savvy extraordinaire with over six years of experience in the web hosting field. He started as a customer care representative and quickly rose the ranks to become a support supervisor and, eventually - the head of the technical department in HostArmada. His deep understanding of the client's needs, combined with his technical knowledge, makes him the perfect man to create the ideal harmony between client satisfaction and professional problem-solving. You will often find him creating helpful tutorials, articles, and blog posts that help existing customers get around.
Learn more about Plesk in the other tutorials that we have:
