Domain names are an inseparable part of web hosting, serving as the foundation upon which webmasters, system administrators, and web enthusiasts build their online projects. Every domain added to Plesk comes with a range of hosting settings that allow you to control its core behavior - from setting its document root to configuring the preferred hosting type, enabling SSL, adjusting scripting options, and managing FTP/SSH access.
These settings are essential whether you’re setting up a new website, migrating one, or simply fine-tuning performance and security. Plesk offers a centralized interface that allows you to access and customize all these options quickly and efficiently.
In this tutorial, we’ll guide you through how to access and manage your domain’s hosting settings using the Plesk control panel.
Let’s get started!
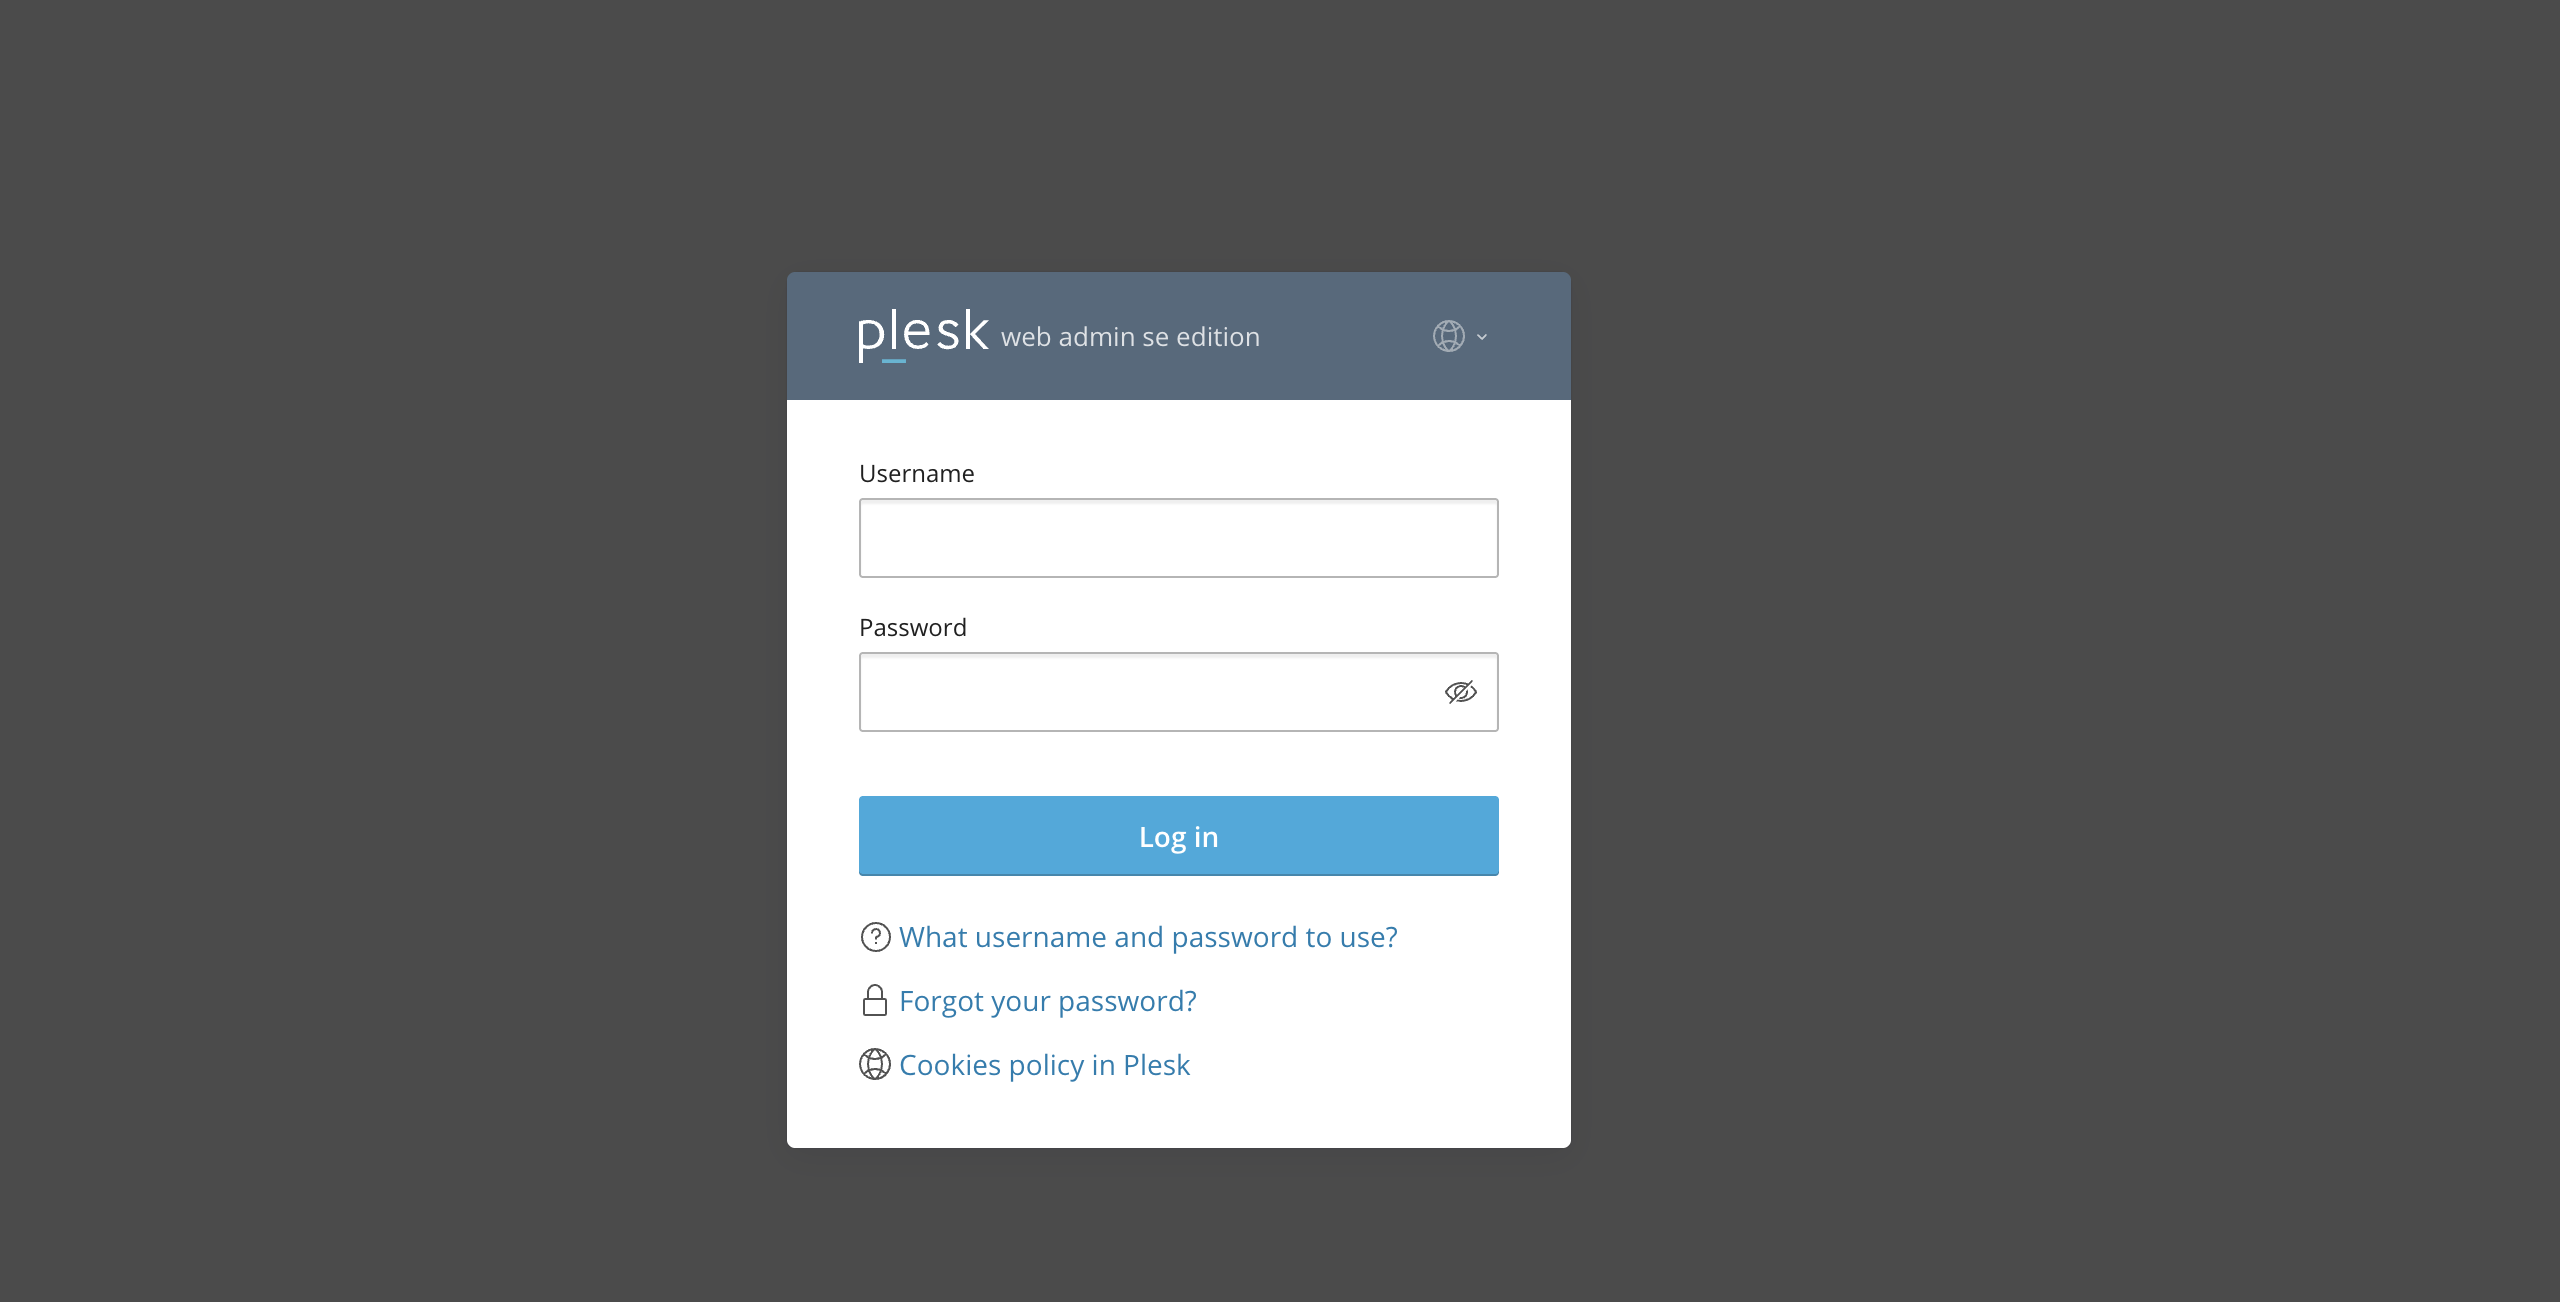
First and foremost, make sure you are logged in to your Plesk control panel. To perform that, please enter your IP address, hostname, or domain name inside your web browser’s search bar and add “:8443” at the end. It should look something like: “https://yourdomain.com:8443”. By doing so, you will be prompted by a login form that requests your username and password.
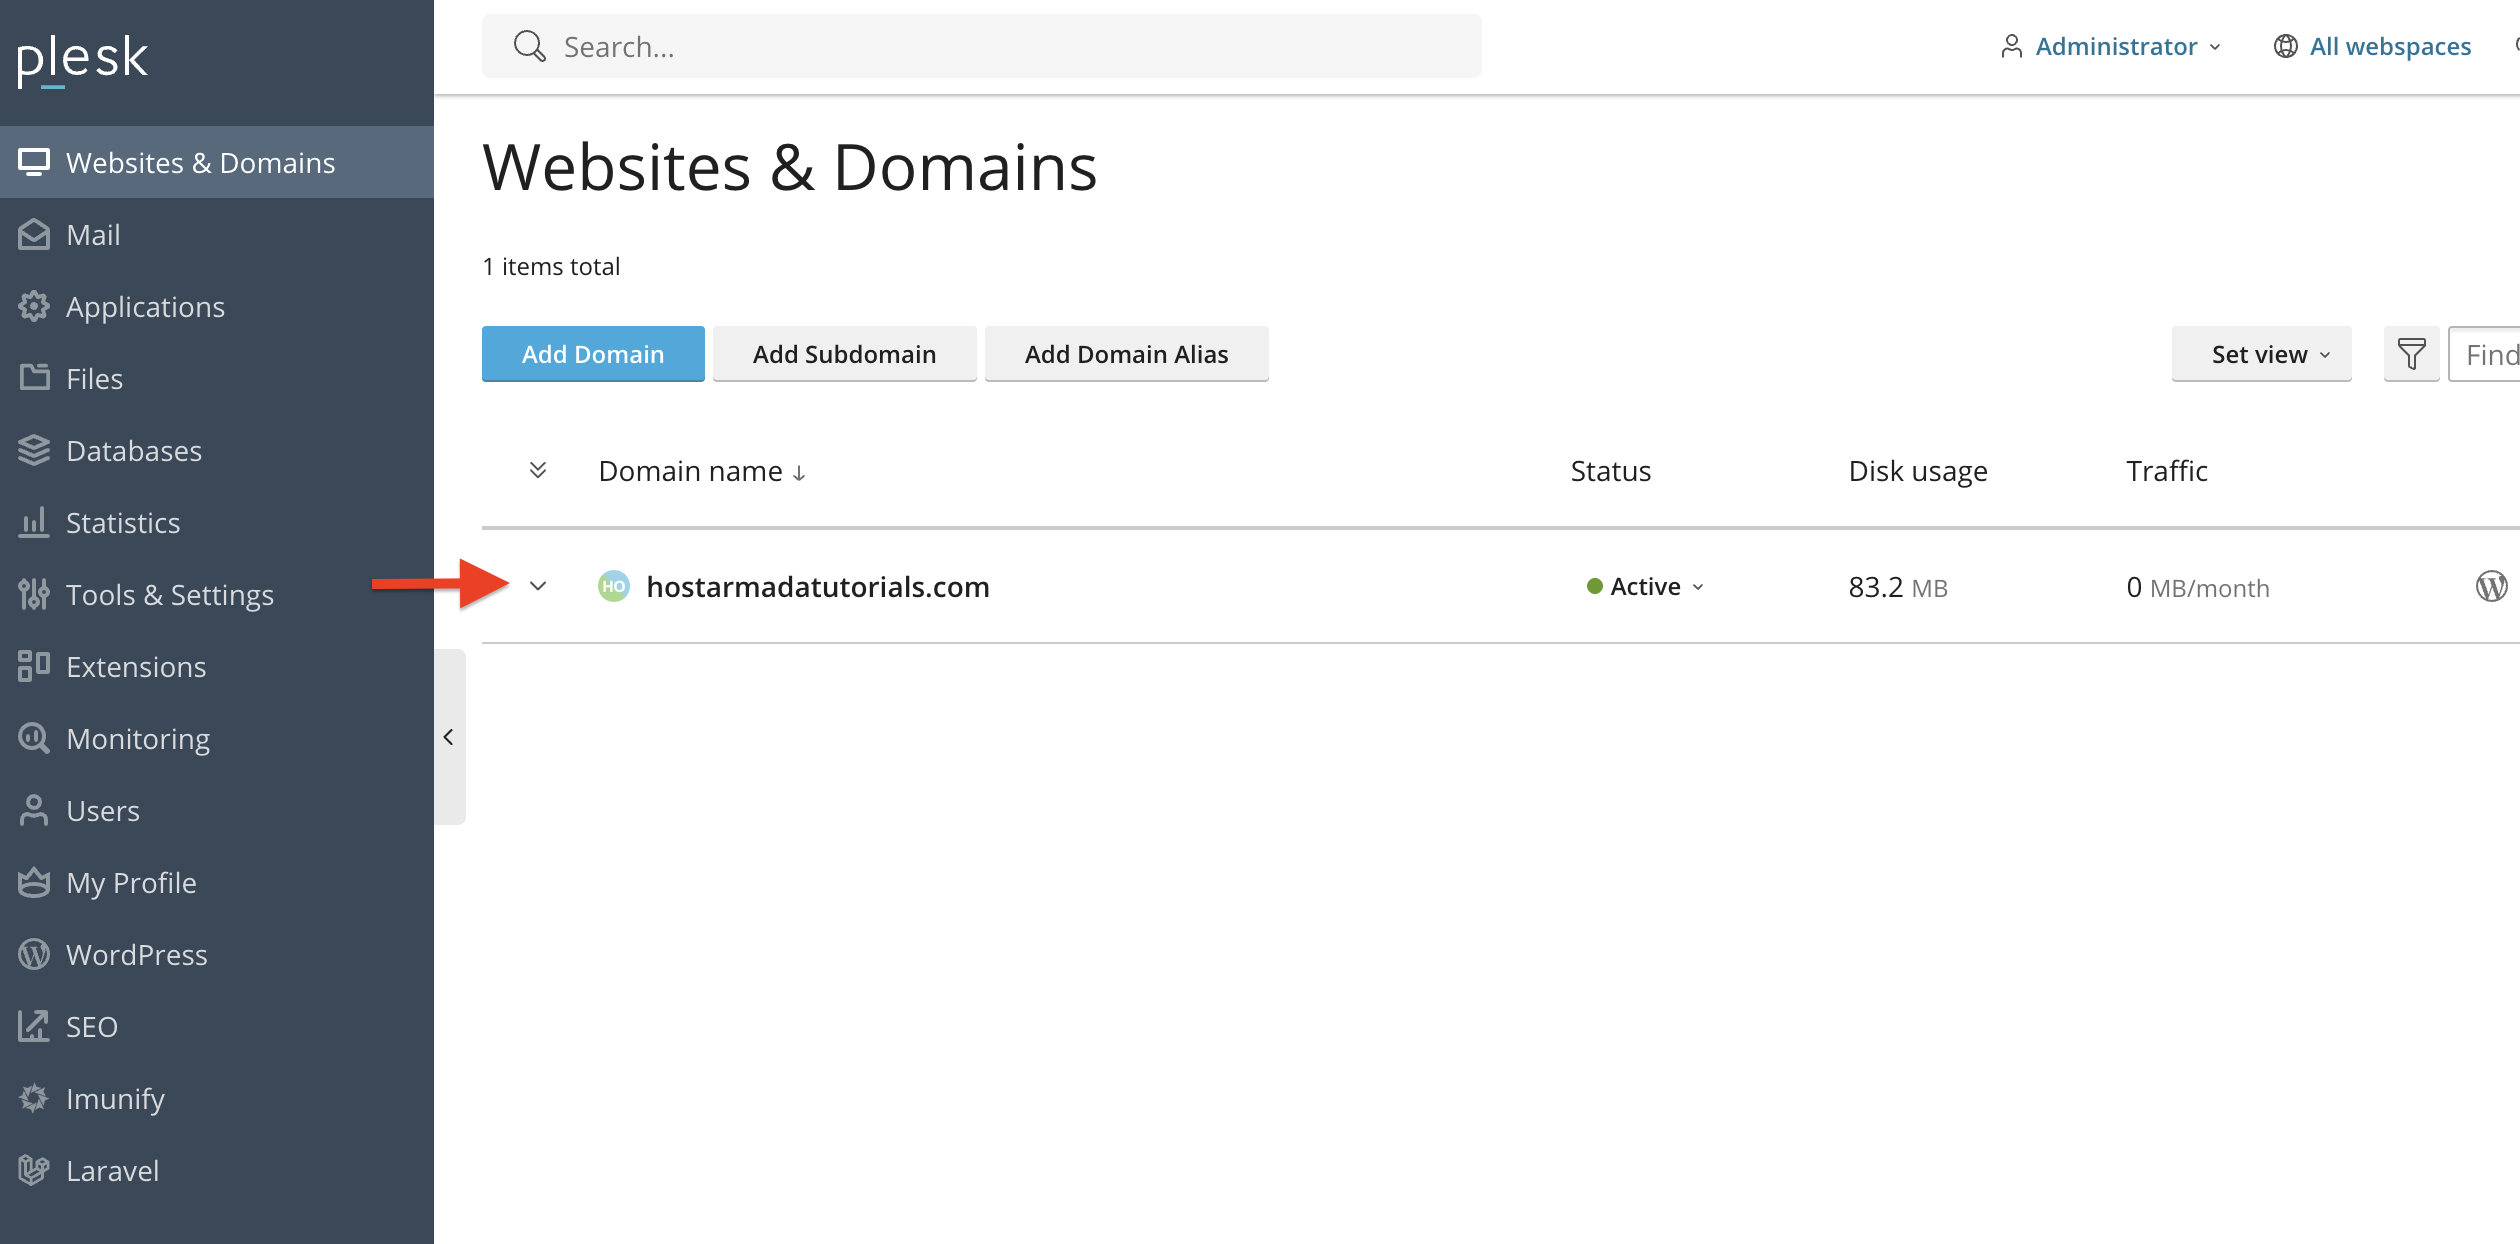
After logging in with your username and password, Plesk will automatically display the “Websites & Domains” page, which will serve as the index page from where you can manage everything related to your websites and domains on Plesk.
From the index page, please expand the drop-down menu corresponding to the domain name you want to edit the “Hosting Settings” for.
After performing the action above, and the menu is expanded, please click on the “Hosting & DNS” tab, located in the middle area of your screen.
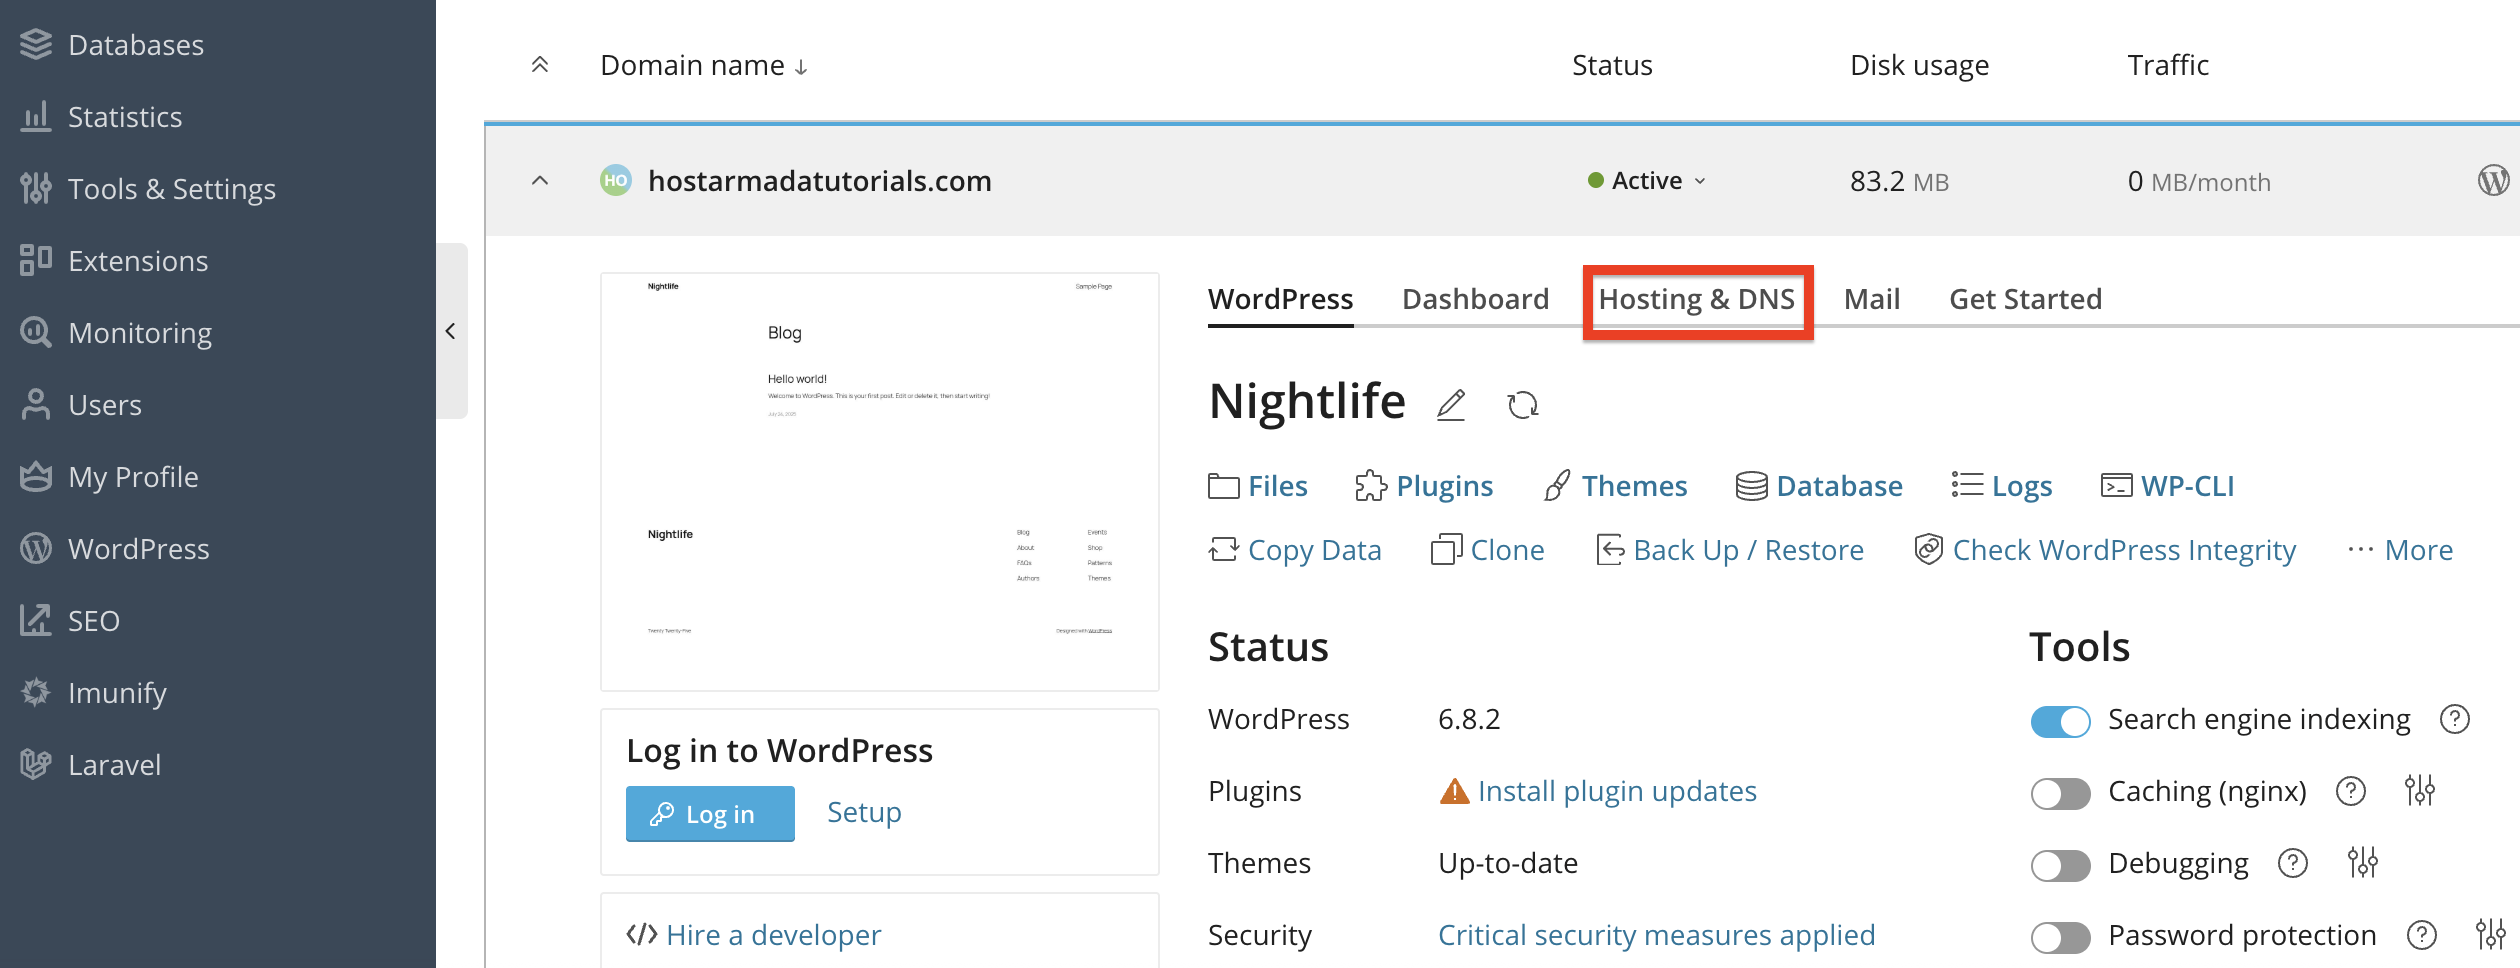
Click on the “Hosting & DNS” tab to reveal the options under it. Please click on the “Hosting” functionality.
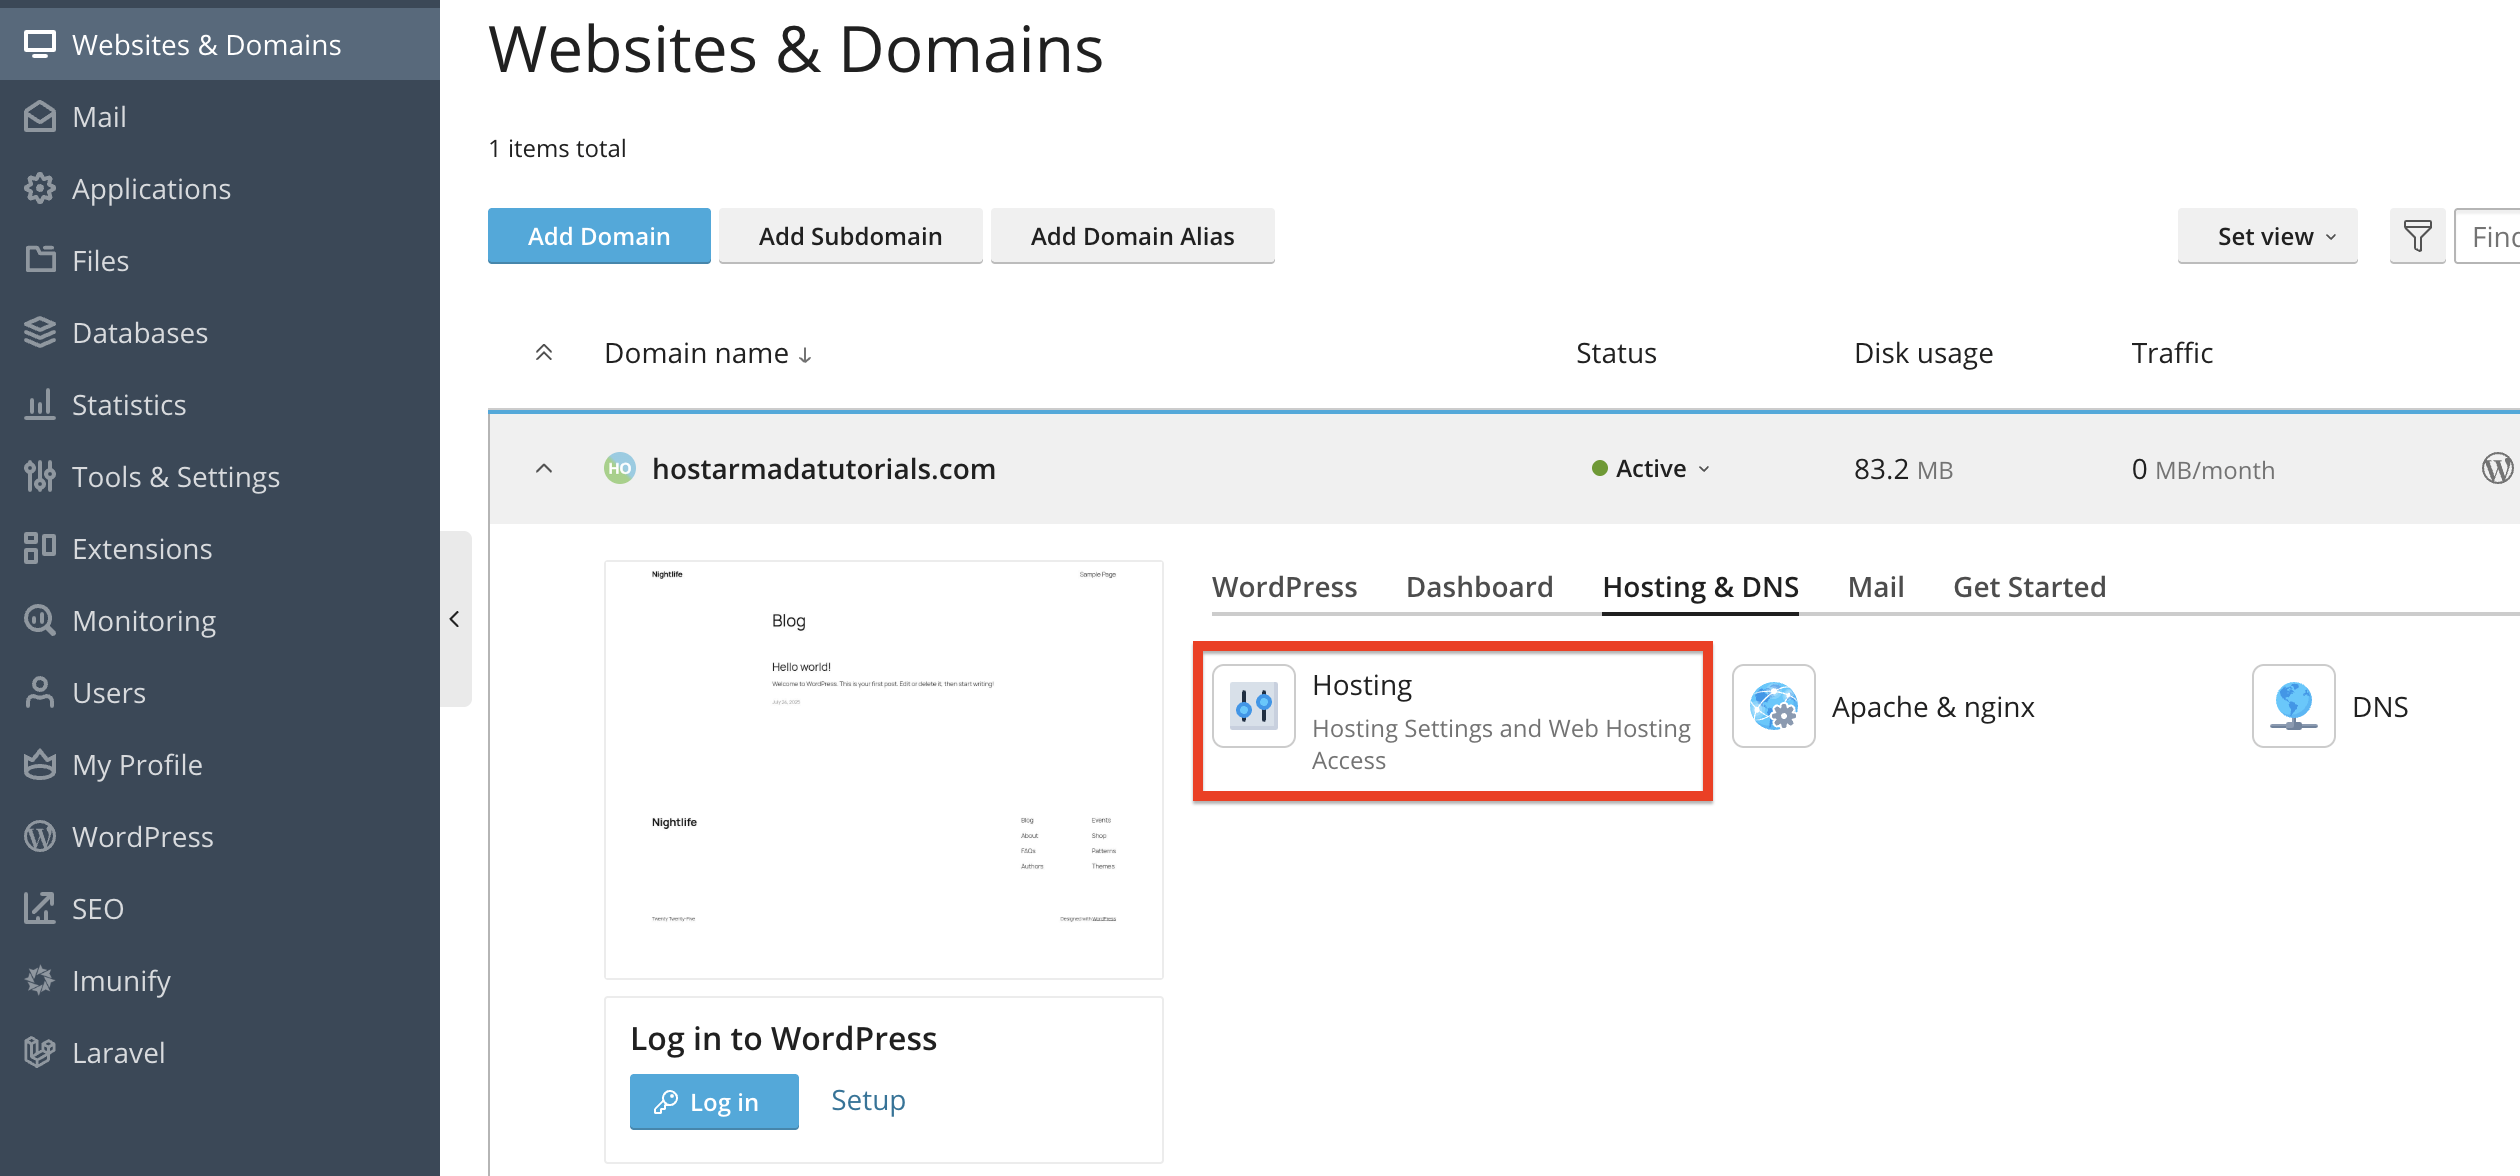
Performing the action above will expand a side menu from the left side of the screen, which will contain all the available hosting settings for your domain.
Let’s go over them one by one and explain what each one does.
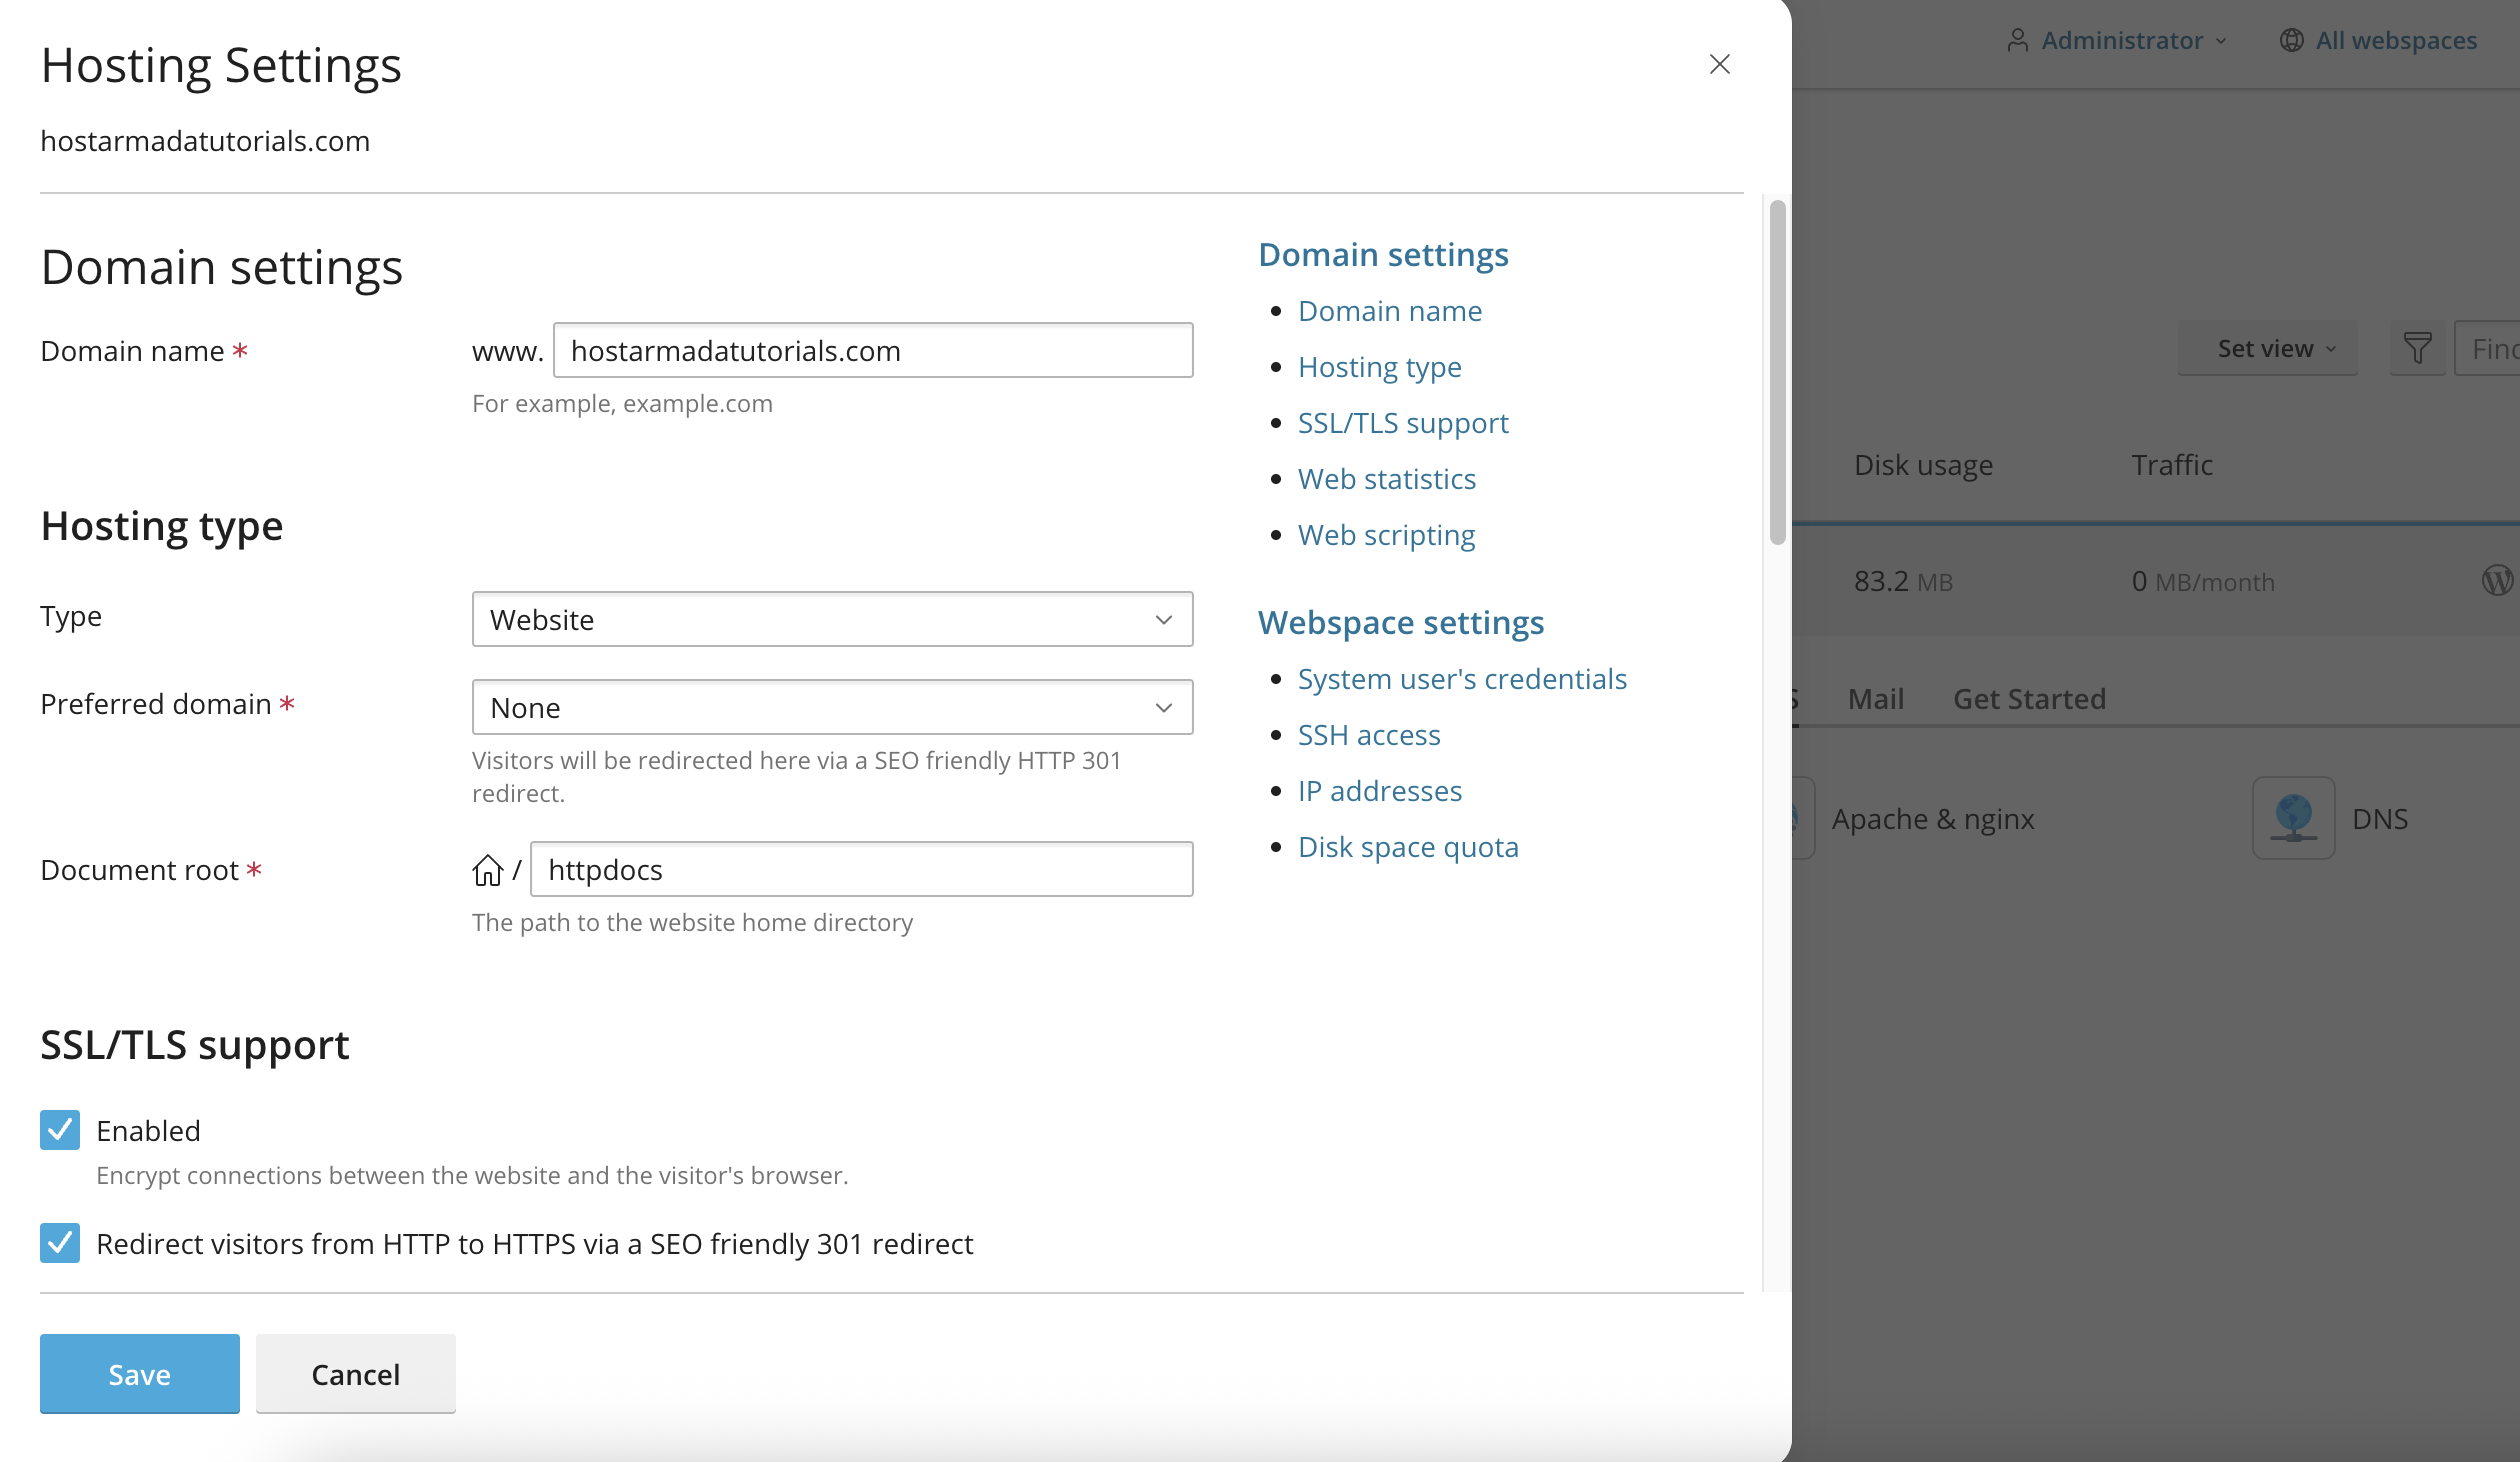
The hosting settings page is divided into two sections: domain settings and webspace settings.
Under this category, you can modify your domain names, including the actual domain name, its hosting type, document root, and SSL settings.
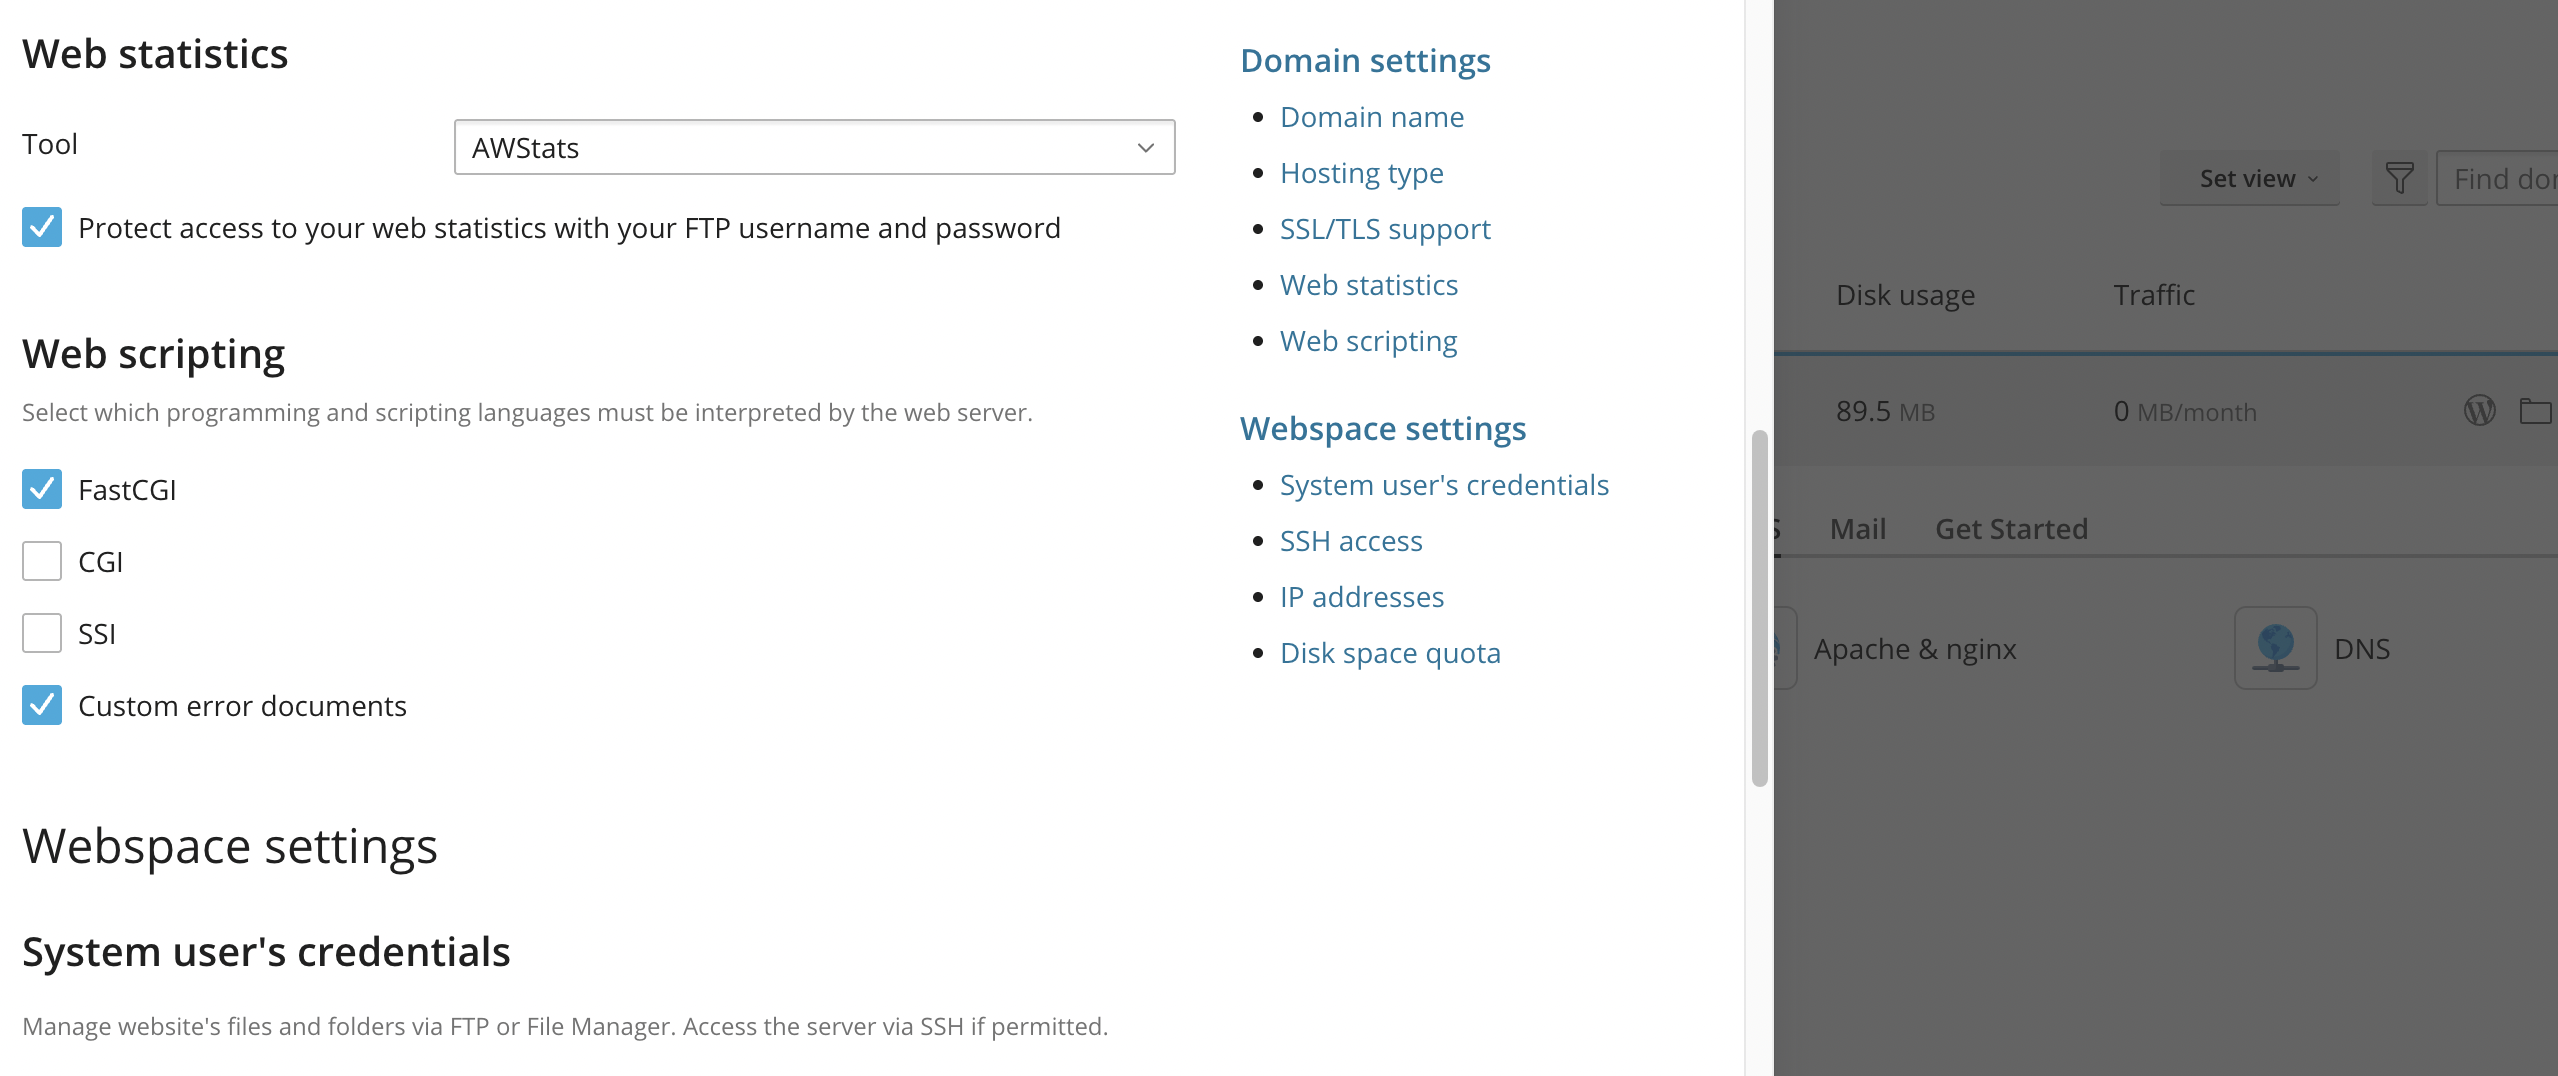
Web Statistics & Web Scripting

Once you are done selecting or typing in all your settings, please click on the blue “Save” button at the bottom left corner of the side menu.
Plesk’s hosting settings give you precise control over how your domain functions, from basic configurations like root folders and HTTPS to advanced settings like scripting support and user permissions.
By using the tools available in the Hosting Settings panel, you can tailor your domain’s behavior to meet your exact requirements, whether for development, production, or testing.
Now that you’re familiar with the interface, managing your domain’s environment has never been easier.

Nikola is an accomplished tech-savvy extraordinaire with over six years of experience in the web hosting field. He started as a customer care representative and quickly rose the ranks to become a support supervisor and, eventually - the head of the technical department in HostArmada. His deep understanding of the client's needs, combined with his technical knowledge, makes him the perfect man to create the ideal harmony between client satisfaction and professional problem-solving. You will often find him creating helpful tutorials, articles, and blog posts that help existing customers get around.
Learn more about Plesk in the other tutorials that we have:
