Databases are the backbone of many websites and web applications nowadays. It is used to securely store information that will be used by your website, whenever someone performs a task on it or simply strolls around on it, marveling at your content! Whether you’re running a CMS like WordPress, an e-commerce store, or a custom app built using either PHP or another programming language, chances are your website relies on a database to function properly. In this tutorial, we’ll walk you through the basic database management features in Plesk. These include accessing your website’s database, changing its name and user names, accessing phpMyAdmin, and figuring out your database server.
By the end of this tutorial, you’ll be well-equipped to confidently access and perform basic actions on your site’s database directly from your Plesk control panel. Let’s dive in!
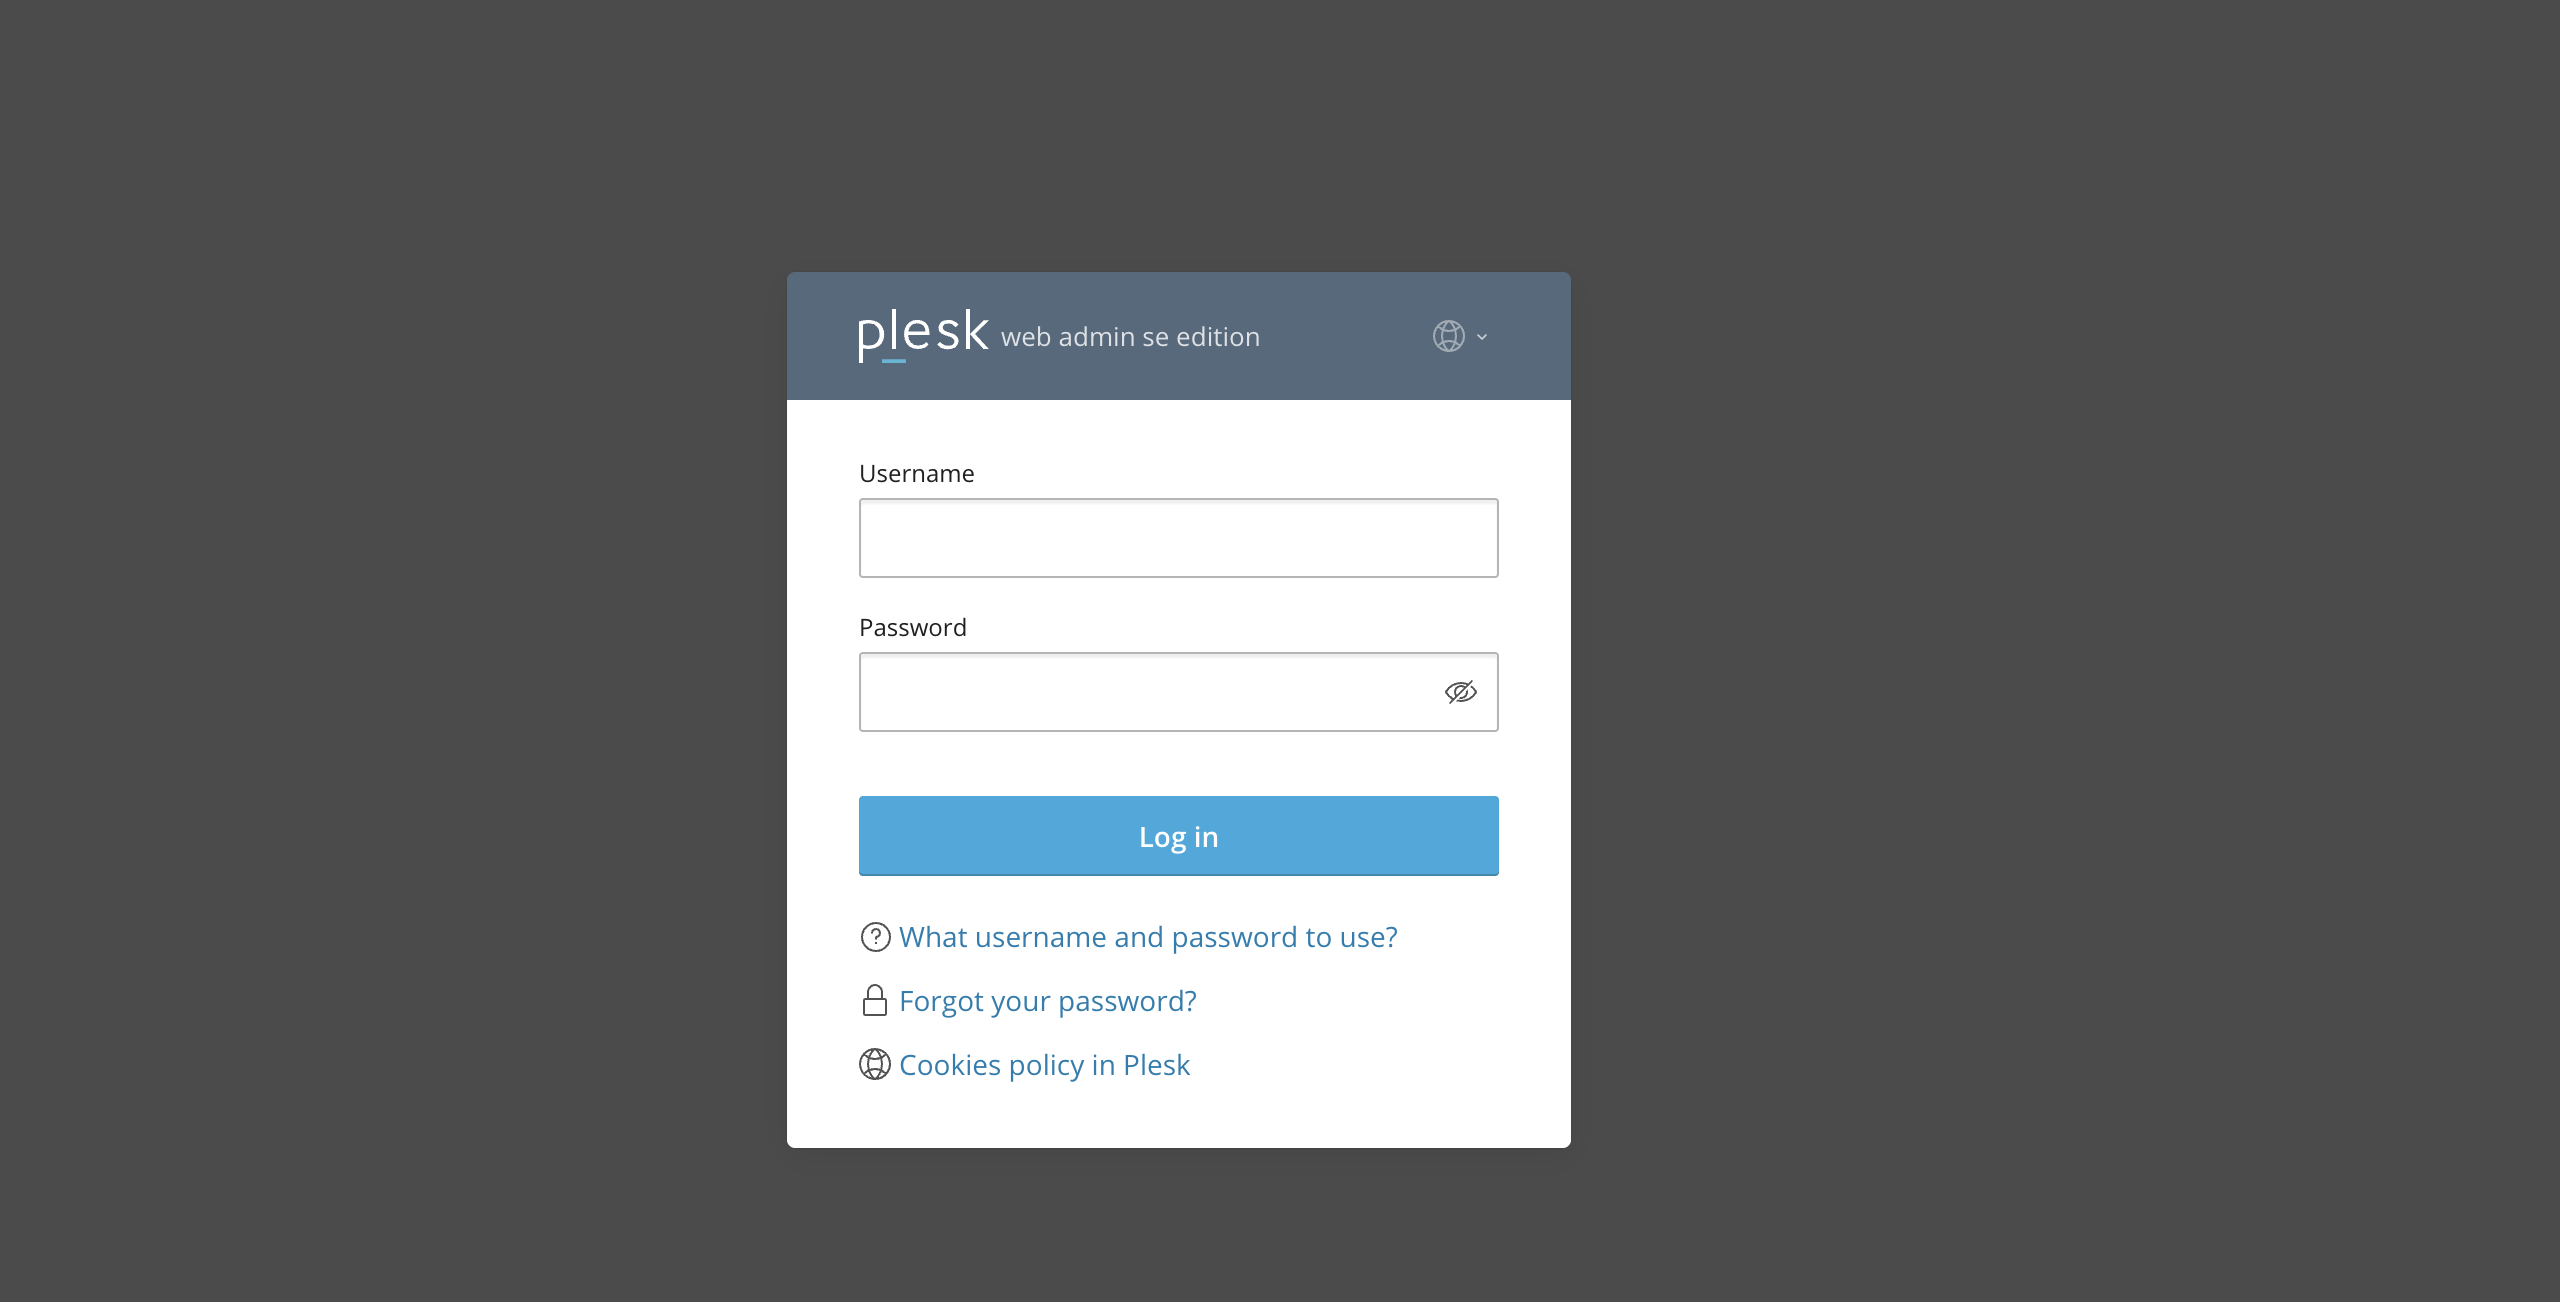
First and foremost, make sure you are logged in to your Plesk control panel. To perform that, please enter your IP address, hostname, or domain name inside your web browser’s search bar and add “:8443” at the end. It should look something like: “https://yourdomain.com:8443”. By doing that, you will be prompted by a login form requesting your username and password.
After logging in with your username and password, Plesk will automatically display the “Websites & Domains” page, which will be your index page from where you can manage everything related to your websites and domains on Plesk.
From the displayed table section, please click on the drop-down menu on the far left side.
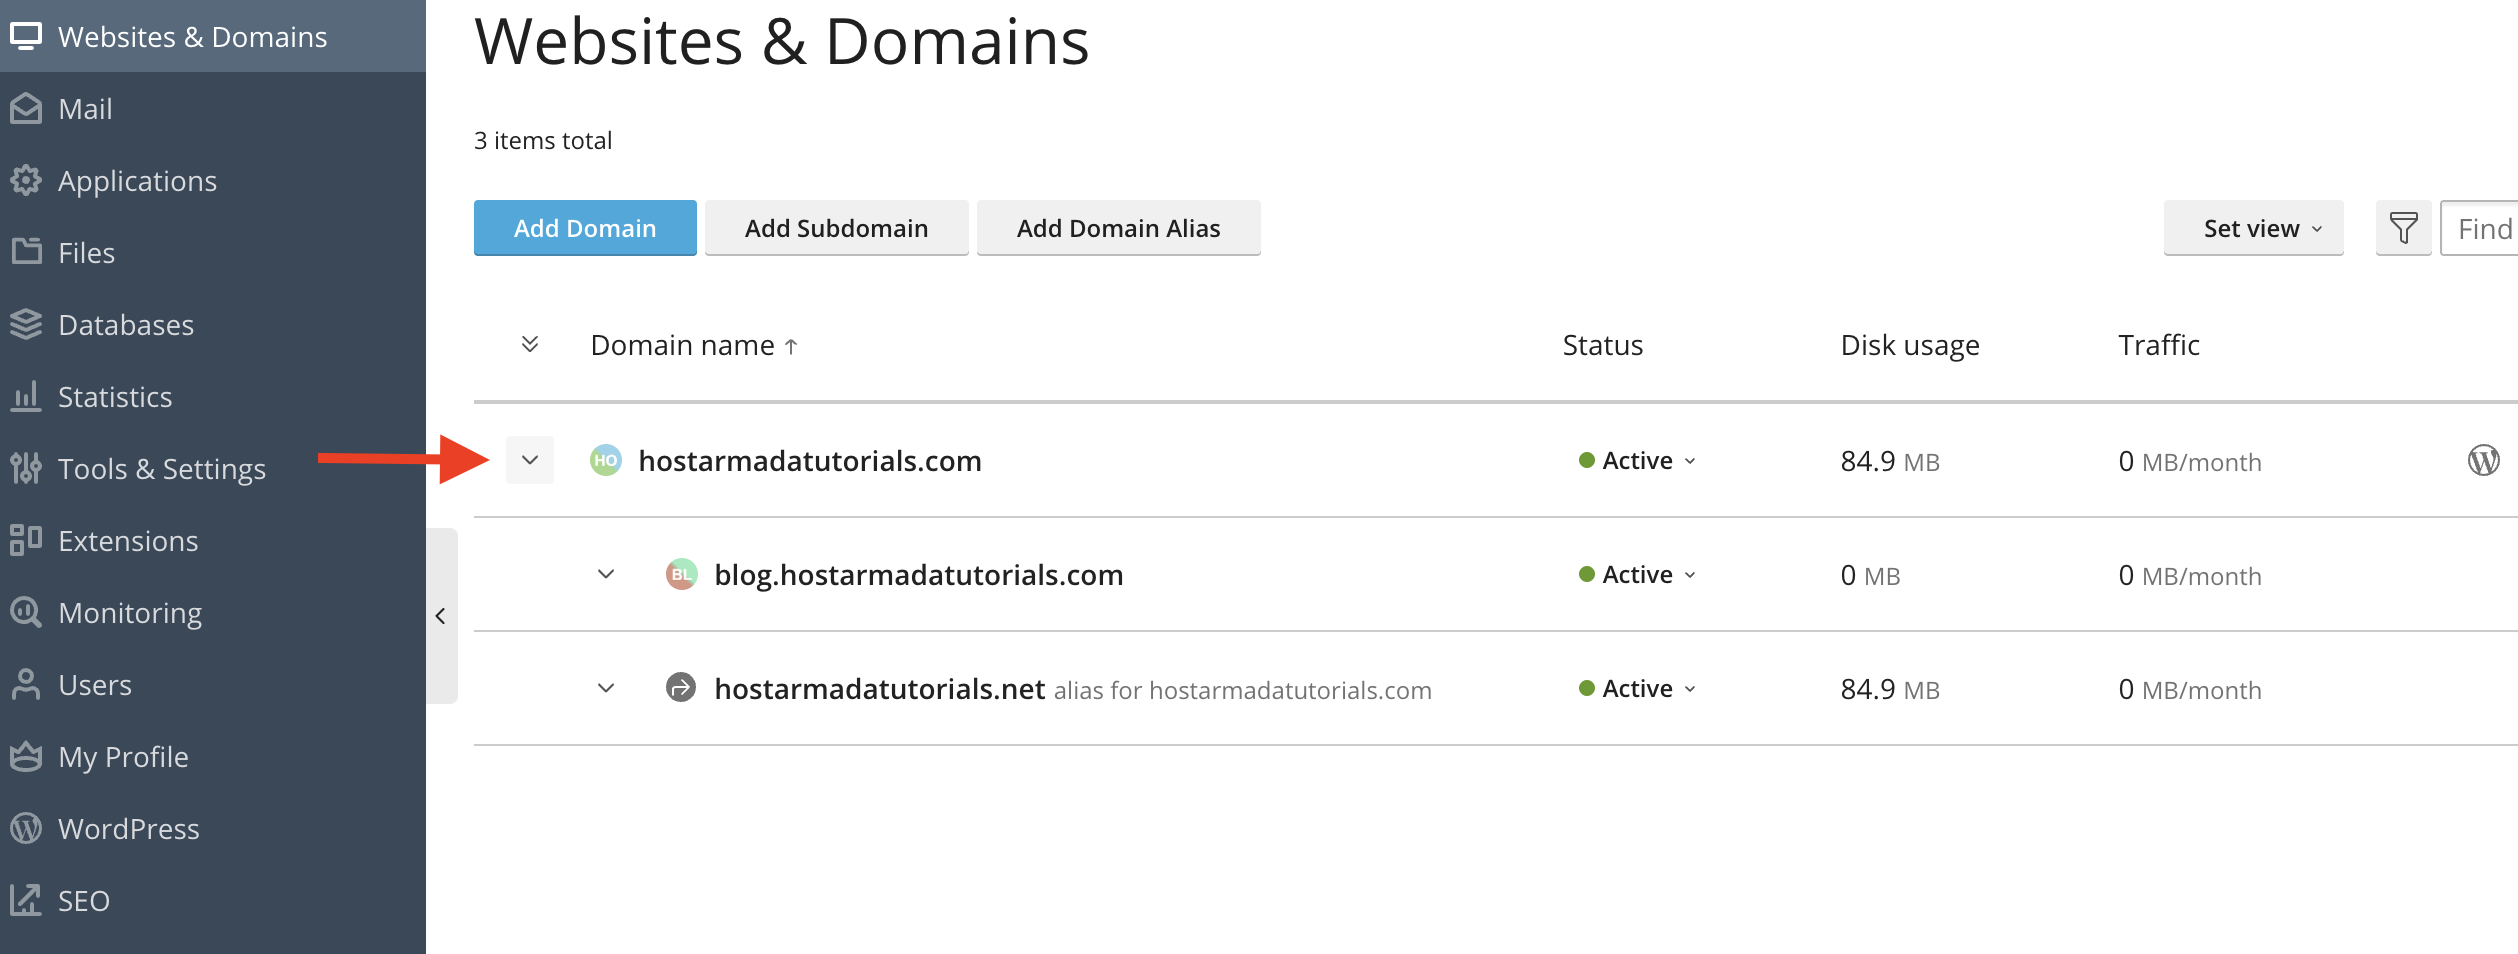
Performing this action will expand all the available actions you can do with your website. To access the website’s database, please click on the “Database” link, located in the middle of your screen.
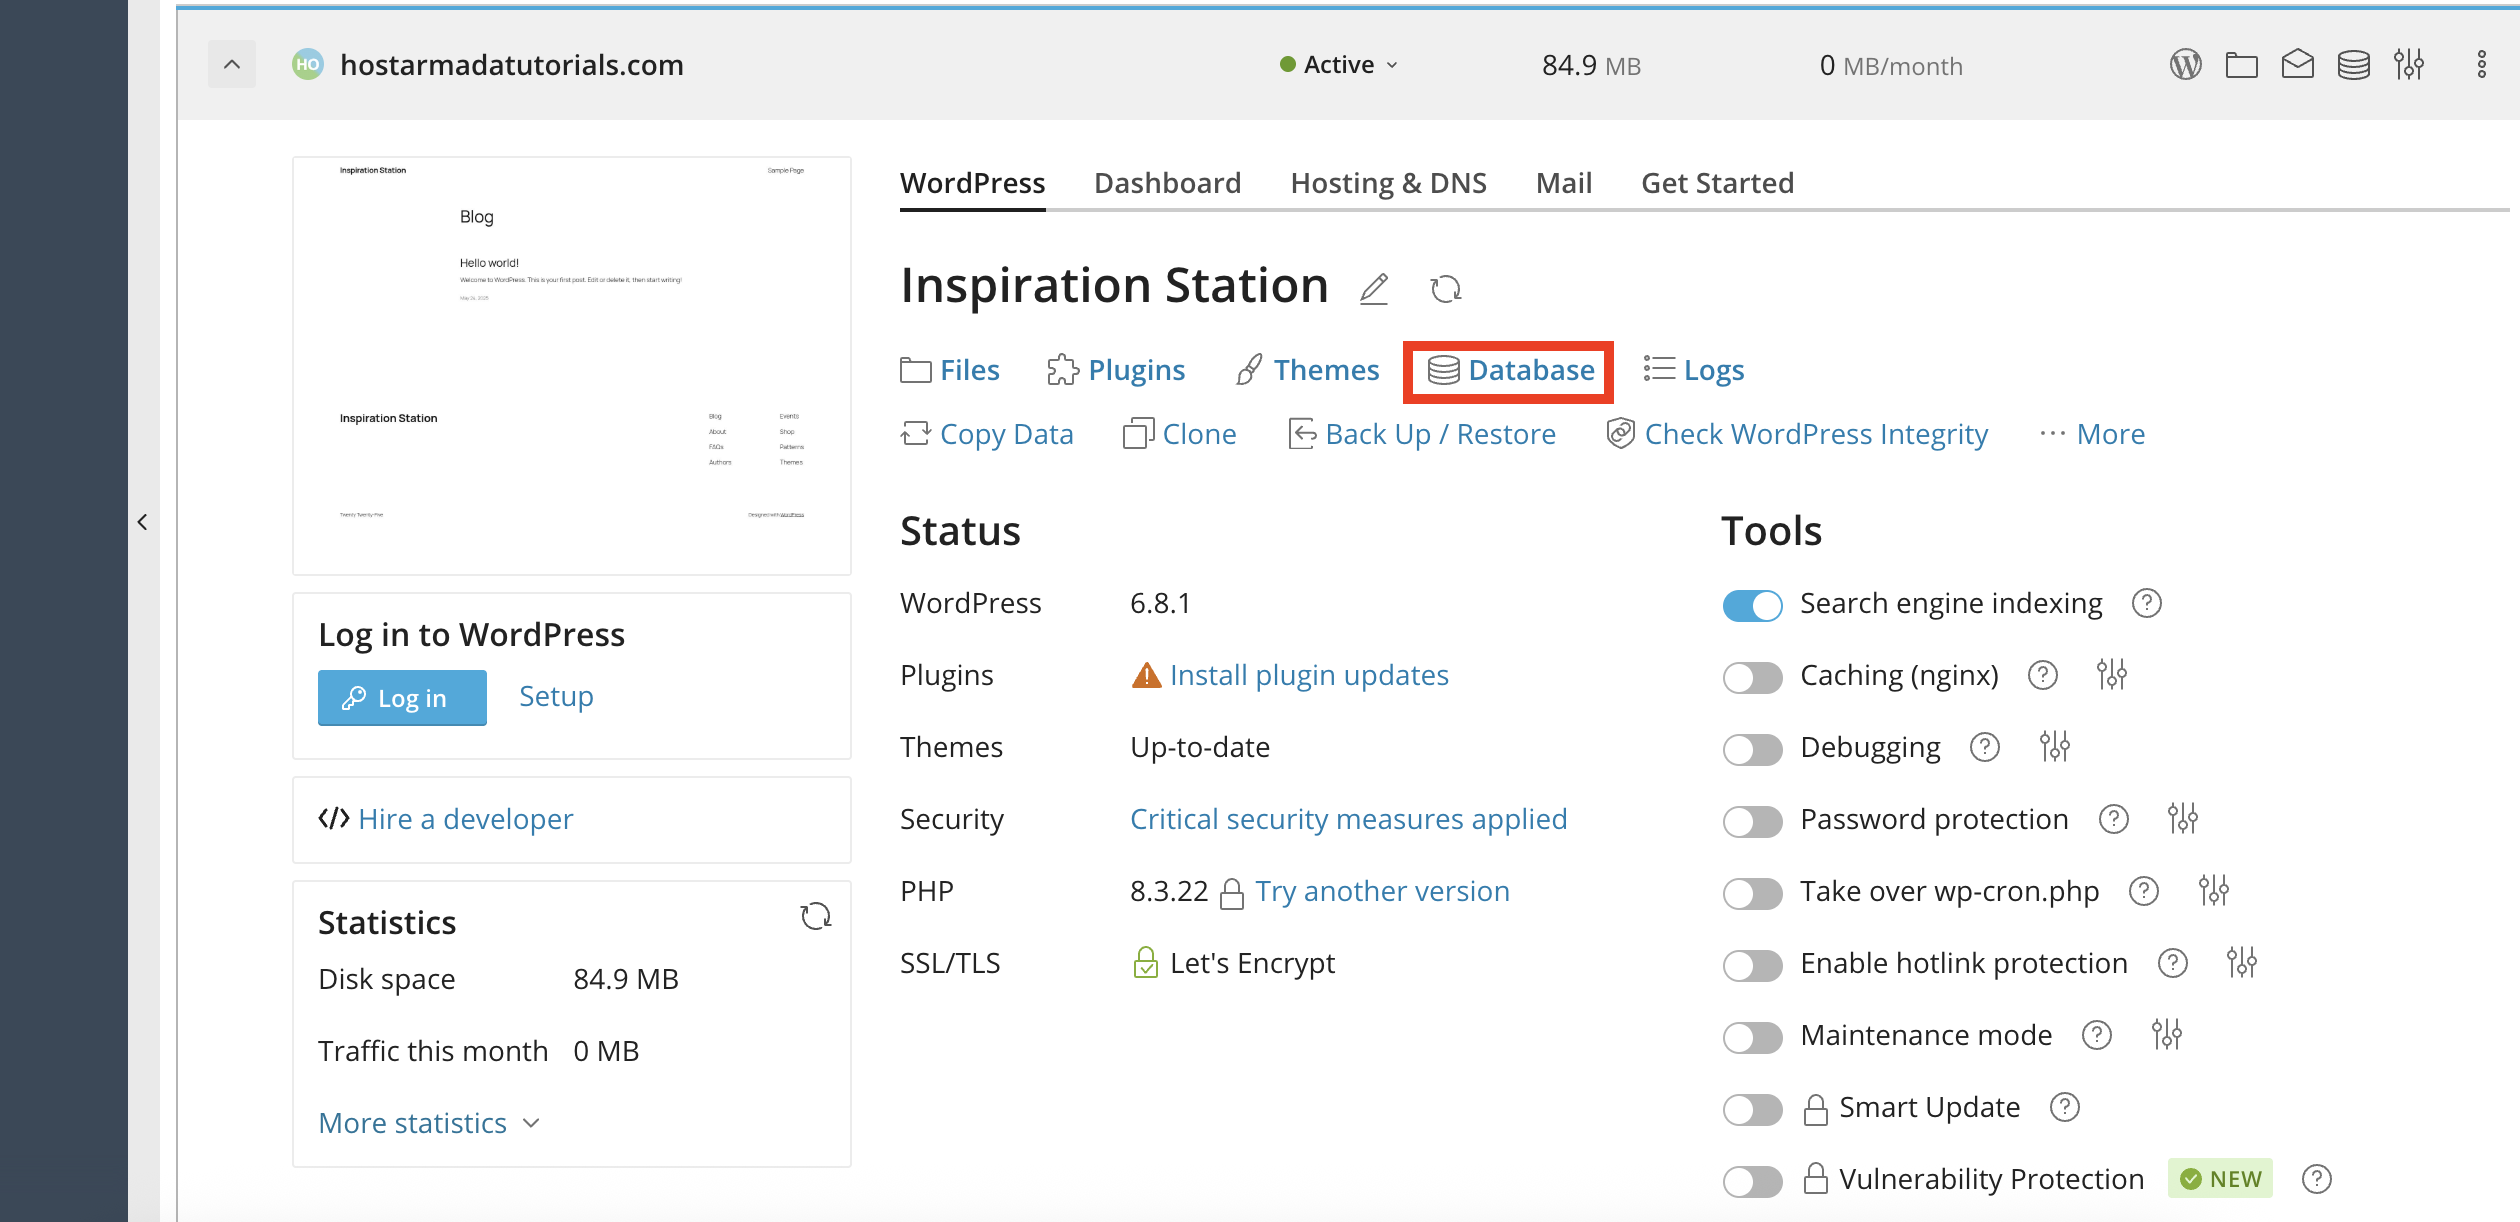
Hint: You can please “Ctrl + F” or “Command + F” on a MacBook to easily locate it!
Upon clicking on the “Database” link, a side pop-up window will appear with information about your website’s database, along with a few basic actions you can perform with it.
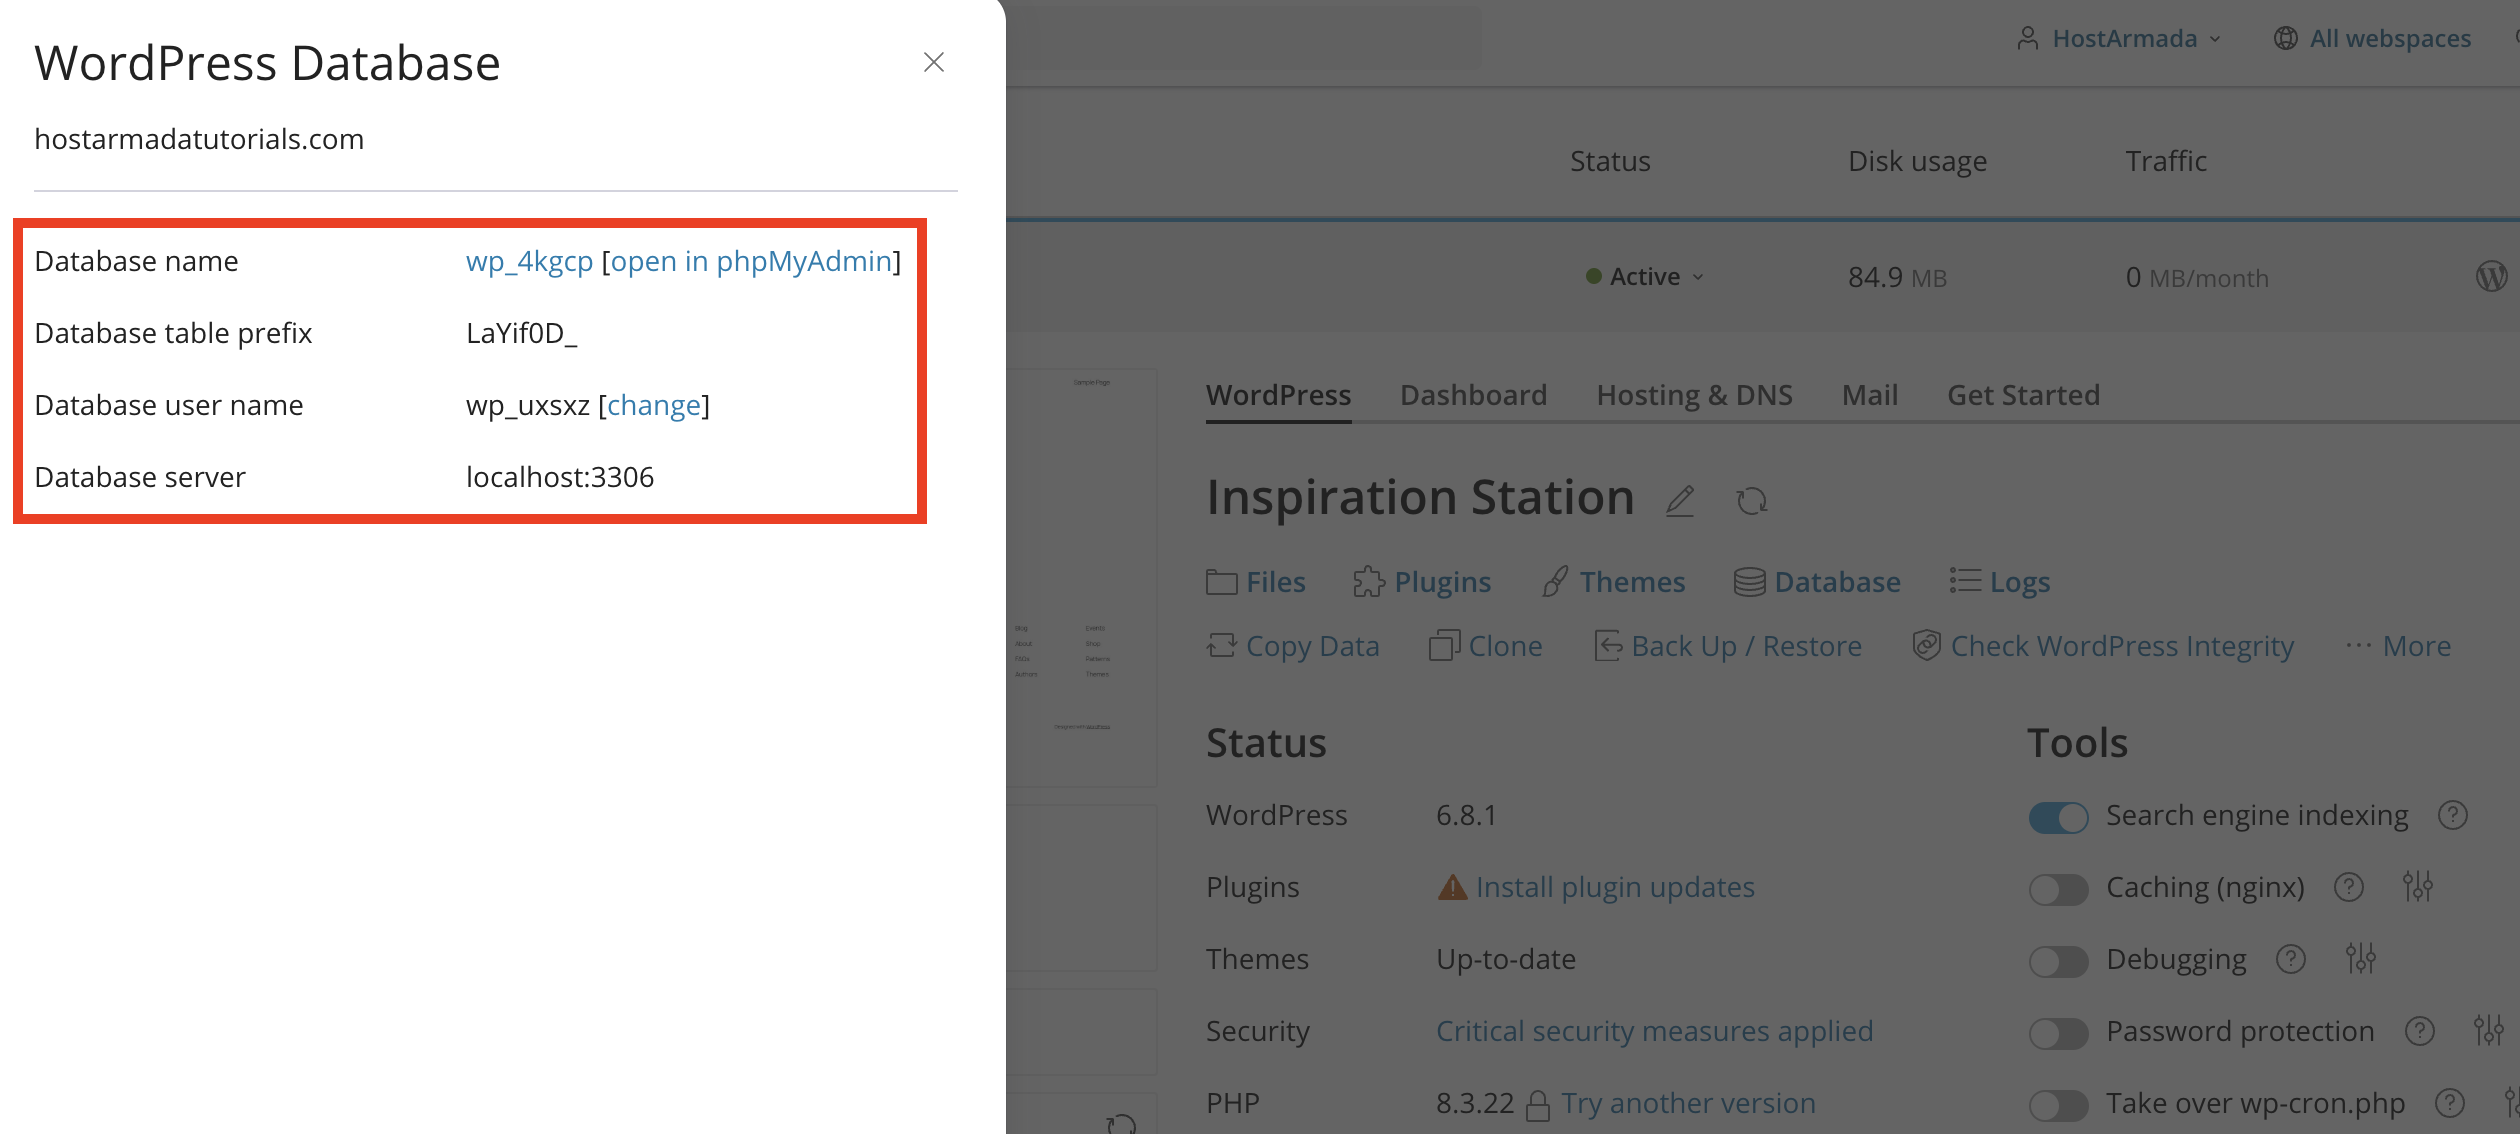
Let’s go over them.
These were all the actions that are available to manage your website’s existing database. In future tutorials, we wil be doing additional tutorials that go more in-depth about creating, deleting, exporting, and importing.
Accessing and performing basic actions on your website’s database in Pleks has never been easier with the guidance of this tutorial. Hopefully, our information was straightforward, and you could confidently follow it through. For more related tutorials, please make sure to check our Pleks tutorial section!

Nikola is an accomplished tech-savvy extraordinaire with over six years of experience in the web hosting field. He started as a customer care representative and quickly rose the ranks to become a support supervisor and, eventually - the head of the technical department in HostArmada. His deep understanding of the client's needs, combined with his technical knowledge, makes him the perfect man to create the ideal harmony between client satisfaction and professional problem-solving. You will often find him creating helpful tutorials, articles, and blog posts that help existing customers get around.
Learn more about Plesk in the other tutorials that we have:
