Git is one of the most widely used version control systems, allowing you to manage your website’s source code efficiently. Whether you are working alone or collaborating with a team, Git provides an organized and secure way to track changes, deploy updates, and maintain your project’s development history.
Plesk includes a built-in Git integration tool that allows you to connect your website to either a local Git repository or a remote repository hosted on platforms such as GitHub, GitLab, or Bitbucket. With just a few clicks, you can pull changes, deploy updates, and automate your publishing workflow directly from the control panel.
In this tutorial, we will explain how to use both local and remote Git repositories on Plesk.
First and foremost, make sure you are logged in to your Plesk control panel. To perform that, please enter your IP address, hostname, or domain name inside your web browser’s search bar and add “:8443” at the end. It should look something like: “https://yourdomain.com:8443”. By doing so, you will be prompted by a login form that requests your username and password.

After logging in with your username and password, Plesk will automatically display the “Websites & Domains” page, which will serve as the index page from where you can manage everything related to your websites and domains on Plesk.
Once you are inside Plesk, you can proceed with connecting and managing your Git repositories.
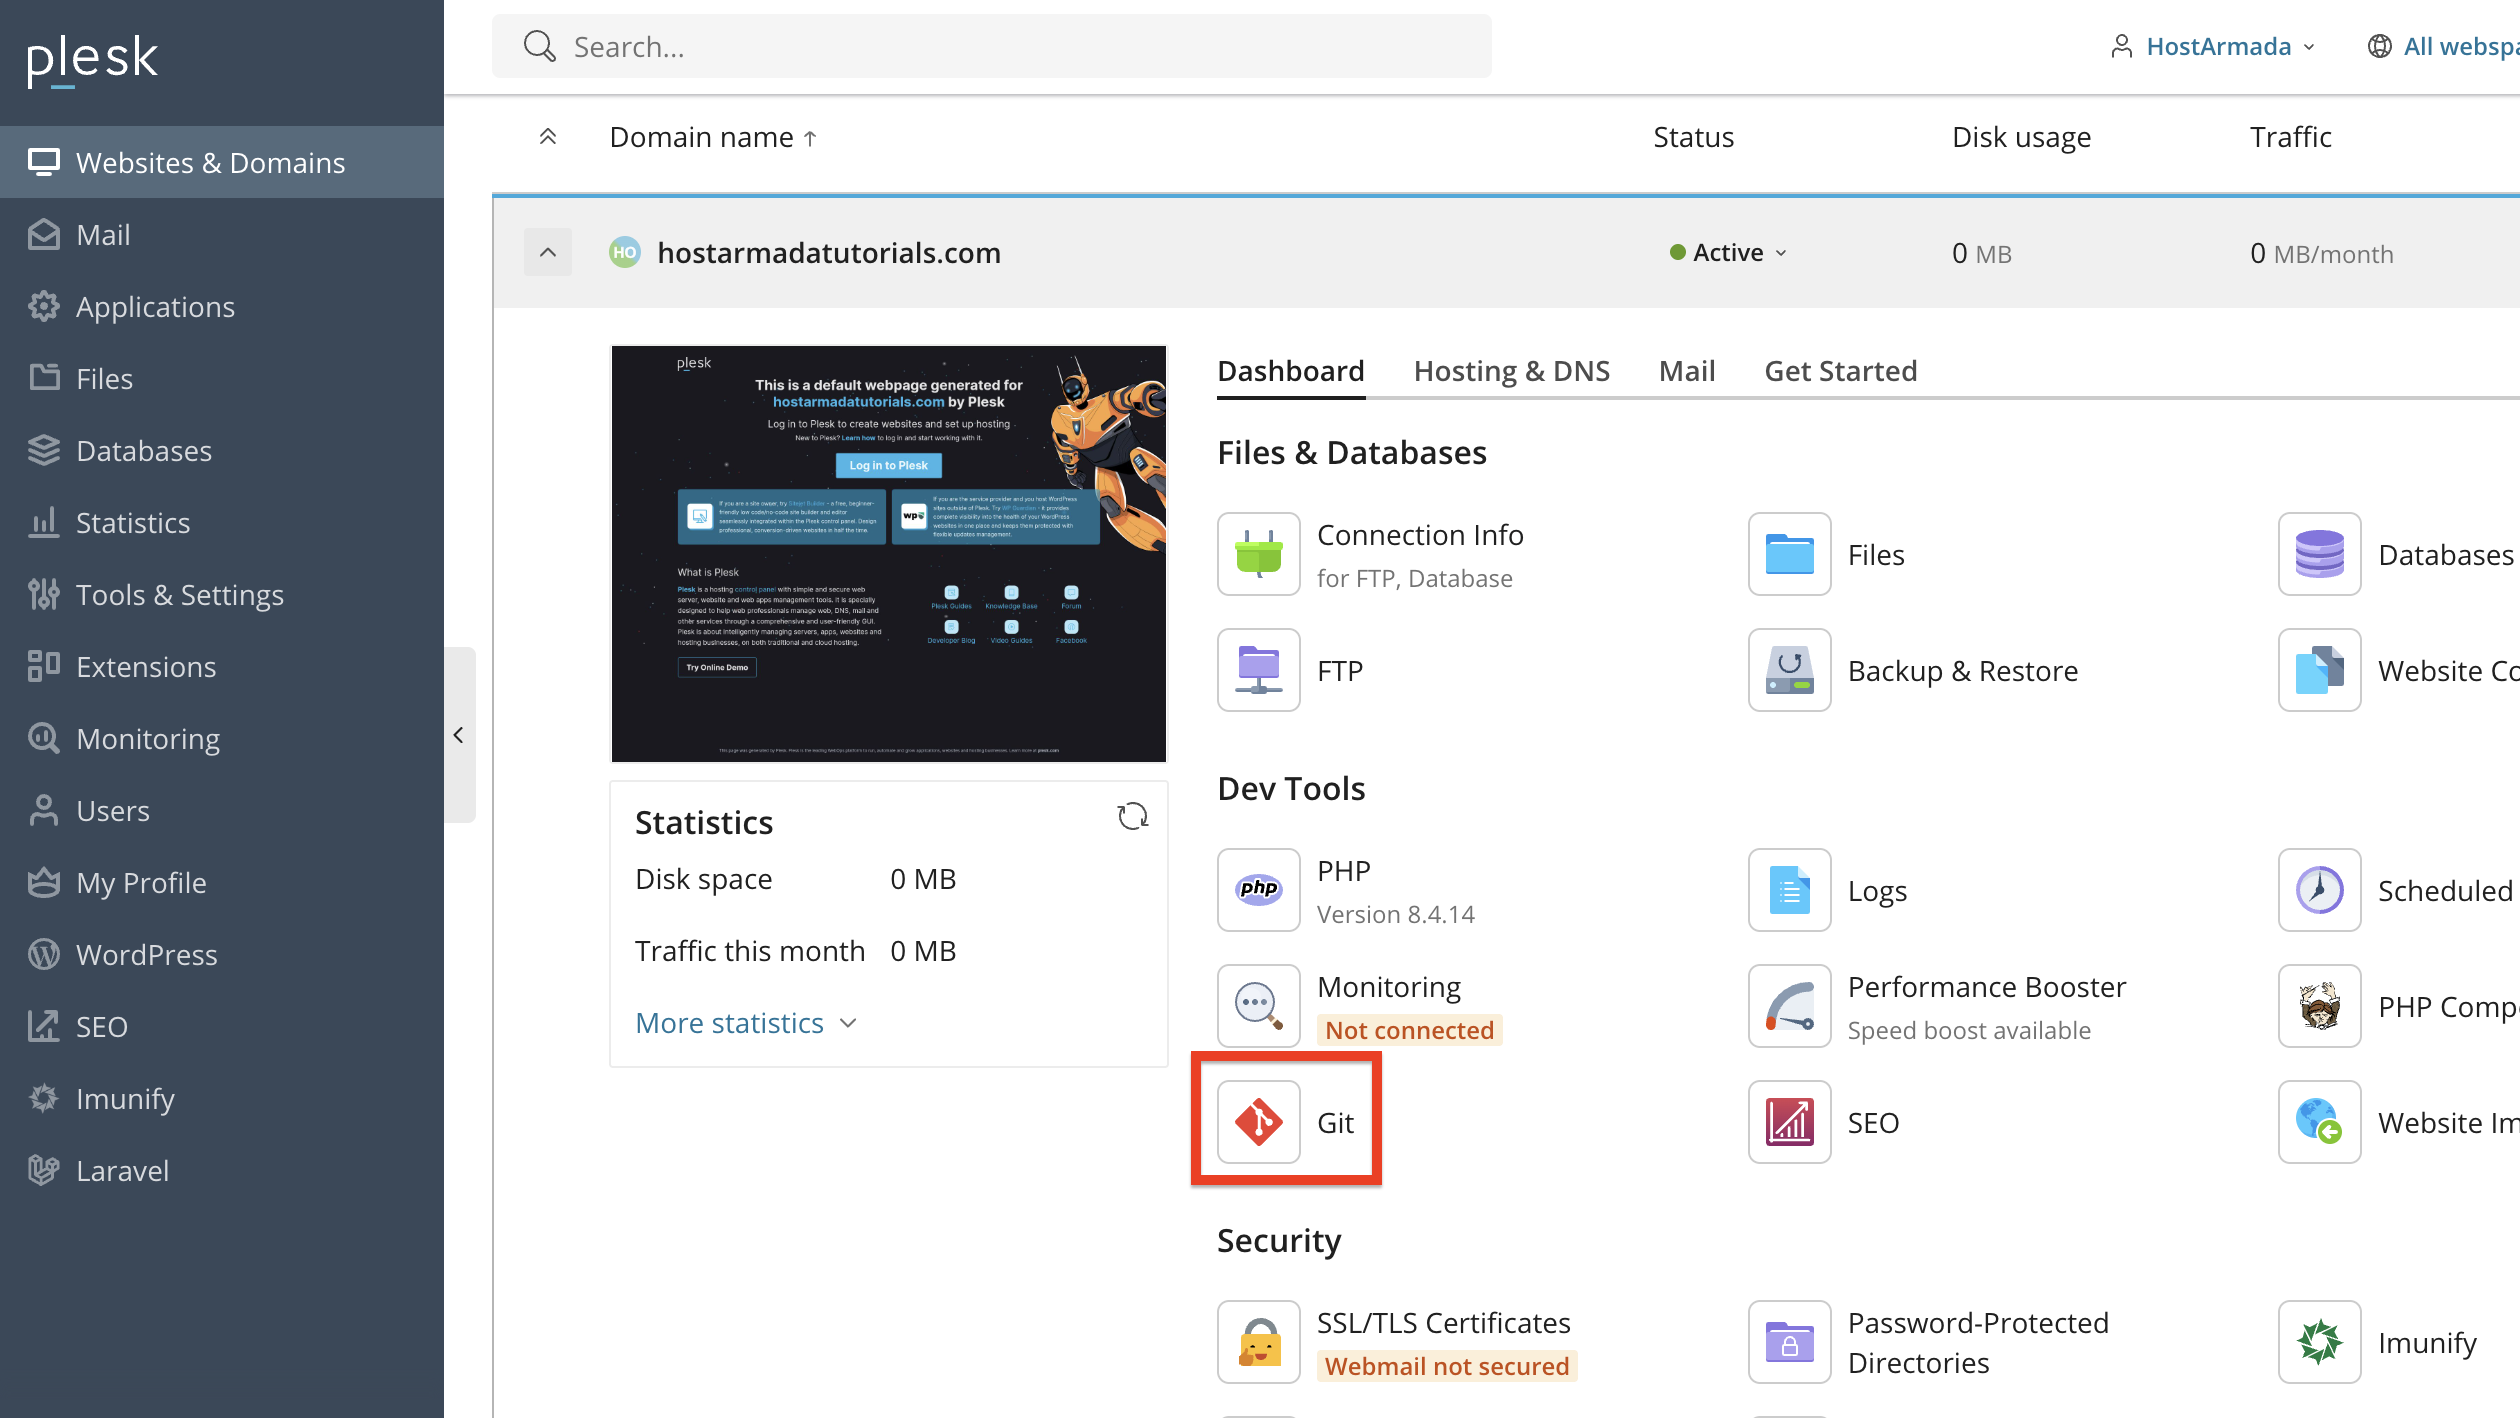
From the index page, please expand the drop-down menu corresponding to the domain name you want to configure Git repositories for.

After performing the action above, and the menu is expanded, please click on the “Dashboard” tab, located in the middle area of your screen, and from there, please click on “Git”.
Performing the action above will redirect you to a page where you can deploy git repositories. If none are configured yet, you will be presented with options to add one.
If you prefer to store and manage your Git repository directly on the Plesk server, please click the “Add Repository” button located in the middle of the screen.

Performing the action above will unveil a side menu on the left side. Please select the “Local Repository” option.

In addition to that, please select the following:
After adding your settings, please click on the “Create” button at the bottom of the side menu. Plesk will create the repository and provide you with the Git URL you can use to connect from your local machine.

You can now clone this repository locally, push code changes to the server, and deploy your updates.
Connecting to a remote GIT Repository is useful if you are using GitHub, GitLab, Bitbucket, or any other remote Git provider. To deploy and use a remote Git Repository, please click the “Create Repository” option on the Git page in Plesk.
The default option will be the “Remote Repository”, thus leave it as such. Afterward, please, enter the remote repository URL (SSH or HTTPS). After you type in your SSH or HTTPS URL, you will be required to authenticate yourself (usually via username and password or private/public key).


Finally, select your desired deployment mode and click the “Create” button to save the configuration.
After completing the above steps, please wait for a minute or two so that Plesk can establish a connection to your GitHub repository and enable you to deploy your project.
Once connected, Plesk will automatically fetch branches from the remote repository. You will then be able to pull and deploy updates directly from the control panel.
Regardless of whether your repository is local or remote, Plesk allows you to control how your code is deployed to your website directory. Inside the Git interface, you will find options such as:

If you have selected automatic deployment, Plesk will push updates to your website immediately whenever you perform a Git push from your development environment.
Within the Git settings panel, you can also perform the following actions:
These actions can be performed by clicking on the small icons located at the bottom left corner of the respective repository.

These tools provide excellent flexibility when working with multiple development environments or staging setups.
As you can see, Plesk makes it incredibly easy to integrate Git into your workflow. Whether you prefer using a local repository on your server or pulling code from a remote Git provider, Plesk gives you full control over deployment, branch management, and version tracking.
We hope this tutorial was helpful, and we kindly encourage you to take advantage of Plesk’s Git integration to streamline your development process and maintain a clean, organized codebase.

Nikola is an accomplished tech-savvy extraordinaire with over six years of experience in the web hosting field. He started as a customer care representative and quickly rose the ranks to become a support supervisor and, eventually - the head of the technical department in HostArmada. His deep understanding of the client's needs, combined with his technical knowledge, makes him the perfect man to create the ideal harmony between client satisfaction and professional problem-solving. You will often find him creating helpful tutorials, articles, and blog posts that help existing customers get around.
Learn more about Plesk in the other tutorials that we have:
