
Backups are really important and some people might even argue that they are the most significant additional feature a Web Hosting provider can offer. A consistent backup rotation can save you a lot of nerves and time if for example, you mess up your project because of an untimely deployment or you were the victim of a hacker attack. Unfortunately ill intent is something that is quite widespread these days on the internet and no matter how much you attempt to secure the site or the server, you might leave out a crack in your code or FireWall that could end up being the subject of an attack. In this guide, we will go over the “Backup Configuration” functionality in the WHM control panel, which will give you insight on how you can properly configure your backup generation so that you are not faced with situations such as the ones mentioned above and you are left out without any backups. Let’s dive right into it!
First, you need to log into the WHM service for your VPS or Dedicated Server. If you are not sure how to do that, please check our How to Access WHM tutorial. After you have logged in, please locate the search bar on the left side of the page and type “Backup Configuration”.
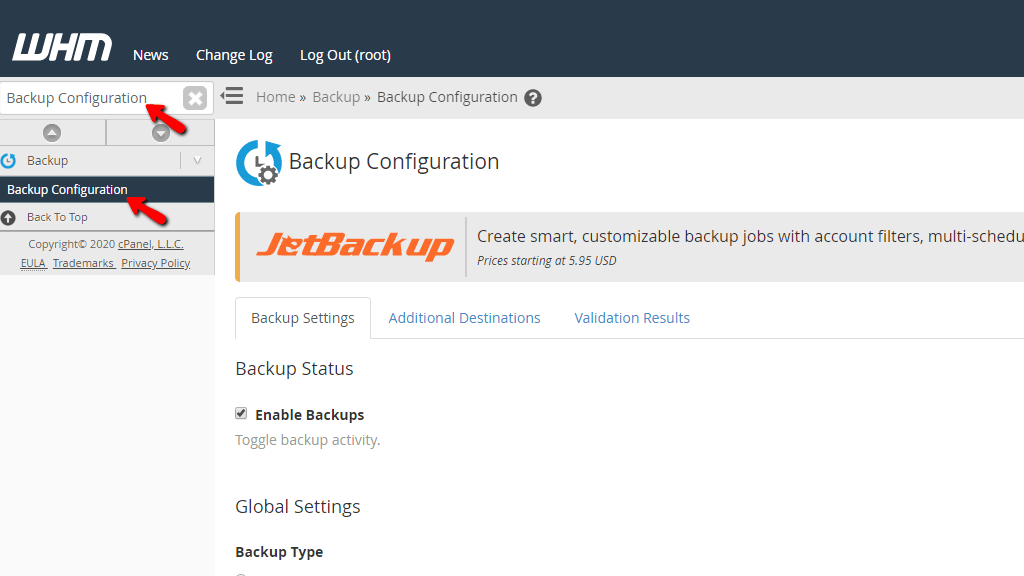
When the functionality shows up below the search bar, please click on it so you can be sent to the “Backup Configuration” page.
When you click on the first result presented by the WHM, you will be immediately redirected to the “Backup Configuration” page where you will notice three tabs.
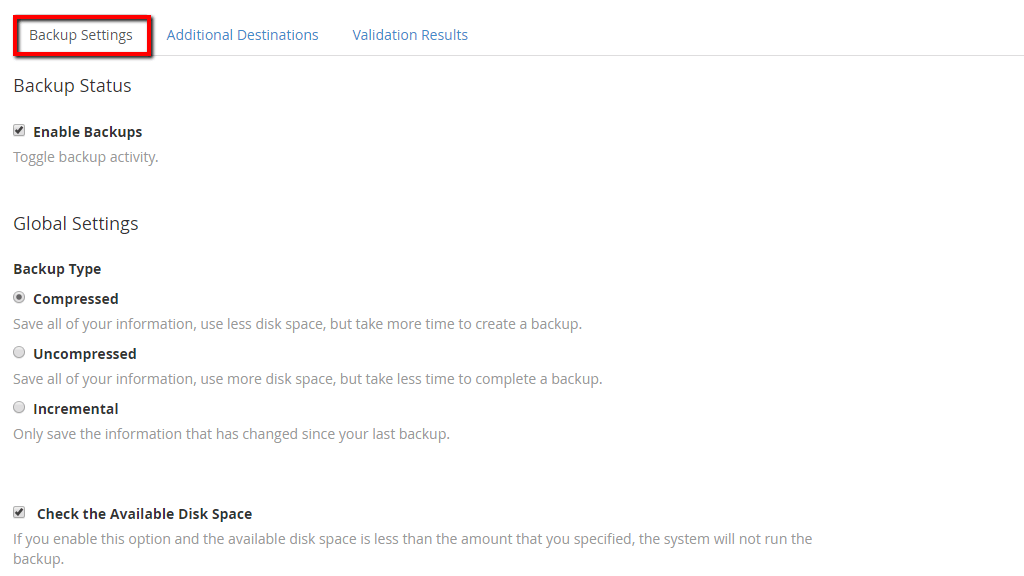
The one that will be selected by default will be the “Backup Settings” tab, which we will talk about in the next paragraphs before we move onto the next tabs.
This entire tab is dedicated to providing you all the needed settings involving the generation of the backups on your server. In the next paragraphs to come, we will be covering all you need to know in order to familiarize you as much as possible with each individual option and what it does. For the purpose of this tutorial, we will be configuring the backup service, as we believe is the most efficient and you can copy our settings. However, reading through this tutorial, you will see that the configuration is quite flexible and if you assume that there can be an even better setup, please, feel free to configure it!
Backup Status section
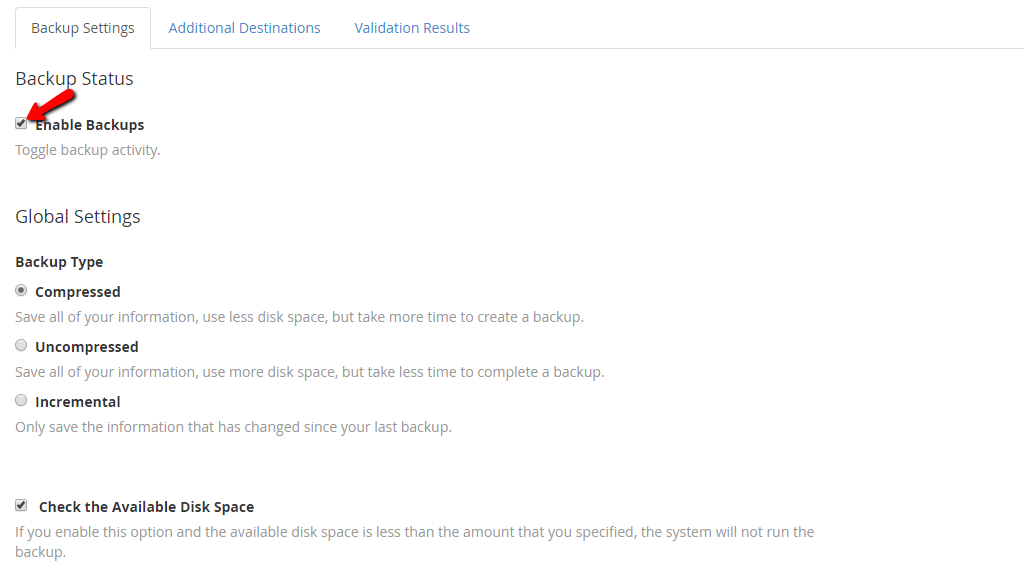
The first thing that will be displayed under the “Backup Settings” tab is the “Backup Status” section and underneath you will see a checkbox. In order to enable the backup process please put a tick inside the checkbox on the left side of the “Enable Backups” label, otherwise, leave it unchecked.
Global Settings section
The next thing you will see is the “Global Settings” section. Below, you will get to choose the “Backup Type” of your backups. You are presented with the available options and in order to pick one, select the radio button on the left side of the option itself. Let’s go over them.
In this section, we recommend the “Compressed” type. This is because all of our products use SSD disks, which are much faster than their HDD counterparts. The speed in which the “Compressed” type is generated is not that much slower than the other two options. SSD disks are aimed at performance and speed and storing larger backups there would be a waste of their potential.
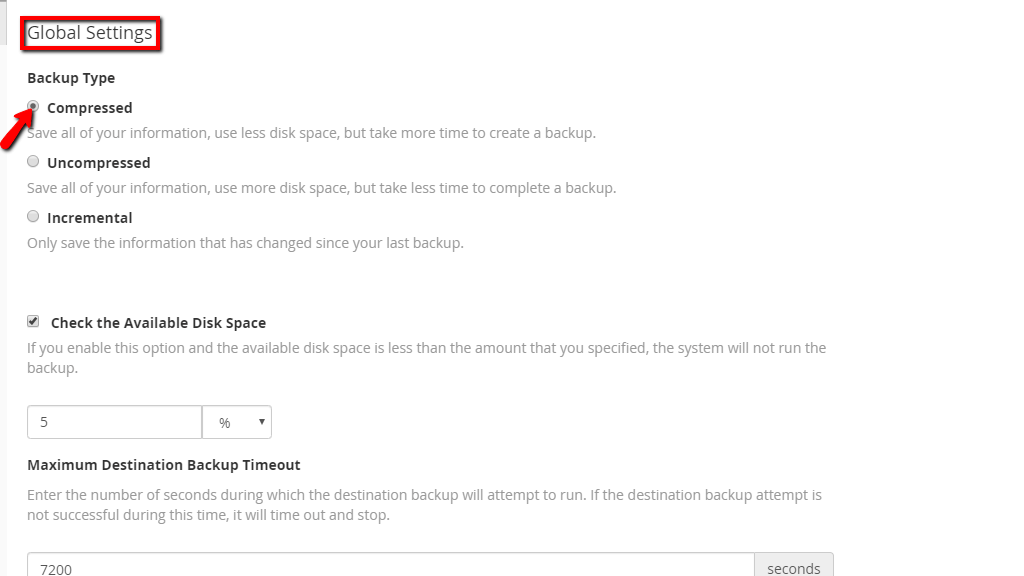
Continuing forward, you will notice the “Check the Available Disk Space” label and on its left side a checkbox. Under it, there will be a section that has a text field with a dropbox attached.
When this checkbox is selected the system will verify whether your server has the minimum free disk space available to create a backup. This will be based on the number you have typed in the text field and the option you selected from the dropdown menu.

In our case, the number we have typed in is “5” and we have selected the “%” option from the dropdown menu. This means that WHM will check if there are AT LEAST 5% of the total disk space available on your server. If this is not the case, no backups will be generated. This specific setting is quite situational and it really depends on your server’s total disk space availability and the size of the files you are backing up. Typically, a number between 5-10 would be the way to go.
The last two sections under the “General Settings” are the “Maximum Destination Backup Timeout” and the “Maximum Backup Restoration Timeout” settings. Beneath each of these, there will be a text field where you need to type in the desired number. Note that this value will be in SECONDS. Let’s give a little more information about each timeout option.
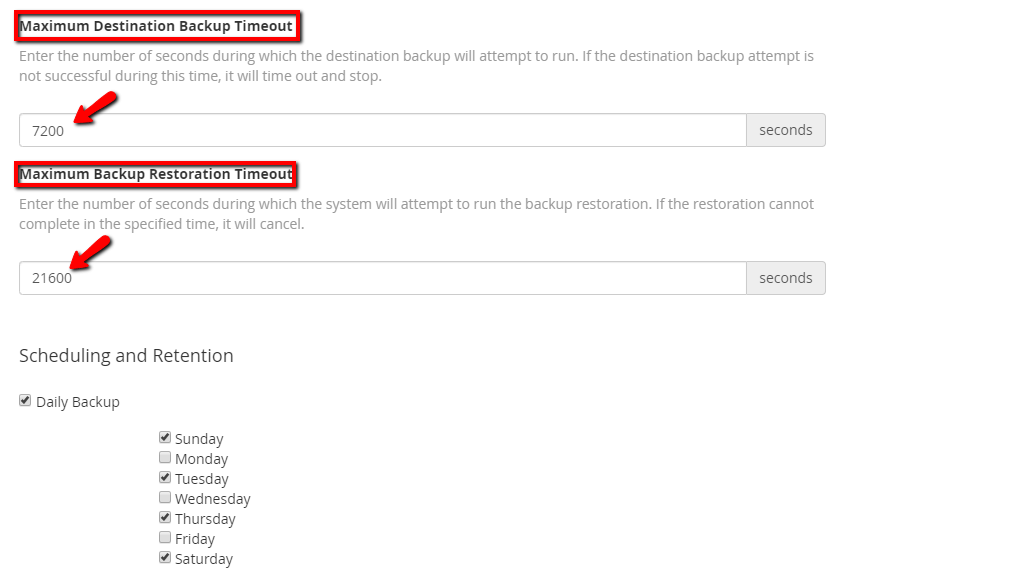
The values shown on the screenshot are the default ones and we recommend keeping them this way unless you are planning to back up really large files, in which case, this should be increased.
Scheduling and Retention Section
This section contains the configurations regarding the time in which you want the backups to occur. You are presented with 3 options.
Daily Backup
This option is selected when you tick the checkbox which is located under the “Scheduling and Retention” heading.
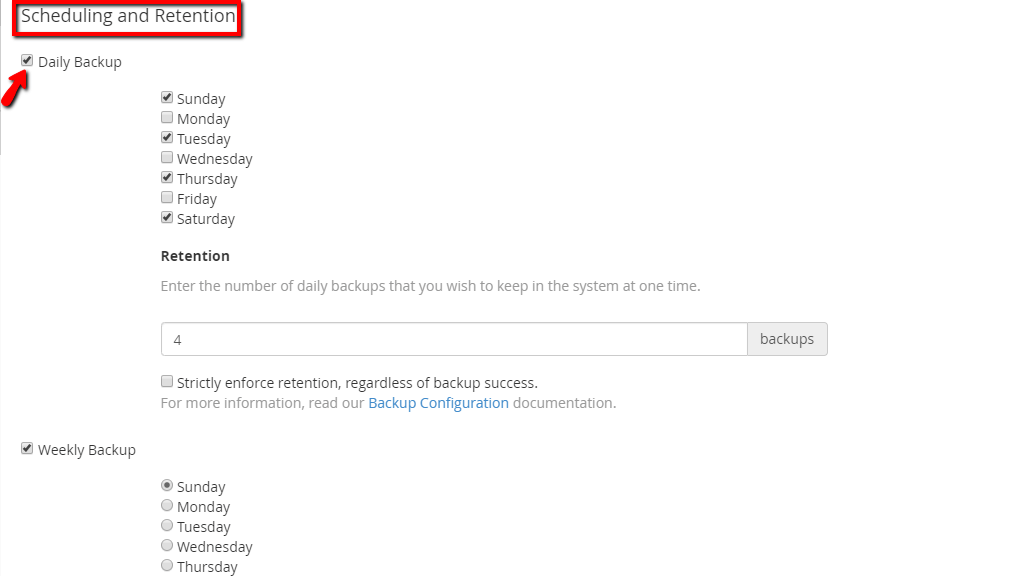
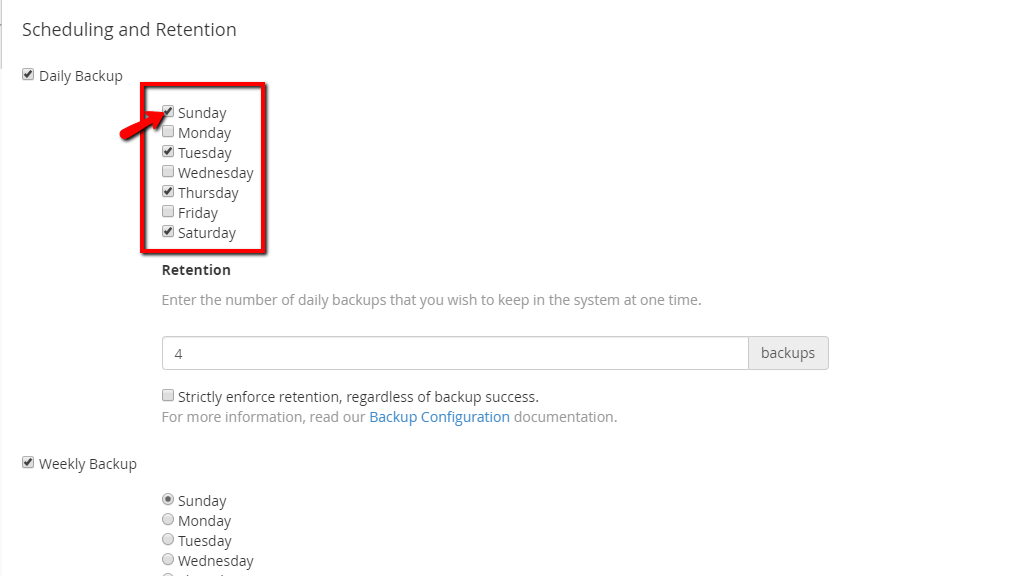
When selected, this will open a list that will allow you to select the days on which you want the backup to take place. The list will contain all the days of the week. To select the days you need, please put ticks within the checkboxes on the left side of the desired days.
Lastly, there will be a “Retention” section underneath, followed by a text field where you can configure this setting. What retention will do is it will store an equivalent number of backups as the number you typed in the text field.
We advise you to configure the daily backups to happen at least every other day. The optimal variant will be to select each day of the week but this is associated with more disk space allocation towards backups which is of course tied to finance.
Below the field, you will notice another checkbox and on its right the “Strictly enforce retention, regardless of backup success” label. What this will do is it will enforce retention even if the last backup is not properly generated. An example of that would be if you are low on disk space and the backup process was started, however, it only managed to backup 30% of your data.
Our recommendation in this regard is to leave this setting disabled, as you might end up with backups that are not properly completed leading to a potential data loss.
Weekly Backup
When the checkbox on the left side of the “Weekly Backup” label is selected, this will open a list containing each day of the week. In order to choose the desired day please select the radio button on its left side.
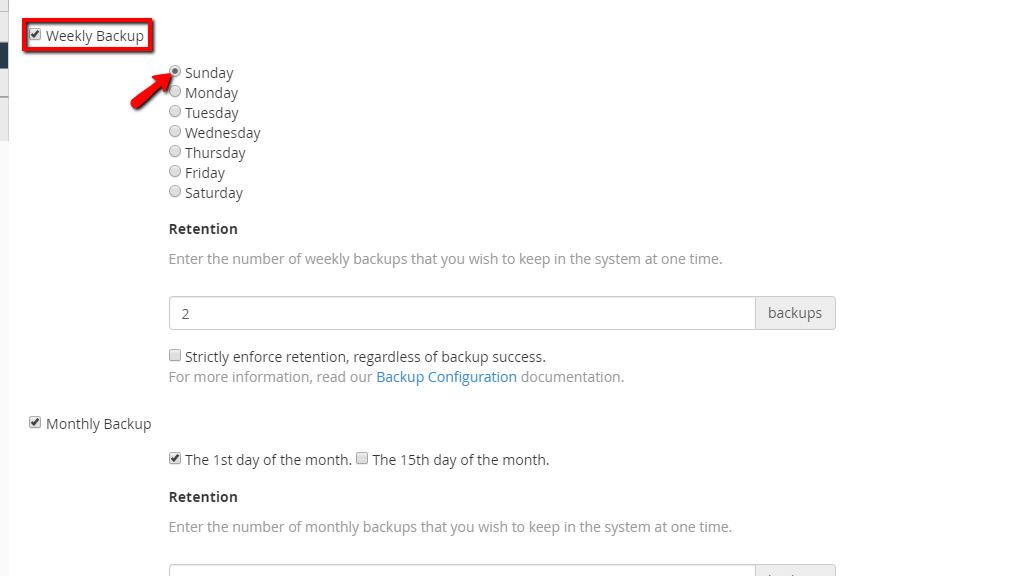
We recommend doing this each Sunday, as it is the last day and this will back up all the changes you made throughout the week. Of course, this is highly subjective and if for instance in your case Monday or even Wednesday is the day you wrap things up, then, by all means, set the weekly backups to happen then.
Monthly Backup
The last option from this section is the “Monthly Backup”. When you press the checkbox on the left of the “Monthly Backup” label, you will be presented with the available configurations towards these types of backups. You can either select the backups to occur “The 1st day of the month.” or “The 15th day of the month.”
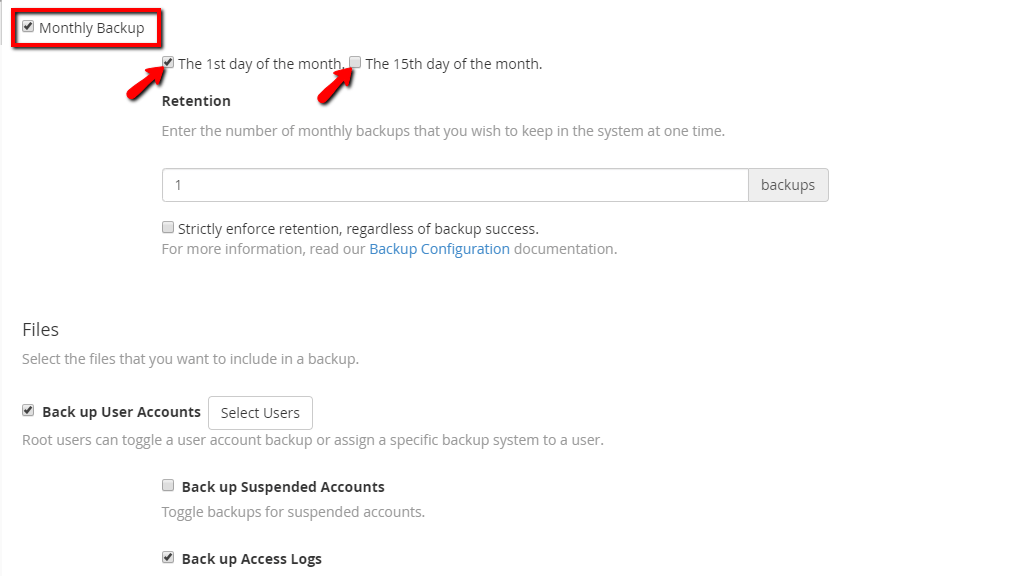
We believe the best option here is “The 1st day of the month.” as this will create a backup of all the changes you did throughout the previous month.
Files section
In this section, you will have the option to select which files you want to include in the backup. You have two choices underneath that all have a checkbox on their left side.
Back up System Files
Selecting this will enable backups for the system files on the server.
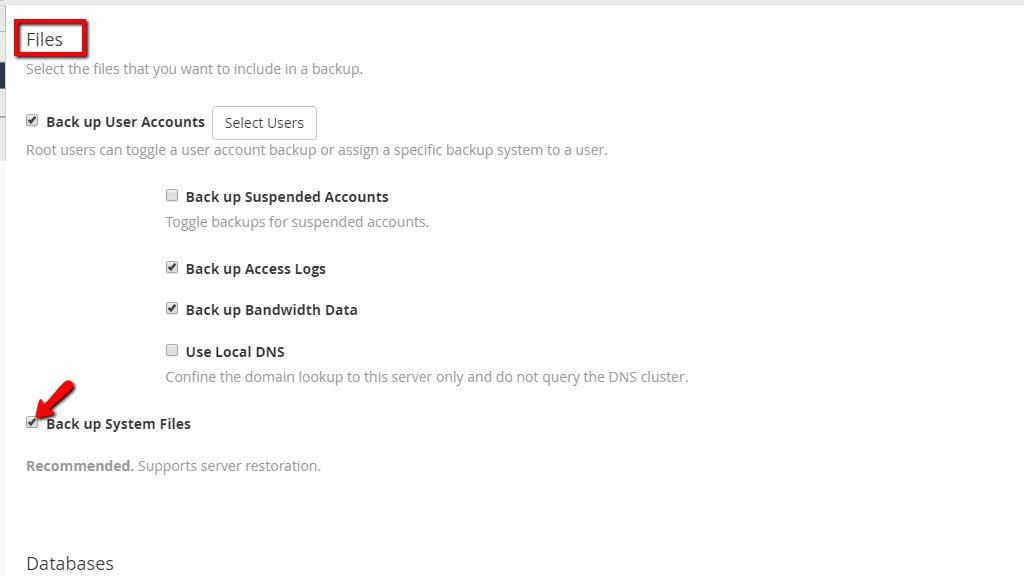
We highly recommend having this option checked in at all times as the disk space this would take is negligible and there is always the risk of a system failure that you can easily recover from if you have a backup at your disposal.
Back up User Accounts
Select the checkbox to create backups for cPanel accounts. Located on the right side, you will see a button called “Select Users”. Upon clicking there you will be redirected to a page, that will allow you to select which users you want to include in this process.

In the next few paragraphs, we will touch upon this feature and the way you can enable/disable the users you want to include/exclude from the backup job.
Backup User Selection feature
The moment you are taken to the page, you will notice a search bar that you can use to filter the accounts and choose the ones you need.
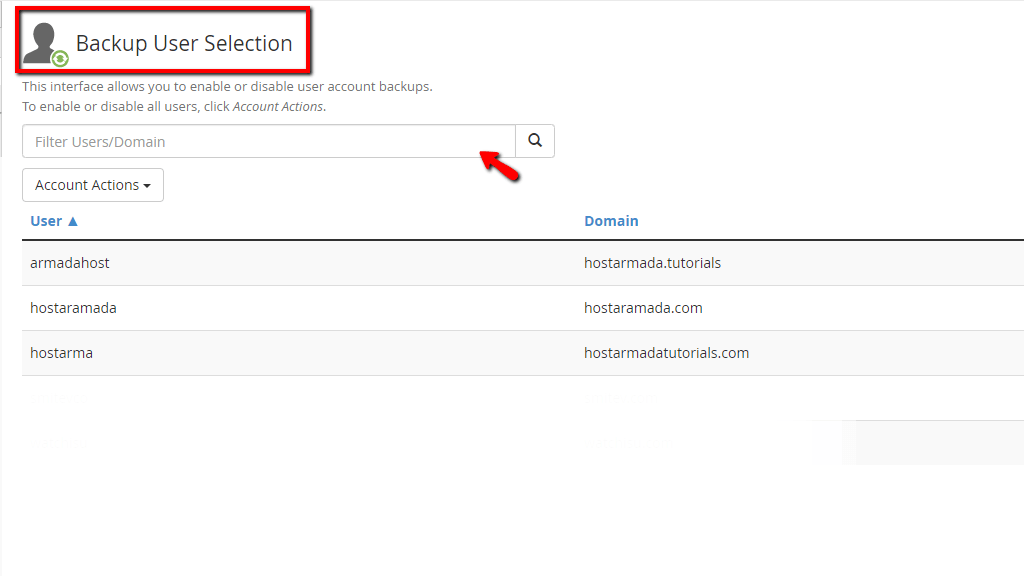
Under it, you will see an “Account Actions” dropdown menu. You may use it to globally enable or disable the backups on the cPanel accounts on your server.

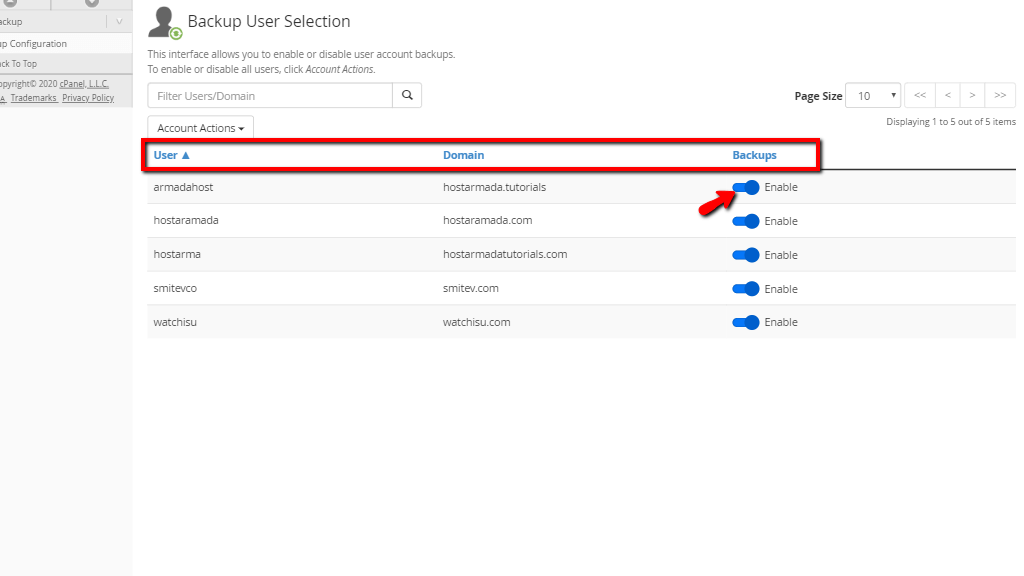
Below, you will find a table section containing three columns. The “User” of the cPanel account, its primary “Domain” and “Backups” under which, there will be a toggle switch that you can use to either “Enable” or “Disable” the backup generation for a specific cPanel account.
Now that you have learned how to select the cPanel users that you want to include or exclude from the backups, let’s proceed with the rest of the settings on the “Backup Configuration” page!
Below the “Back up User Accounts” section, you will find four checkboxes

Our recommendations in regard to the above settings are to generate backups of both your accounts and the system files. Excluding suspended accounts is generally a good idea, as that way, your disk space will not be wasted towards backups for accounts that are currently not being used.
Databases section
Below this section, you can select the way your SQL databases are being backed up. The options here are three.
In order to select one of the settings above, please use the radio button located on their left side.

Configure the Backup Directory section
The last section in the “Backup Settings” tab is the “Configure the Backup Directory” section. It will allow you to type in where on the server you would like the backups to be stored. In order to do that, please use the provided text field underneath the “Default Backup Directory” label.

We recommend keeping the default “/backup” directory as the place where backups are stored.
The rest of the settings under this section will not be discussed as they are specific to remote backup restoration and generation. In this guide, our primary focus is to teach you about the feature as a whole and the way you are able to configure local backups.
When you have finished choosing all the settings from this page you need to save them so they are applied. In order to do that, please press the “Save Configuration” button located at the bottom of the screen. Alternatively, there is the “Reset” button on the right side of the “Save Configuration” button, which will let you remove all the changes you did and allow you to start over.
With this, we will end our guide in regards to the “Backup Configuration” feature in the WHM control panel. It is quite a lot to take in but contains a lot of useful information you should acquire in order to start properly setting your backups. As always, our Technical Support Team is 24/7 available at your disposal and you can contact them at any time from your Client Area by submitting a ticket.

Sebahat is a young and bright woman who has become an invaluable part of our team. She started as a Customer Care Representative, mastering that role and, along the way, growing into a tech-savvy individual who is well acquainted with every support layer of the company. Driven by her aim to improve our customers’ experience constantly, she is committed to enhancing the extraordinary support we deliver.
Learn more about WHM in the other tutorials that we have:
