
The purpose of enabling the use of caching on your website is to improve its loading time and consequently, your users’ experience. We are all aware of the countless researches on how slow response time negatively impacts websites. Therefore, we are sure that as a website owner, this is on the list of your main goals.
As a Joomla user, you have probably come across situations when you are unable to review recently performed changes on the website frontend. In most cases, such circumstances occur due to temporarily stored static files, or the such called caching. In this tutorial, we will guide you on how to properly maintain and clear the cache on your Joomla website.
Now, before we step into the actual process of clearing your website cache, we will recommend you first to double-check your Cache Settings. This can be done from your Joomla Admin Dashboard by navigating through the top menu bar to System > Global Configuration > System tab. You can refer to our tutorial based on How to configure System Settings in Joomla where you find step-by-step instructions on how to properly configure your Cache Settings and a detailed explanation of each of the available caching types. You may also review if the “Page Cache” plugin is enabled on your website. You can do that by navigating through the top menu bar of your Joomla Admin Dashboard to Extensions > Plugins > Page Cache.
In Joomla, you are able to clear the current cached files, as well as the expired cached files. In the following lines, we will guide you on how to clear both file types.
This first option will allow you to clear all cached files, including current and expired ones. Of course, you will be able to modify your selection and clear only specific cache groups.
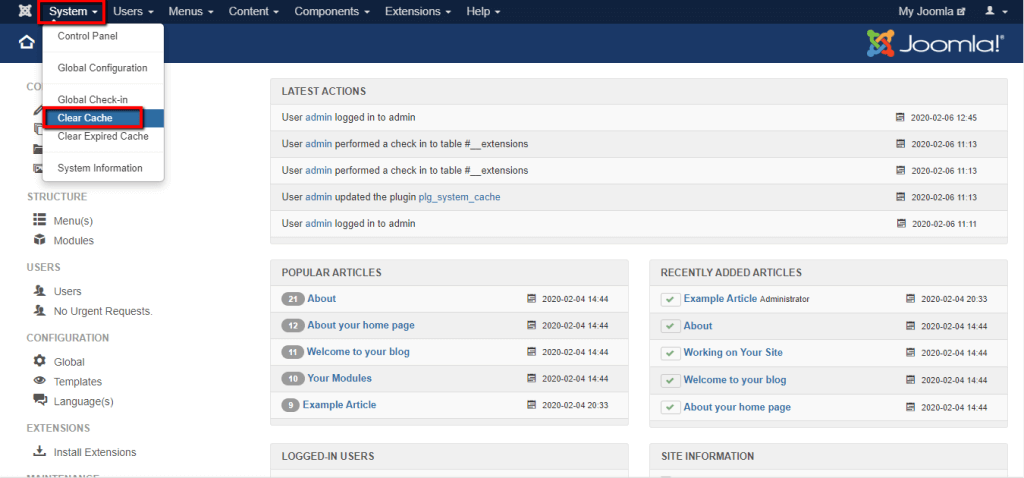
In order to begin, please log in to your Joomla Admin Dashboard and navigate through the top menu bar to System > Clear Cache.
On the “Clear Cache” page, you will find a list of all Cache Groups. Each row of this list contains important information about the Cache Group, such as:

The process of clearing the cache is extremely simple. All you need to do is to select the desired group(s) by ticking the corresponding checkbox(es) and click on the “Delete” button.
If you want to delete all Cache Groups, you can either tick the checkbox next to “Cache Group” to mark them all or directly hit the “Delete All” button.
Something worth mentioning is that when you clear the cache, you might notice a slight difference in the response time of your website. This is something normal as the cache files and no longer available, and the requested content will be pulled from the database instead of being directly loaded from the cache files. This will continue only until the cache files are re-created by Joomla, so there is no need to be concerned.
Compared to the previous option, the “Clear Expired Cache” one will initiate a check of all cached files in order to filter them and located only the expired ones. Therefore, the process might take longer, but the performance of your website will remain similar to its current state. Also, you need to be aware that this process may consume quite a lot of service resources while it is running in case your website is large in size.
Now, if you are still located under the “Maintenance” page, you can simply click on the “Clear Expired Cache” button from the left menu bar. Alternatively, please navigate through the top menu bar to System > Clear Expired Cache.
Once there, all you need to do is click on the “Clear Expired Cache” button at the top left corner of the page.

As the duration of the process depends on the size of your website, it may vary. Once it is initiated, please allow it the necessary time to be successfully completed. When it is finished, a new message will appear on the same screen informing you that the expired cached files were cleared.

With that stated - your job here is done.
While we are on the Clearing Cache topic, you may also want to flush the generated cache by the LSCache module. This is a LiteSpeed Web Server module that caches static and dynamic web content. You can do that literally by click on a button using the LSCache feature integrated into your cPanel account. Please, find step-by-step instructions in our guide based on How to manage the LiteSpeed Cache for your websites in cPanel.
Well done! At this point, you know how to efficiently maintain the cache on your website, and you can avoid the frustrating moments of not being able to review the changes you have performed on it. We hope you have found the information in this tutorial useful and our instructions easy to follow. In case you have any additional questions on the topic, you are welcome to contact our Support Team.

Sebahat is a young and bright woman who has become an invaluable part of our team. She started as a Customer Care Representative, mastering that role and, along the way, growing into a tech-savvy individual who is well acquainted with every support layer of the company. Driven by her aim to improve our customers’ experience constantly, she is committed to enhancing the extraordinary support we deliver.
Learn more about Joomla in the other tutorials that we have:
