
There are two general types of users available in all X-Cart Editions and one extended user type available starting from the X-Cart Multivendor Edition.
In this tutorial, we are going to introduce the Users concept in X-Cart, and we will guide you on how to effectively manage all your existing users and create new user accounts.
For a start, please log in to your X-Cart Admin Area and navigate through the left-hand side menu bar to Users > Users list.
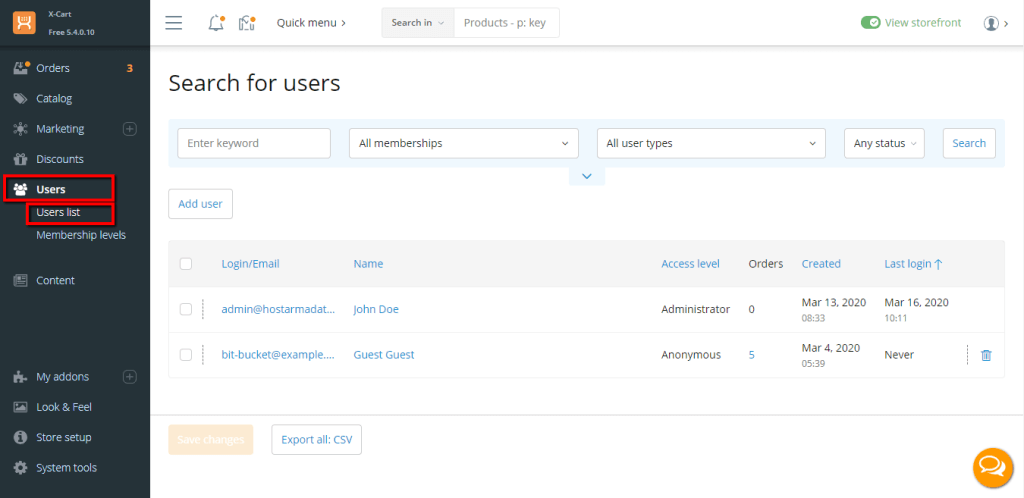
The "Users list" is the page under which the user management takes place. Here you can create, edit, delete, and export user accounts.
We are going to overview the "Users list" page, so you can get familiar with its interface and effectively operate with it.
When you land on the page, the first thing you are going to notice is the search functionality, which comes extremely handy when you have a vast number of customers. It can be expanded by clicking on the arrow icon beneath. Once this is done, additional searching criteria are presented intended to improve the efficiency of filtering search results.
The table which holds all user accounts is positioned right below it. As you can see, it consists of a few columns representing essential account data, such as the email address associated with the account, the holder, the access level, number of orders placed, date of creation, last login, and shortcut delete button.

The "Save changes" button intended for applying any modifications performed and the "Export all: CSV" button intended for exporting and downloading the entire users' table in a CSV file are positioned at the bottom of the page. In case you need to export only specific users, you can mark them by ticking the corresponding checkboxes. Once this is done, the last-mentioned button is going to be converted into "Export selected: CSV".
At a certain point, you might need to create new User Accounts for one reason or another. Fortunately, in X-Cart, this is an effortless and straightforward task. To begin with, place click on the "Add user" button.

When you do that, you are going to be redirected to a new "Create profile" page, which is divided into two separate sections.
Under the "Email & password" section, you have to define the email address to be assigned to this account, which also is going to be considered as the login username, and to set up a password and confirm it by clicking on the "Click to specify" buttons.

In the second "Access information" section, you have to determine the "Access level" of the account. In other words, whether to be a "Customer" or an "Admin" user account. In case you are creating an admin account, you also need to select the applicable "Roles", which determine the level of access granted to this user. For customer accounts, the "Roles" field is going to disappear since there is no need to specify such. You can also assign this user account to specific "Membership" if needed. Lastly, the "Require to change password on next log in" checkbox, which controls whether the user is going to be forced to change the default password upon their first login to the account.
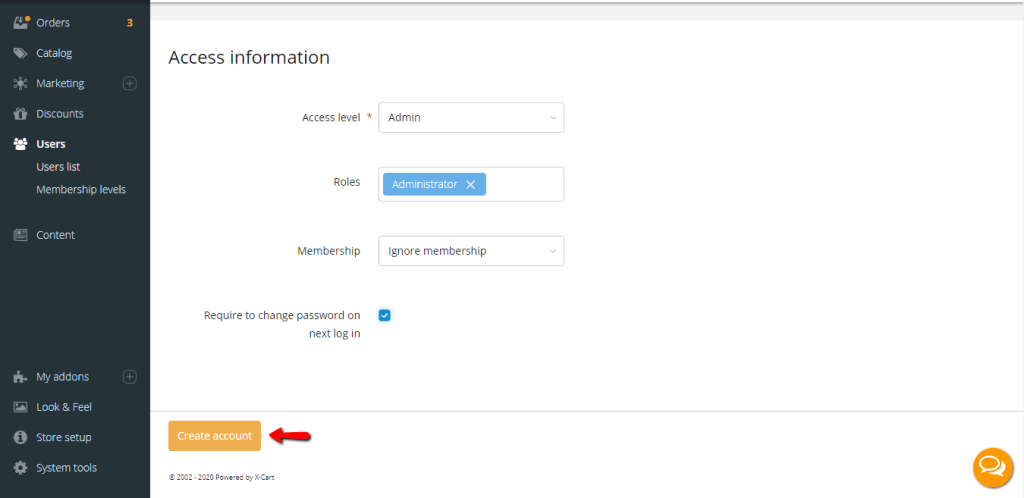
Once all required information is entered, please click on the "Create account" button to finalize the process.
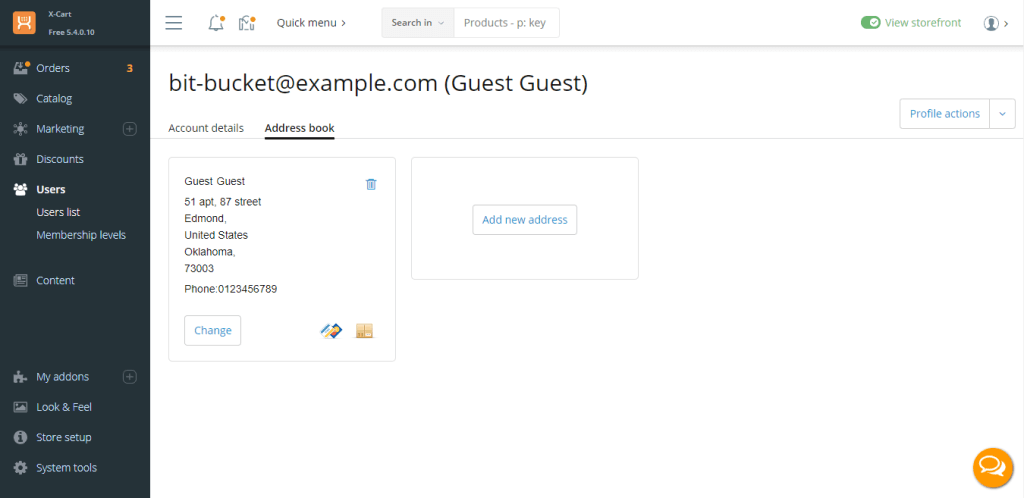
Upon successful account creation, you are going to be redirected to the account overview page, which is split into two tabs. "Account details" where the information you have specified during the account creation is held and "Address book" where the customer names and address details are attached.
On some occasions, you might need to modify an existing user account. Regardless of the account type - administrator, guest, or a registered user - this process is the same. To access a given user account, you have to either click on the email address, which redirects to the user account details section or click on the account holder names, which diverts to the user address book.

Under the "Account details" tab, you can review the number of orders placed by this user (by clicking on the value you can obtain more information for the orders), the date of account creation; last login; and account language. You can change the account email and password. You can review the access level; change the account status, and leave notes concerning it; change the membership and require the customer to change the password on the next login.
By clicking on the "Profile actions" option located at the upper right corner, you will be provided with a few options, where the last two options vary depending on the account type:

Upon performing any changes, please make sure to click on the "Update" button to apply them. Note that for guest users, the button mentioned above appears as "Register user". As previously pointed, if an anonymous user submits an order, it is recorded. However, no account is created for them. This action will lead to automatically creating an account assigned to their guest profile.
Under the "Address book" tab, you can review and edit the account holder's names and address, as well as assign a new address to the account. The address fields required for account creation, such as First Name, Last Name, Address, Country, State, etcetera, could be modified by going to Store setup > Cart & checkout > Address fields.
With this being said, we have covered the general aspects of the Users concept in X-Cart. Now, you should be able to manage your customer, and administrator user accounts confidently. We hope the information provided in this guide will come to good use for the future management of your store. In case you did not find an answer to a specific question of yours on this topic, please feel free to address it to our Support Team.

Sebahat is a young and bright woman who has become an invaluable part of our team. She started as a Customer Care Representative, mastering that role and, along the way, growing into a tech-savvy individual who is well acquainted with every support layer of the company. Driven by her aim to improve our customers’ experience constantly, she is committed to enhancing the extraordinary support we deliver.
Learn more about X-Cart in the other tutorials that we have:
