
The core features in Drupal provide all the functionalities you will need to develop a simple website. Anyhow, at a certain point you might want to include specific, more complex functionalities or features to your site. In such a scenario, you will need to install additional Modules that will enhance your Drupal website. Thanks to the huge Drupal community there are over 44,000 modules to choose from and integrate the functionality you are after.
There are two types of Modules in Drupal - Core Modules and Contributed Modules.
The core modules come along with the installation of Drupal and they provide functionalities, such as managing user accounts, managing basic content and fields, managing navigation menus, creating lists, grids, and blocks.
The contributed modules, on the other hand, allow you to alter and extend the features and functionalities of Drupal.
In order to install a Contributed Module, you will need to first find the module in the official Drupal Directory. For the sake of understanding the module installation process, we will be installing one of the most popular Drupal modules - "Pathauto".
Once you access the Drupal Modules page, please go ahead and locate the module you are attempting to install. As soon as this is done, click on its name so you can be redirected to the module overview page.

On the module overview page, you are looking for a section titled "Downloads". In this section, you will find the module releases - stable, development, and alpha. In most cases, you would want to obtain a stable release which will be highlighted in green. An important note - you should always pay attention to the module version and ensure it matches your Drupal installation version. In our case, we are utilizing Drupal 8, therefore we will be acquiring the module version starting with 8.

Now, a few important side notes. In Drupal, you are allowed to install modules by downloading the module archive on your local computer and then uploading it to your Drupal installation root folder. You are also able to install the desired module by directly providing the URL address to the archive file. Since the second way is easier and way faster we will go along with it. However, if you prefer the download-upload scheme, please feel free to go with it. In the second step, we will explain that method either.
In the above screenshot example, you will notice we have selected the .tar.gz compression format instead of the .zip. Naturally, the .tar.gz file is always going to be smaller in size, thus we will recommend you to choose it whenever you can. However, if you prefer to proceed with the .zip format you are more than welcome to do so.
Now that we have it all clear, to proceed further, please right-click on the desired release and select the "Copy link address" option.
As soon as you complete the above instructions, you are ready to move forward to the next step.
Given that you have already obtained the module source URL (or downloaded the archive file), please log in to your Drupal Admin Dashboard and navigate through the Administration toolbar to Manage > Extend.

Once you are on the "Extend" page, please make sure you are located under the first "List" tab and click on the "+ Install new module" button.
This action will take you directly to the "Install new module" page where you will need to simply paste the module link, you have copied in the previous step, to the "Install from a URL" field. (Or alternatively, click on the "Choose File" button and select the archive file from your computer.)

When the URL address is pasted into the corresponding field, all left to be done is to click on the "Install" button. The installation process should not take longer than a few moments and once it is completed you will be prompted with an "Installation was completed successfully." message.
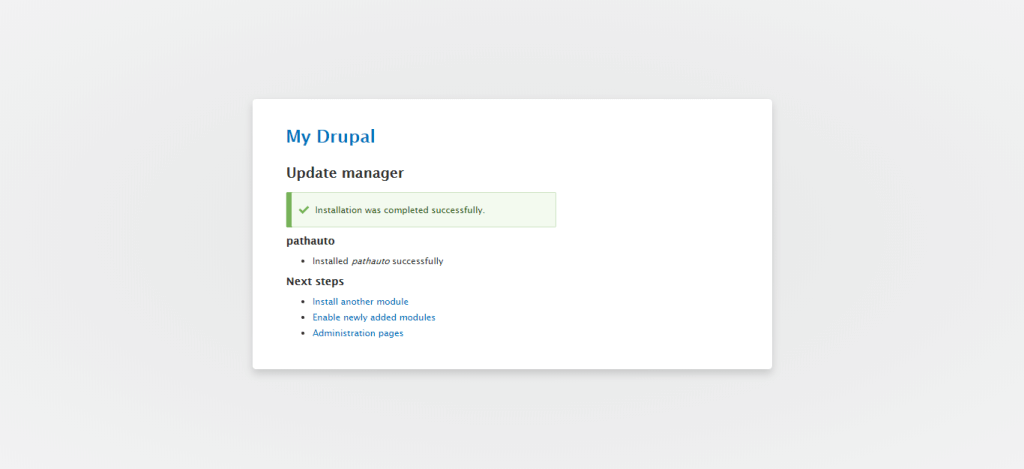
Below this message, you will see the "Next steps" section with quick access buttons to what comes next. In most cases, the next step will be to enable the module. However, some modules require additional modules to be installed first before they could be enabled. For the sake of this tutorial, we have select such a module in order to be able to show you an example of what exactly you might expect when installing modules in Drupal.
Completing the previous step simply uploaded the module files into your Drupal installation directory (/drupalroot/modules/modulename). Therefore, in order to put the module in actual use, we will need to enable it first. To do that, please go back to the "List" tab, or simply click on the "Enable newly added modules" under the "Next steps" section we have discussed above.
In both cases, you will see a list of all Drupal modules where you will need to locate the recently installed one. Once you locate the module, all you need to do is tick the checkbox in front of it.

However, as we previously explained in some cases the module will be missing requirements. In such a scenario, you will not be able to check the box and you will need to click on the arrow icon to get a full overview of the module requirements. Please bear in mind that this information is also available on the Module overview page (Drupal Module Directory) and it is always recommended to thoroughly read it before you step into installing the module.
Now, as you have probably guessed you will need to repeat the above steps in order to install the missing modules. After they are installed and enabled, go back, tick the checkbox and scroll down to the very bottom of the page where you will find the "Install" button you need to click to enable the module. Note that you can also, enable them all at once, as we will do.

Once this is done, you will be prompted with a new message indicating the module(s) were successfully enabled.

And this is it! You have learned how to install and enable modules to your Drupal website and include the required functionalities to fulfill the specific necessities of your project. To sum up, you need to first obtain the module URL/archive file from Drupal's official Directory, then you need to install the module from the URL or the archive file, and lastly, you need to enable it to make it work. We hope you have found the information in this tutorial useful and our instructions clear and easy to follow. In case you have experienced any difficulties or ended up with certain error messages, please escalate the case to our Technical Support Tem for further review and assistance. You can submit a ticket request from your Host Armada Client Area ("Client Dashboard").

Sebahat is a young and bright woman who has become an invaluable part of our team. She started as a Customer Care Representative, mastering that role and, along the way, growing into a tech-savvy individual who is well acquainted with every support layer of the company. Driven by her aim to improve our customers’ experience constantly, she is committed to enhancing the extraordinary support we deliver.
Learn more about Drupal 8 in the other tutorials that we have: