
Gutenberg was introduced as a replacement for the old Classic Editor along with the release of WordPress 5.0 in December 2018. The goal of Gutenberg, also known as Block Editor, is to allow more flexibility to the WordPress user in the process of developing pages and posts. It introduces a modular approach of organizing the content in blocks within a visual interface.
Even though Gutenberg has its advantages, many users are accustomed to the old Classic Editor and prefer it over the new one. As WordPress now comes by default with the Block Editor, we have decided to show you how to switch from it to the Classic Editor.
The process of enabling the Classic Editor is no different than installing any other WordPress plugin.
For a start, we will need you to log into your WordPress Admin Dashboard. You can do that by accessing your domain followed by "/wp-admin", i.e., "yourdomain.com/wp-admin", where "yourdomain.com" stands for your actual domain name.
Once logged, please navigate through the left-hand side menu bar to Plugins > Add New.
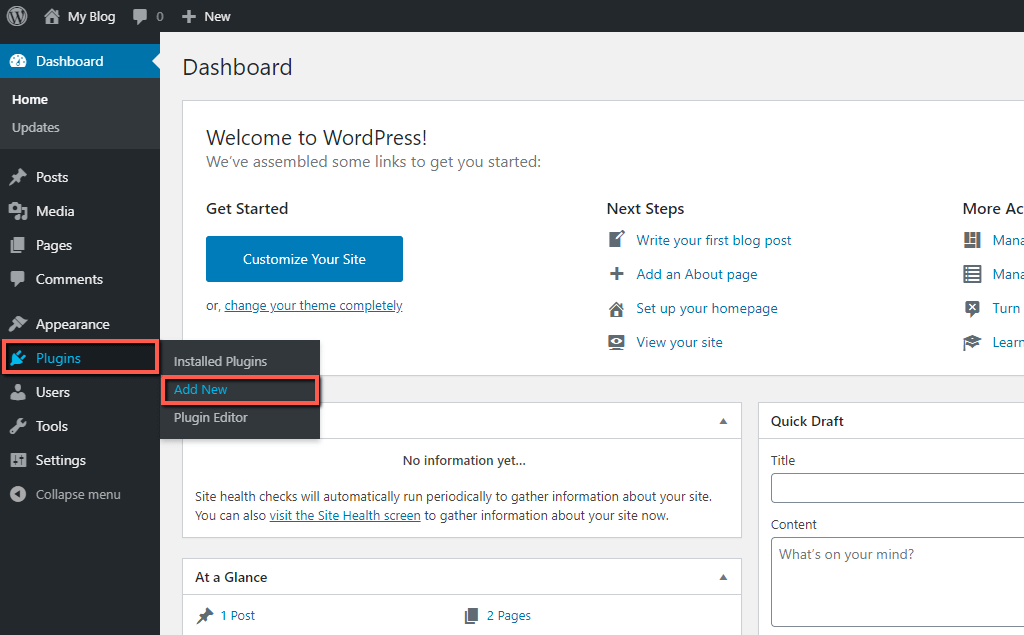
When you click on „Add New“, you will be redirected to a new page where you will be able to initiate the plugin installation process.
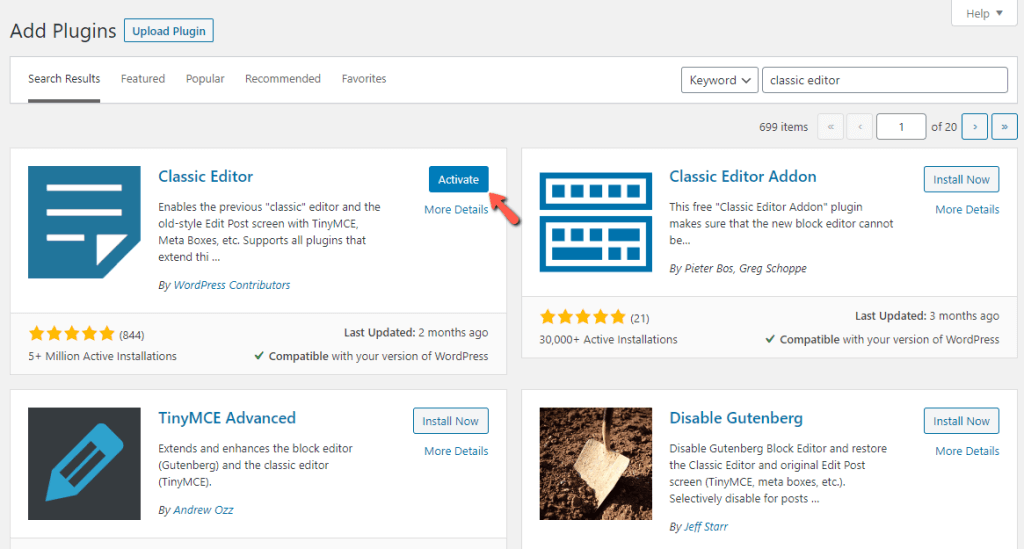
Now, it is time to locate the Classic Editor plugin. Typically, it should be displayed right within the featured plugins shown by default. However, if you cannot find it, please use the search tool at the top right corner and enter "Classic Editor" into it.
The Classic Editor plugin is developed by WordPress Contributors. Once you locate it, please click on the "Install Now" button.

Upon doing that, the installation will be initiated. Please allow it a few moments to be successfully completed. Once done, the "Install Now" button will be converted to "Activate". Your last step is to click on it in order to enable the plugin and get it ready for use.
With this done, the Classic Editor is automatically enabled on your WordPress-based website, and no additional actions are needed. Now when you attempt to create or edit a post or page, you will be presented with the old interface.

Well done! You have managed to successfully return to the convenience of the known and comfortable. We hope the information in this tutorial was useful to you, and our instructions clear enough to follow. In case you have experienced any difficulties, please make sure to submit a ticket request to our Technical Support Team, and they will handle the installation on your behalf.

Sebahat is a young and bright woman who has become an invaluable part of our team. She started as a Customer Care Representative, mastering that role and, along the way, growing into a tech-savvy individual who is well acquainted with every support layer of the company. Driven by her aim to improve our customers’ experience constantly, she is committed to enhancing the extraordinary support we deliver.
Learn more about Wordpress in the other tutorials that we have: