
The “Configurable Product” type will allow you to create products with different variations and to configure each product variation individually. Configurable Products are similar to Simple Products with the main difference that each combination of product options has an individual SKU (Stock Keeping Unit), and it provides the possibility of tracking stock inventory of every product variation.
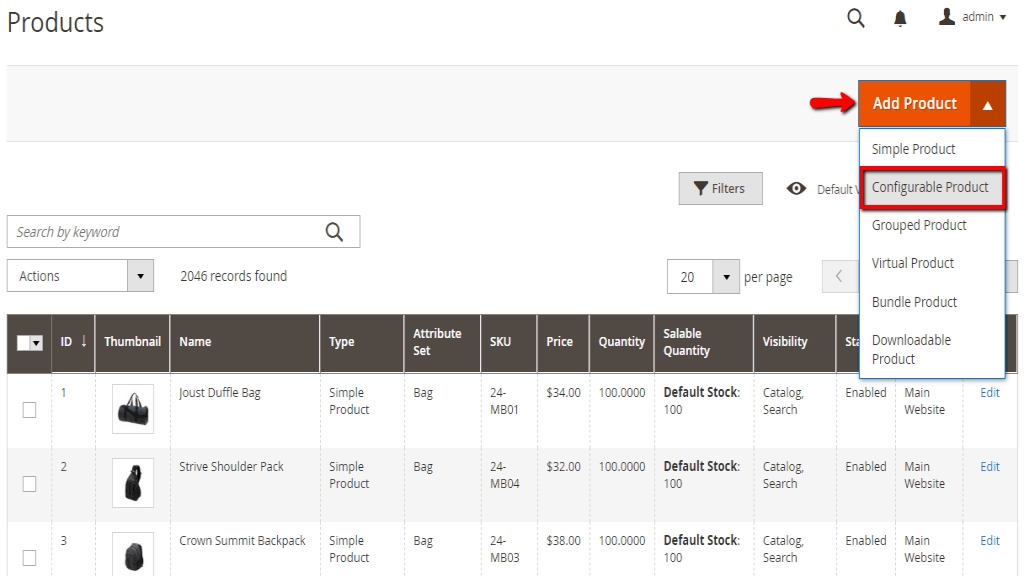
In order to begin, please log in to your Magento Admin Dashboard and navigate through the left menu bar to Catalog > Products.

Now that you are on the right page, you are ready to step into adding your new product.
Now, before you click on the “Add Product” button, please click on the arrow button in order to list all available product types and select “Configurable Product”.
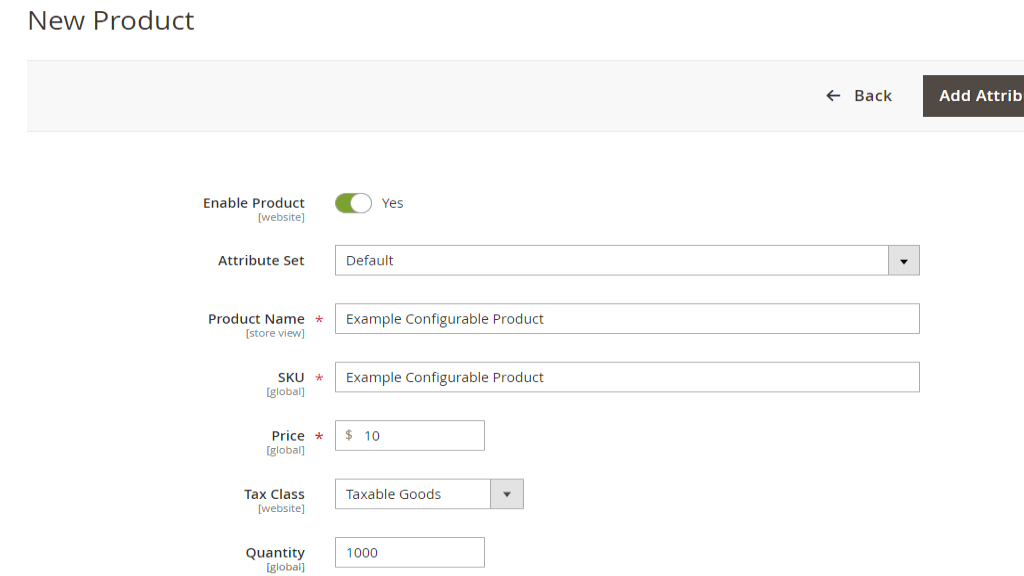
You should fill all the details exactly the same way as for a Simple Product. In case you are uncertain what information you need to enter, you can find detailed instructions in our guide available here.
Once you are ready with the rest of the settings, please scroll down to the “Configurations” section and click on “Create Configurations”.
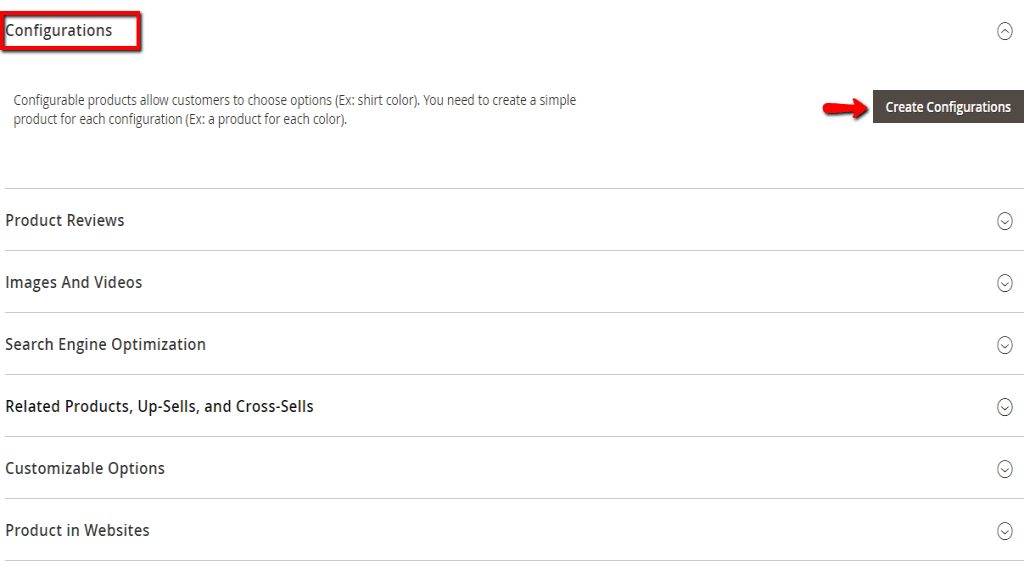
You will be presented with a pop-up window where you will need to create the variations for this product.
On the first step, you will be provided with a list of all attributes (from the “Attribute Set” selected for the Configurable product) that are available to use for product variations.
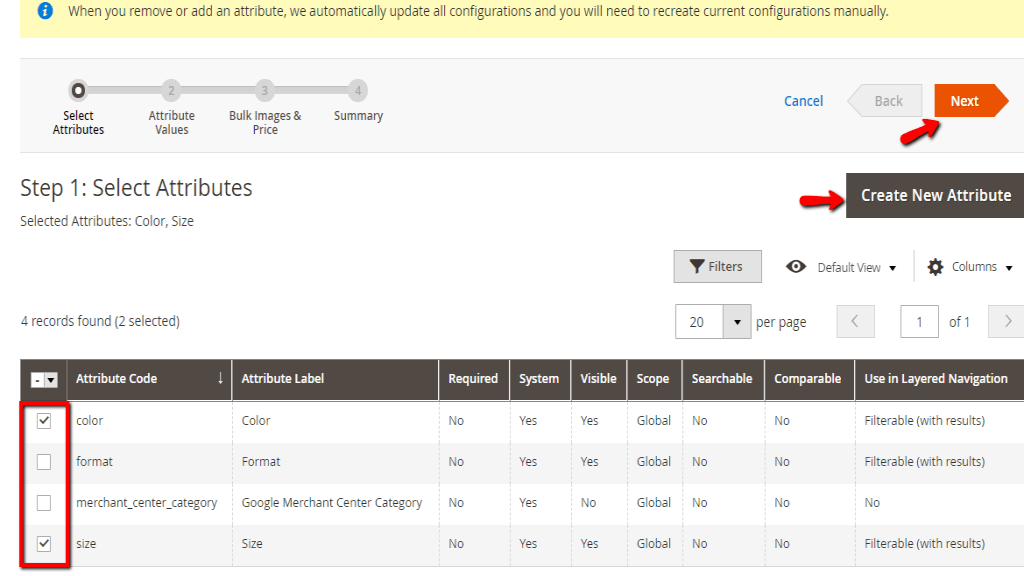
You can either select the attributes that will be used for product variations or create new attributes if necessary. Once you are ready, please click on the “Next” button.
On the second step, you will have to select the attribute values which will be used to create the variations. Unique product SKUs will be created for all possible combinations of the selected attribute values.

Once you are ready, please click on the “Next” button.
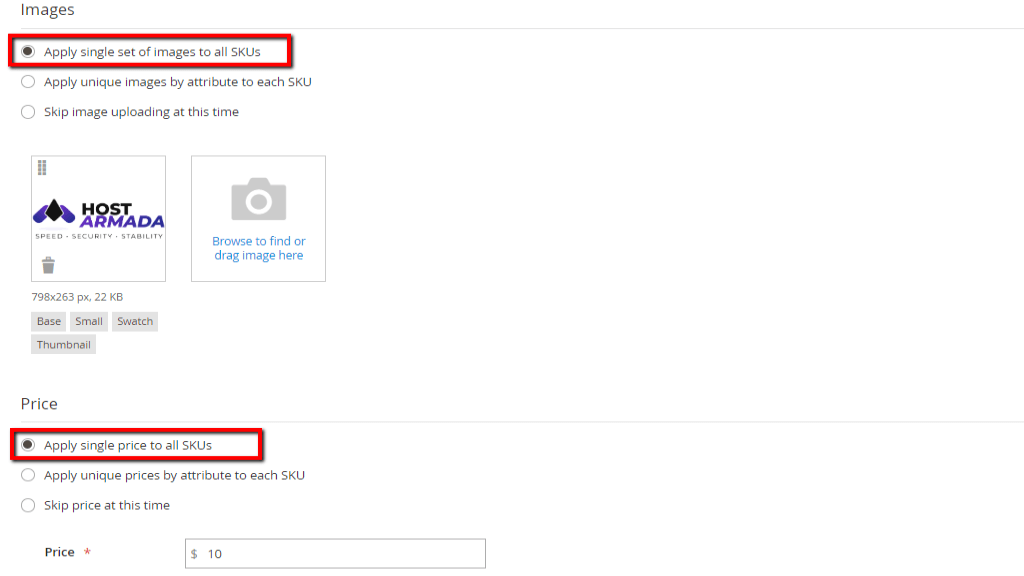
On the third step, you will be able to configure individual images, prices, and quantities for each variation; in bulk for all variations; or skip the configuration for now.
If you wish to configure the same image(s), price, and quantity in bulk for all variations, please select the corresponding “Apply single set of images to all SKUs”, “Apply single price to all SKUs”, and “Apply single quantity to each SKUs” options for each section. Then you will be able to select the image(s), enter the price and quantity which will be applied to each available variation.
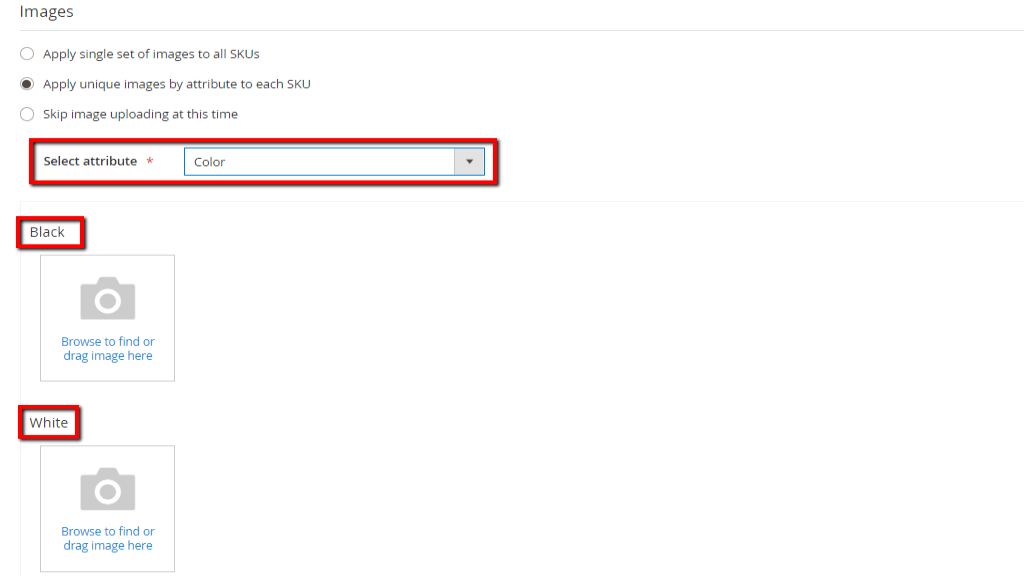
The second “Apply unique images by attribute to each SKU”, “Apply unique prices by attribute to each SKU”, and “Apply unique quantity by attribute to each SKU” options will allow you to select an attribute and configure individual image(s), prices and quantities for each variation. Let’s say for example we sell t-shirts and we would like to configure different images for each available color or we keep in stock more black than red t-shirts and we would like to track our inventory accurately.
Of course, if you do not want to configure these settings right now, you can always select the last “Skip” option for each section, add your product and configure everything later on. When you make up your mind and you are ready, please click on the “Next” button.
On the last “Summary” step, you will be provided with a list containing all created variations. If you are pleased with the result, please click on the “Generate Products” button. Alternatively, you can click on the “Back” button to perform any desired changes.

Now your product variations are successfully created. Please note that each variation is actually a separate, simple product.
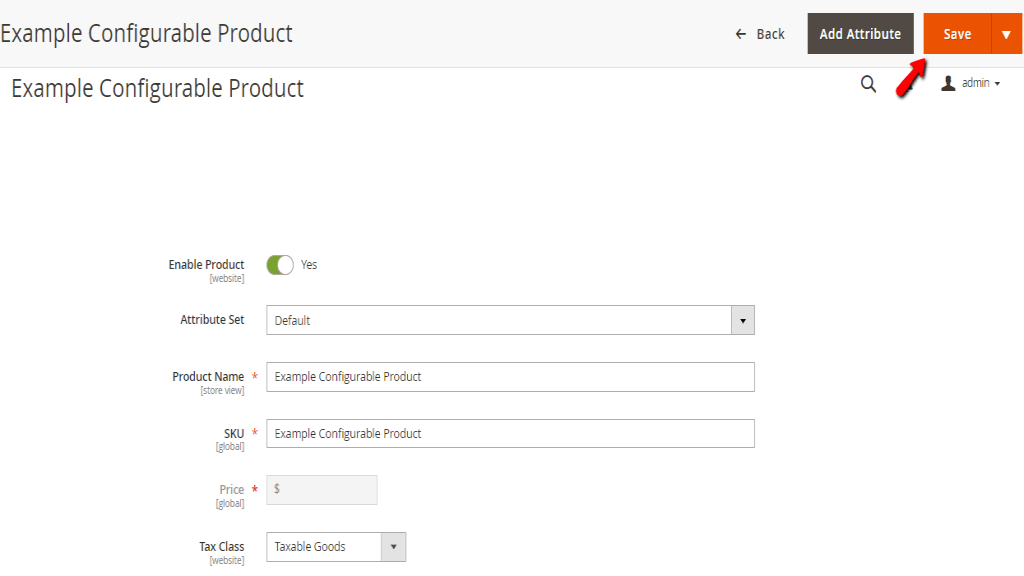
When you are ready with the configuration of the rest of the Configurable product settings, please click on the “Save” button in order to successfully add your new product.
Well done - you are now familiar with the process of creating Configurable Products in Magento. Hopefully, you have found our guide helpful and easy to follow. We would like to thank you for trusting our guidance and wish you good luck with your project. You are always welcome to contact our Support Team in case any further instructions are needed.

Sebahat is a young and bright woman who has become an invaluable part of our team. She started as a Customer Care Representative, mastering that role and, along the way, growing into a tech-savvy individual who is well acquainted with every support layer of the company. Driven by her aim to improve our customers’ experience constantly, she is committed to enhancing the extraordinary support we deliver.
Learn more about Magento 2 in the other tutorials that we have: