
Now that we had covered how to create Categories, Attributes and Attribute Sets in Magento, you are finally ready to start adding products to your Online Store. In this guide, we will walk you through the process of creating your products step by step and we will explain all the details concerning this process. If you are ready to start - let’s jump right into it!
In order to begin, please log in to your Magento Admin Dashboard and navigate through the left menu bar to Catalog > Products.

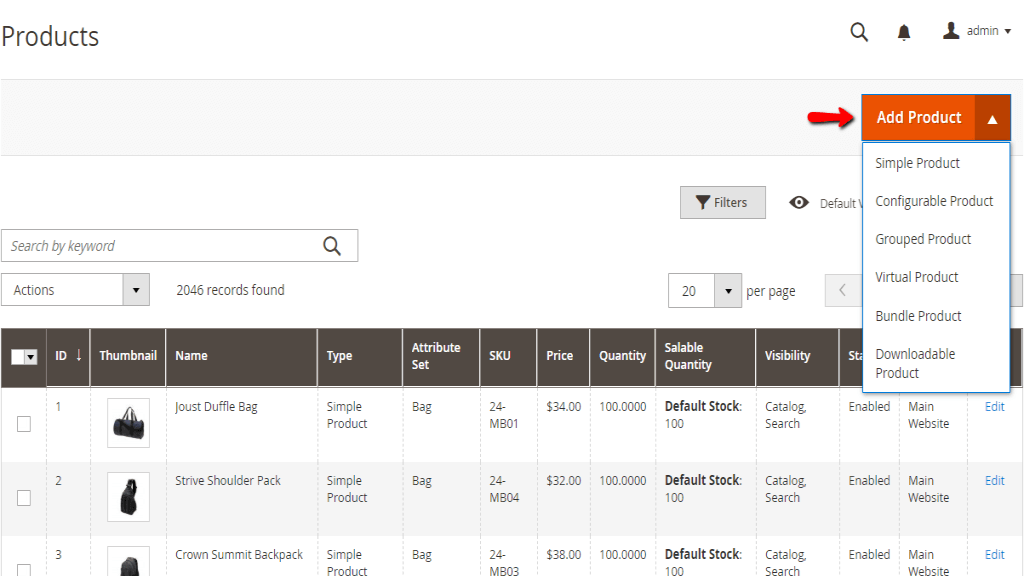
On this page, you will see listed all the products currently added in your Magento Online Store. You will be able to manage, edit or delete your existing products and add new ones.
Now, before you click on the “Add Product” button, please click on the arrow button in order to list all available product types. In this tutorial, we will focus on the “Simple Product” type as it is the most popular and frequently used type. Simple products can be sold individually as well as part of grouped, bundle or configurable products.
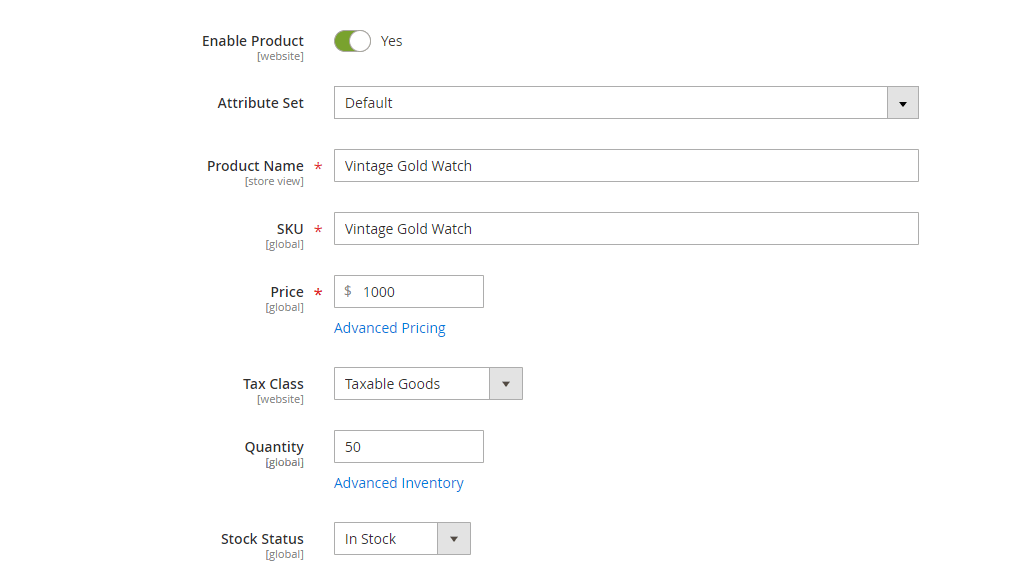
Once you select the product type you will be presented with the product workspace where you will need to fill in all the required information for your product. This works pretty much the same way for all products, although the options could be slightly different depending on the product type and attribute set selected.

Now that we have reviewed the general product settings, let’s take a look at the additional sections available right below. Please, expand the first “Content” section where you will be able to enter the main and short description of your product.

You can use the available text editor to easily format your text, add images and links. Under the “Description” field you will be able to enter the main product description which will be displayed on the product page. The “Short Description” usually is displayed in catalog listing pages, category pages, etc.
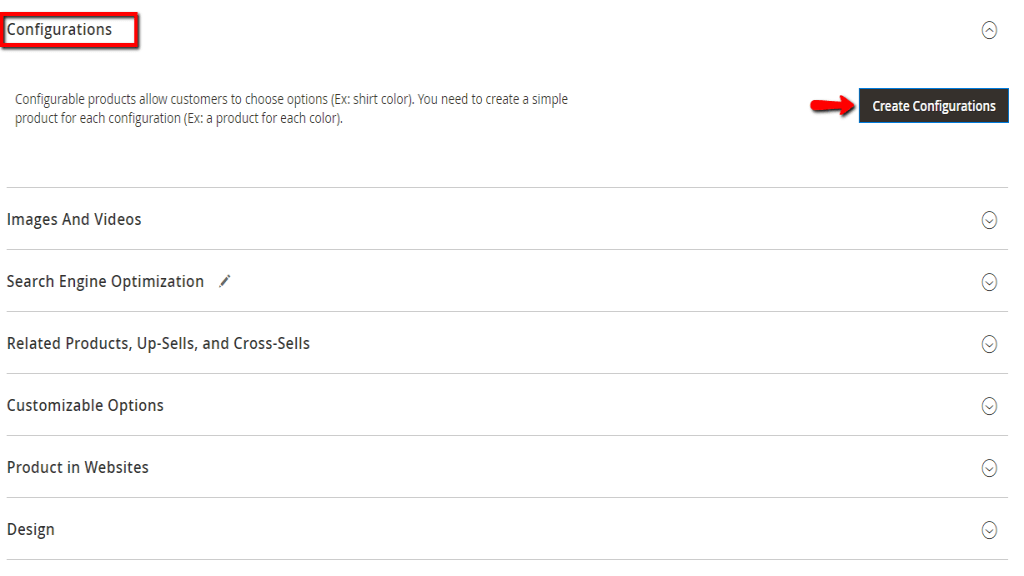
The “Configurations” section is intended for the Configurable Product type. For example, if you are selling shirts and they come in different colors and sizes you will be able to configure each of the variations for the same product, instead of configuring individual Simple Product for each variation. Please note that by clicking on the “Create Configurations” button the current Simple Product will be converted into Configurable Product.
Next is the “Images and Videos” section where you can manage all the images and videos for this product.

You will be able to upload the desired images from your local computer by clicking on “Browse to find or drag image here” box. As well as to add a product video by clicking on the “Add Video” button. Once the image is successfully uploaded you will be able to click on it in order to configure your preferences. A pop-up window will be displayed allowing you to enter “Alt Text” which will be displayed in case the image cannot be loaded by some reason. You will be able to also choose the image “Role”:
You are welcome to use the same image for all the roles or set up different images per role. It all really depends on your preferences.
In the following “Search Engine Optimization” section you will be able to enter a “URL Key”, “Meta Title”, “Meta Keywords”, and “Meta Description” which will be used by search engines to index the product.

From the following “Related Products, Up-Sells, and Cross-Sells” section you will be able to configure additional products that might be of interest to your customers.

You will be able to include each of the product types by clicking on the corresponding “Add Products” button.
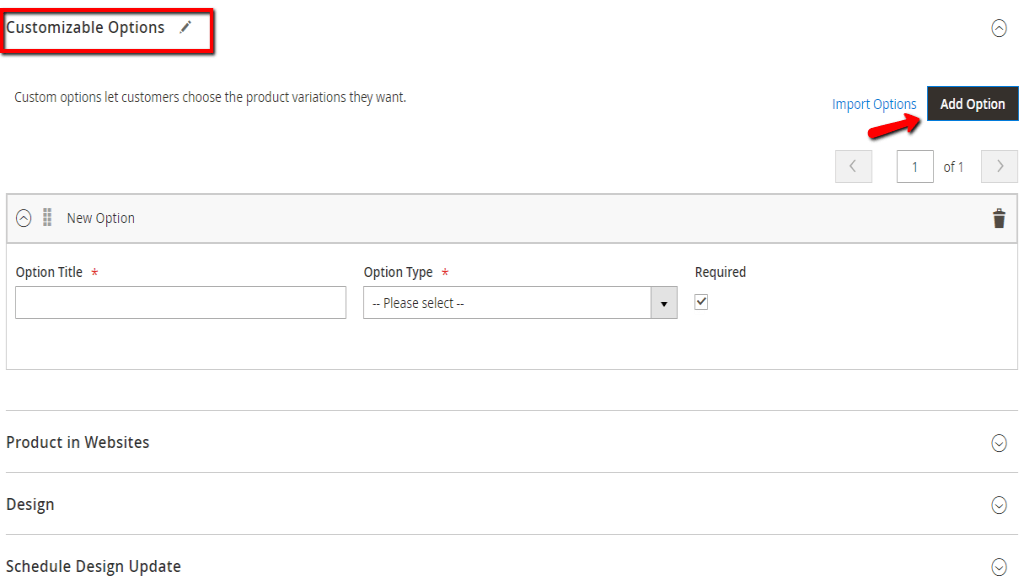
From the following “Customizable Options” section you will be able to personalize the product. You can configure different product variations and provide you customers with a selection of options with a variety of text and data input types. Please note that all variations are handled by a single SKU, therefore they cannot be used to manage the stock.
From the next “Product in Website” section, you will be able to define in which website the product will be available in. In our case, there is only one checkbox, however, if your Magento installation includes multiple websites, you will be able to edit the scope.

From the following “Design” section you will be able to customize the appearance of the product page.
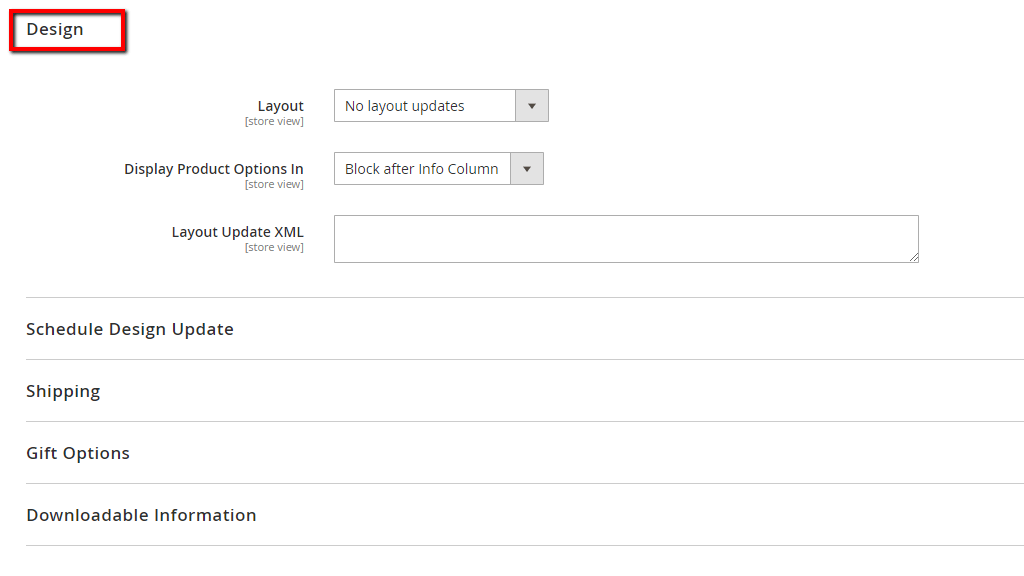
From the first “Layout” dropdown menu you can select the preferred column layout, from “ Display Product Options In” you can select where the product options will appear and you can also add custom XML code in the “Layout Update XML” field.
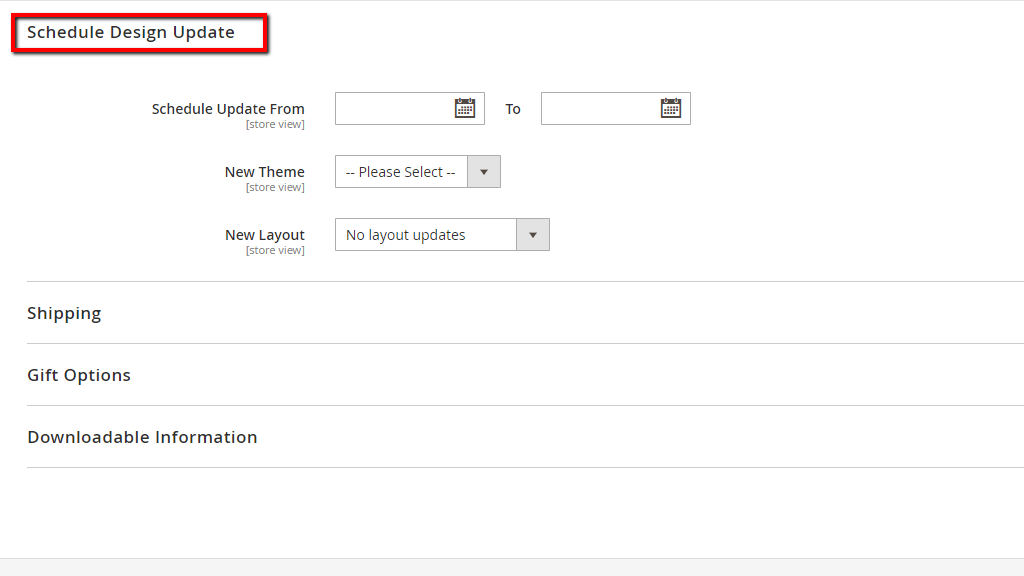
From the “Schedule Design Update” section you will be able to change the theme and layout options for this product and schedule a time when the changes will be applied.
The following “Shipping” section will appear empty unless you have a Magento extension allowing you to configure shipping rates on a product level.
From the “Gift Options” section you will be able to allow a gift message to be included during checkout while purchasing this product. In order to do that, you will need to untick the “Use Config Settings” checkbox and enable “Allow gift message”.

From the last “Downloadable Information” section you will be able to configure the product as a downloadable product type. "Downloadable" are products that are provided in a downloadable file format, such as digital products like audiobooks, photos, videos, music, etc. As downloadable products do not require shipping you will need to set the “Weight” option to “This item has no weight” - either way, you will not be allowed to configure this product as downloadable. If this is the case, please make sure to tick the “Is this downloadable Product?” checkbox and configure the downloadable product options. You will need to specify the title of the product, the price, to select the file for download (by uploading it or entering an external URL), determine if the link will be sharable and set the limit for maximum downloads.

Once all settings are configured as you desire please make sure to click on the “Save” button in order to add the new product to your catalog.
Before you check your new product on the frontend, please make sure to clear the Magento cache by going to System > Cache Management > Flush Magento Cache.
You may also review the status of your indexes by going to System > Index Management > Update on Save > Submit.
Once you ensure all this is done the product should appear on your store’s frontend. We would like to congratulate you on learning how to add products in your Magento store and thank you for trusting our guidance. If you have ended up with any error messages you can always contact our Support Team for further assistance.

Sebahat is a young and bright woman who has become an invaluable part of our team. She started as a Customer Care Representative, mastering that role and, along the way, growing into a tech-savvy individual who is well acquainted with every support layer of the company. Driven by her aim to improve our customers’ experience constantly, she is committed to enhancing the extraordinary support we deliver.
Learn more about Magento 2 in the other tutorials that we have: