
Learn Email
The Mail Signature functionality exists in any decent email application you use, regardless of the Operating System. Using a signature in your emails will automatically allow you to add information at the end of your messages. Why would you want to add information at the end of your messages, you might ask? Well, the answer is simple - immediate recognition by your recipients! If you are running a business, you must include a professional email signature with your name, your standing in the company, and of course, the logo. Apple Mail is the most used application on macOS, and it is no different in its capabilities from any other email application in terms of utility. It is armed with the necessary tools to help you create and manage email signatures. If you want to learn how to add email signatures to your Apple Mail Client on macOS, we highly recommend reading this tutorial!
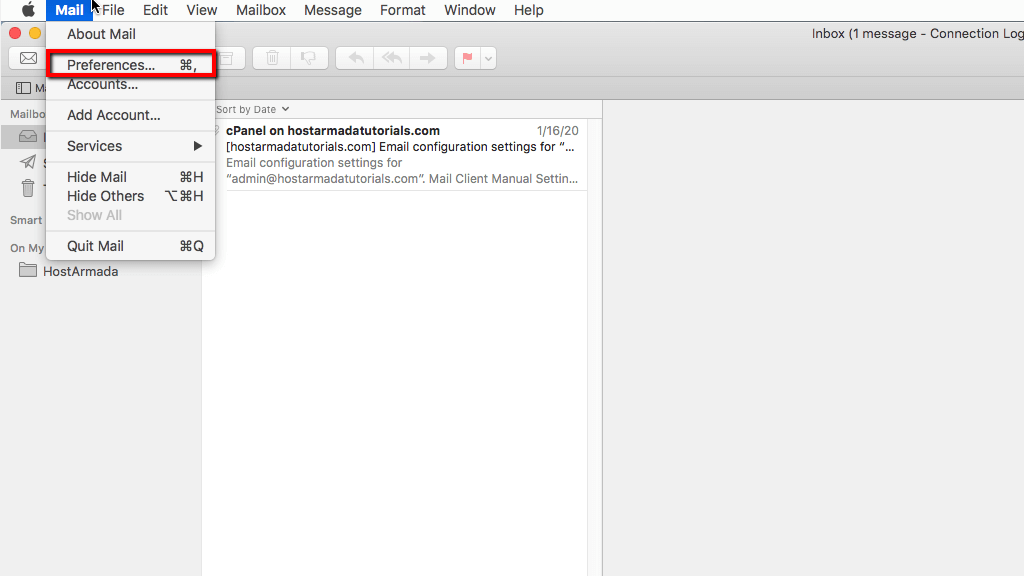
To begin managing the Signatures of your emails in Apple Mail, you need to set up an email account. Once you finish the email configuration, you can go ahead and edit the Apple email setup's preferences. You can do that by accessing the "Mail" menu and then select the "Preference" option.
The "Preferences" dialog box will show you different settings for your Apple mail accounts. Out of all these, please choose the "Signatures" tab.
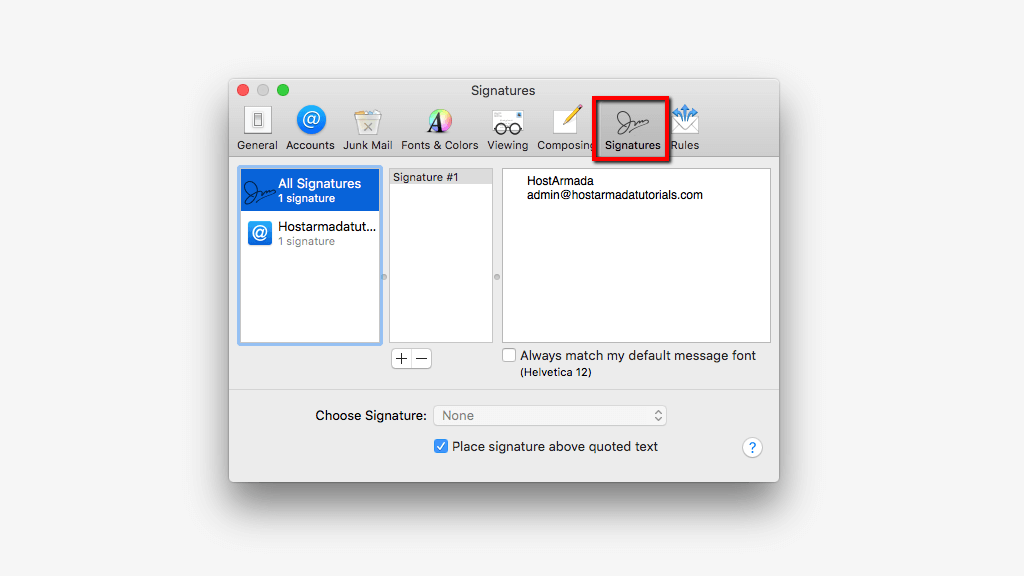
Doing so will cause the Apple email application to show all the settings relevant to creating a professional email signature for your messages.
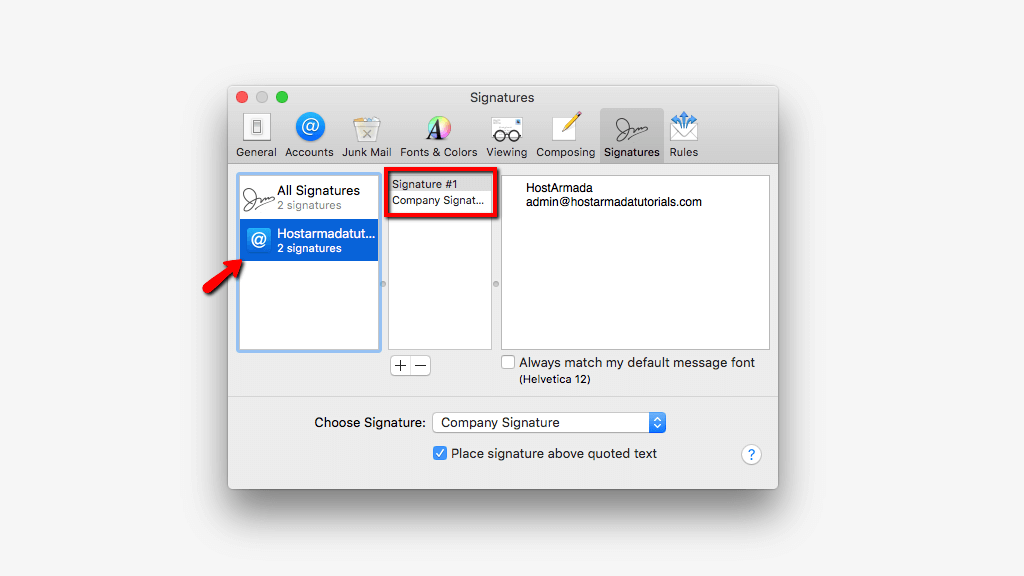
Let's begin by creating a new signature. The mail client will separate the "Signatures" tab into three columns.
To add a new signature, please select the email account you want to create a signature from the first column.
When you choose the desired Apple email setup, please use the second column mentioned above to start creating your new email signature.
Right under the second column, you will see two small buttons - "+" and "-" respectively, for adding new or removing existing email signatures. Please, click on the "+" button.
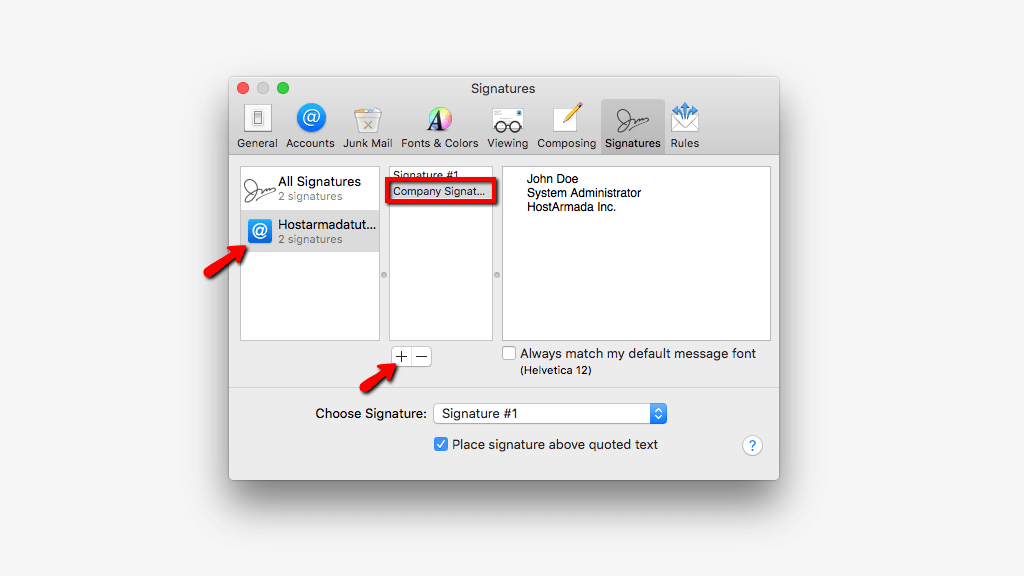
This action will add a new signature to the current list and prompt you to insert the fresh signature's name. We recommend inserting a well-descriptive name when creating your email signature so you can tell it apart from the rest.
After you type in the new email signature's name, please move to the third column representing the signature's content. Please, fill in the content you want your signature to include based on your personal preferences.
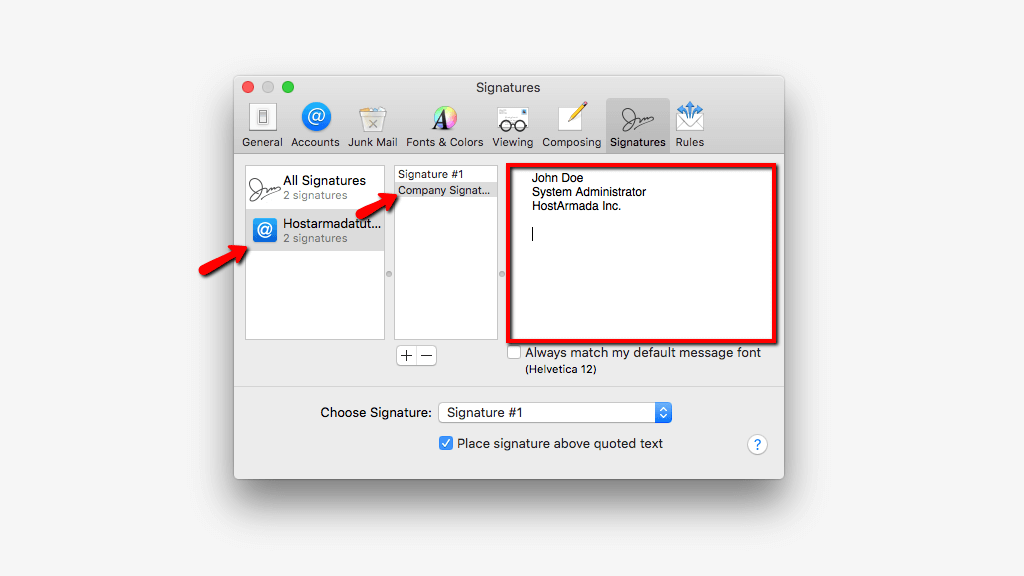
Please note that Apple Mail automatically saves the signature configuration, which means that you will not have to click anywhere to keep the email signature's content.
Now that you created your signature, it is time to associate it with an existing Apple email setup. To do that, you will have to select the email account from the first column, and then from the "Choose Signature" drop-down menu, pick the name of the email signature you would like to use for that email account.

Now that your signature is created and associated with an Apple email account let's see how the signature looks. Please go ahead and start composing a new message. When the message creation screen shows up, you will see the email signature inserted inside.
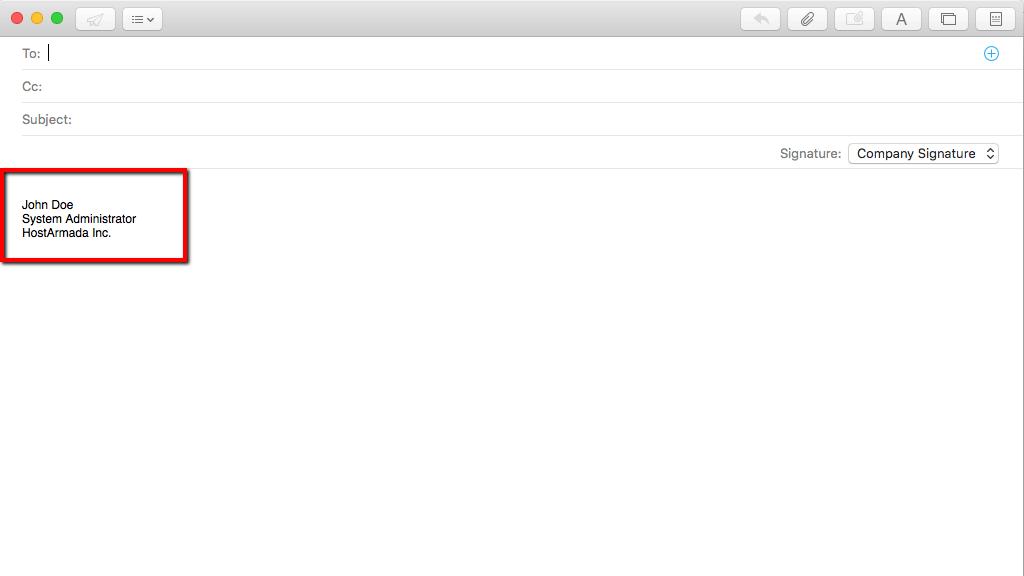
If this is the case, you can consider the Apple email signature creation process complete!
To complete the overview of the Email Signatures functionality in the Apple email application on macOS, let's continue by editing an existing signature. Please access the "Preferences" option from the "Mail" menu at the top of your screen to edit the current signatures.
Now, please go ahead and select the "Signatures" tab. To edit a signature, you first have to choose the Apple email account, which uses that signature. You can do that by clicking on the email account inside the first column of the "Signatures" interface. After you click on the email account, the mail client will load the existing signatures for the respective email.
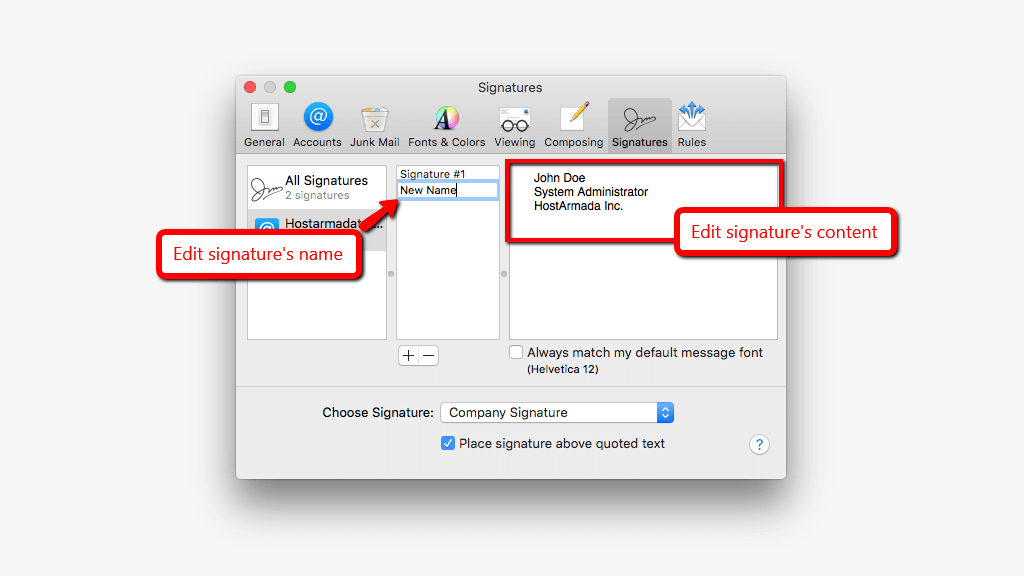
To edit the signature's name, please double-click on the selected signature.
To edit the signature content, please click on the selected signature and use the third column to change its content.
To remove a signature, please select it from the second column and then use the "-" button located right underneath.

The mail client will ask you to confirm the deletion of your signature. If you click on the "OK" button, the Apple Mail application will delete the signature you selected.
Please bear in mind that once deleted, you will not be able to restore it, so please be careful when removing signatures from your Apple Mail client.
Finally, you can close the "Preferences" dialog box and continue using your Apple Mail application for your day-to-day task.
There you have it! A great tutorial that gives you all the knowledge you need to create an email signature in the Apple Mail application on macOS. Hopefully, you found our explanations easy to follow, and you could complete the signature creation.

Sebahat is a young and bright woman who has become an invaluable part of our team. She started as a Customer Care Representative, mastering that role and, along the way, growing into a tech-savvy individual who is well acquainted with every support layer of the company. Driven by her aim to improve our customers’ experience constantly, she is committed to enhancing the extraordinary support we deliver.
Learn more about Email in the other tutorials that we have: