
Social Media nowadays has a key role for your Online Store to grow and develop. Thanks to Social Media people can find and follow your Online Store in the Social channels such as Facebook, Twitter, Instagram and so on. Being connected with all these social networks is an obligatory and very effective way to tell the people in the world about your business. Today you are going to learn how to connect your Online Store with Social Media.
In order to connect your visitors to your Social Media pages, you will have to log in to the Admin area of Prestashop and from the left vertical navigation menu to look for the “Modules” option. When you find it, please, click on it. A drop-down menu will appear with the following options:

Out of these two options, please, click the “Module Manager” one. You will be redirected to a page called “Module Manager”.

Once there, scroll down until you find the section “Facebook & Social Networks”.

In that section, you will see three modules. You are going to see detailed information about the two of them “Social Media follow links” and the “Social Media share button”. Let’s start with the first one.
Next, to each of the modules, you will see a “Configure” button.

When you click the “Configure” button of the “Social Media follow links” module you will be redirected to a page called “Configure Social Media follow links”.

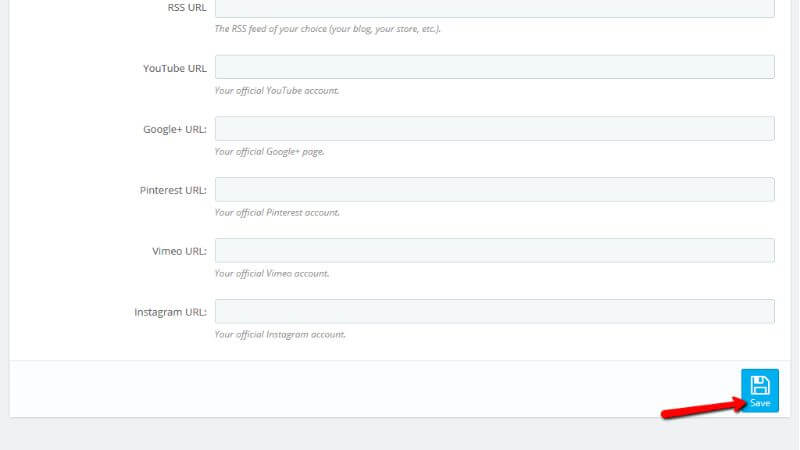
On that page, there will be only one section called “Settings”. The “Settings” section contains 8 fields where you can insert the links for your social profiles. The fields are for the most popular networks such as:
After you insert the links for your accounts, please, click the “Save” button at the bottom of the section.
Once you click the “Save” button, the changes will appear in the frontend of your Online Store and also social networks can be seen in the footer area of your website.
Pretty easy, isn’t it? Now, let’s move to the next module - the “Social Media share button” one.
The Social Share buttons are used when your visitors would like to share content from your website directly on a certain Social Channel. For example, if a customer likes a product you are selling or its price looks appealing, he/she can share it in his/her social profile thanks to a single click on the concrete Social Sharing icon directly from the product page of your Online Store.
On the page “Module Manager” scroll down until you reach the “Facebook & Social Networks” section. On the module “Social Media share button” click the “Configure” button.

This will redirect you to a page called “Configure Social Media share buttons”.

On that page, you have one section with four options.
It is up to you to decide which social network share buttons will be displayed on the frontend of your Online Store. It is good for you if you leave the options, as they are by default - available.
Once you are done deciding which of the options you want to enable, please, click the “Save” button at the bottom of the section.

Once the changes are made you can check your website’s frontend. The share buttons will be visible right above the description for each product. Let’s say a customer liked, in this case, “The Adventure Begins Framed Poster” and clicks on that item to purchase it. The moment the page reloads with that specific item only the customer will see the share buttons.

That is it! Pretty easy, isn’t it?
Congratulations! Now you know how to connect your visitors to your Social Media pages using the PrestaShop Social Icons feature.

Sebahat is a young and bright woman who has become an invaluable part of our team. She started as a Customer Care Representative, mastering that role and, along the way, growing into a tech-savvy individual who is well acquainted with every support layer of the company. Driven by her aim to improve our customers’ experience constantly, she is committed to enhancing the extraordinary support we deliver.
Learn more about Prestashop 1.7 in the other tutorials that we have:
