
WordPress is the most widely used content management system in the world, powering millions of websites. However, its popularity also makes it a frequent target for malicious activity, automated attacks, and vulnerability exploitation.
Armada V-Shield (powered by Patchstack) is a powerful security add-on that enhances the protection of your WordPress website. It works by installing a plugin that immediately begins scanning your site for known vulnerabilities in plugins, themes, and core components. Any detected issues are then reported directly to the Armada V-Shield interface within your Client Area, where you can easily review and manage them.
This add-on adds an extra layer of protection by helping safeguard your website against known WordPress vulnerabilities. With Armada V-Shield in place, you can focus on building and managing your content while maintaining a stronger security posture.
In this tutorial, we will provide an overview of the add-on, explain how it works, and guide you through its interface.
This tutorial assumes that you have already purchased and set up your Armada V-Shield addon. If you have not done that, please check this tutorial and then return here.
To access your Armada V-Shield interface, please access your Client Area. If you are not sure how to do that, please check our tutorial on how to do so.
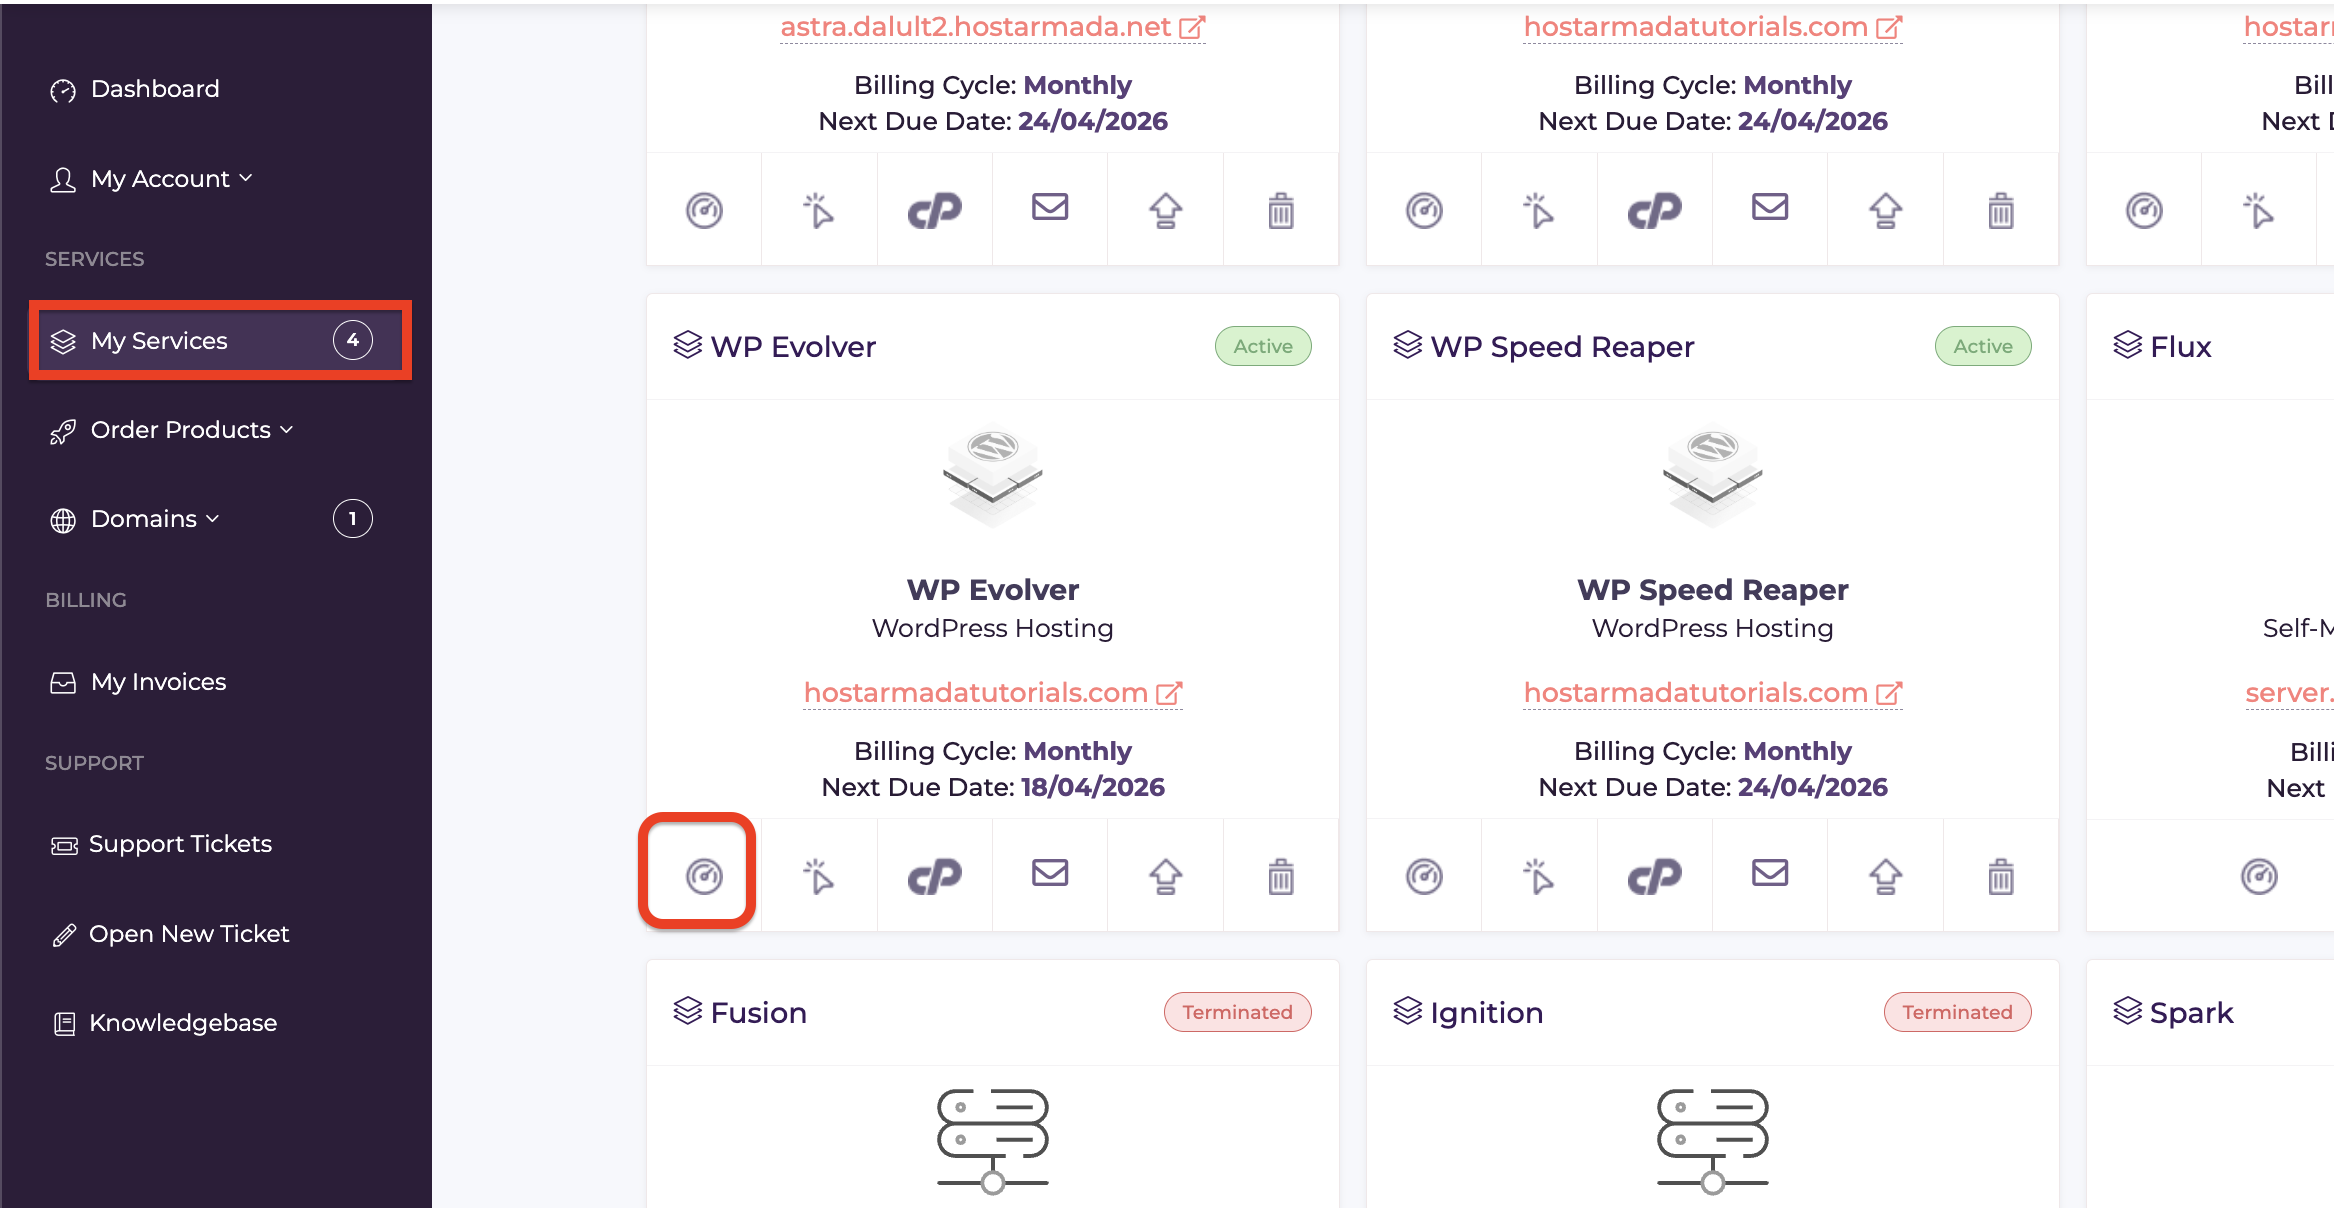
Once inside the Client Area, please navigate to “My Services” in the left-side menu.
From there, please click on the “service icon” located in the bottom left corner of the product you have activated the Armada V-Shield addon for.
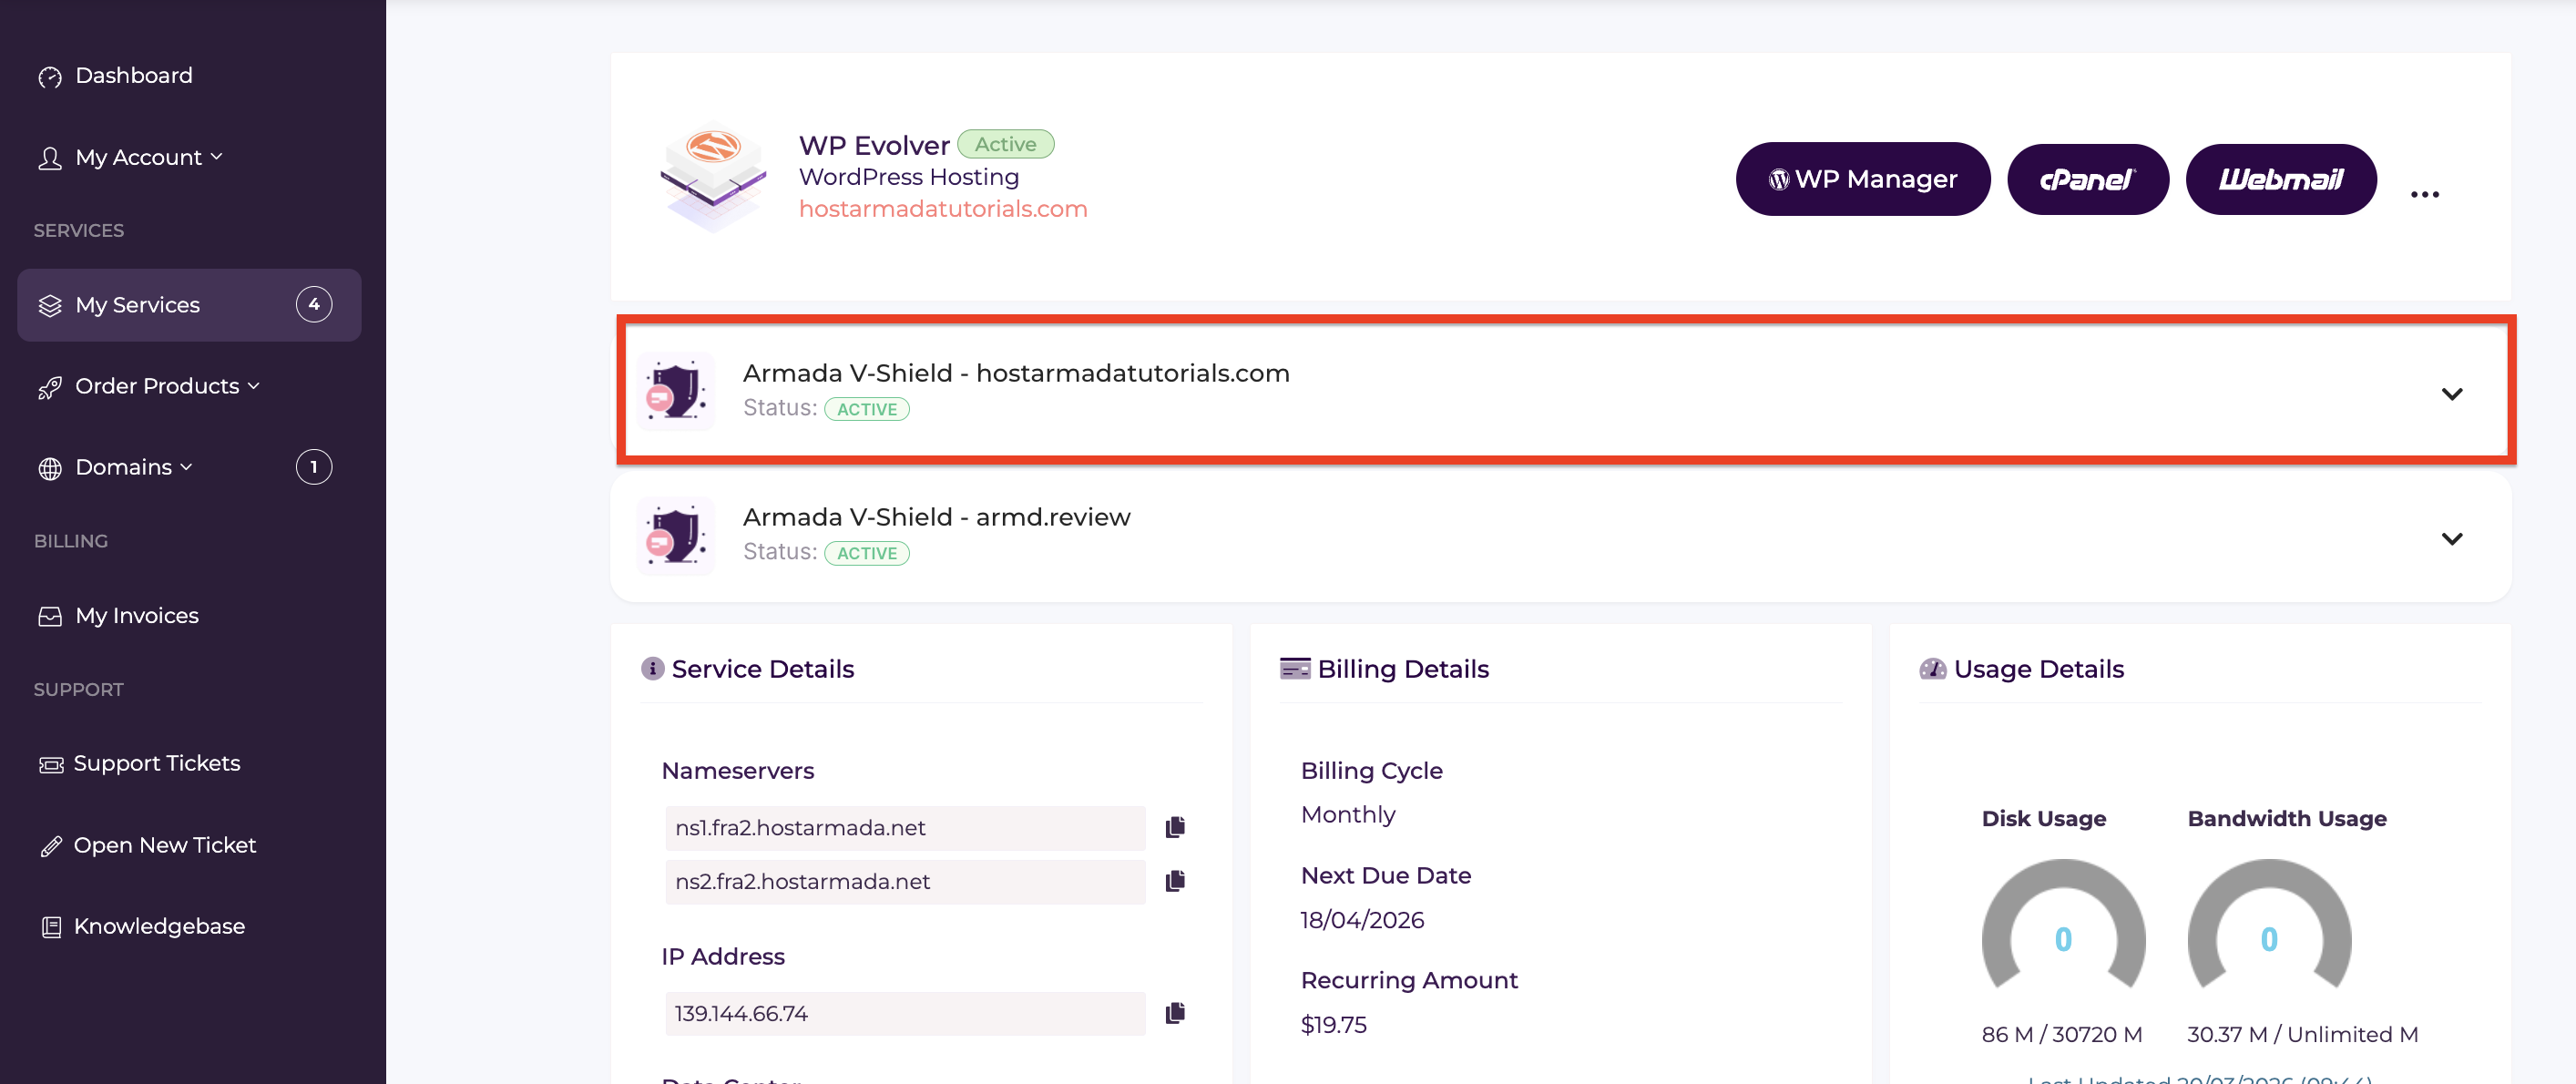
Performing the action above will take you to the plan management area, where you can achieve the following:
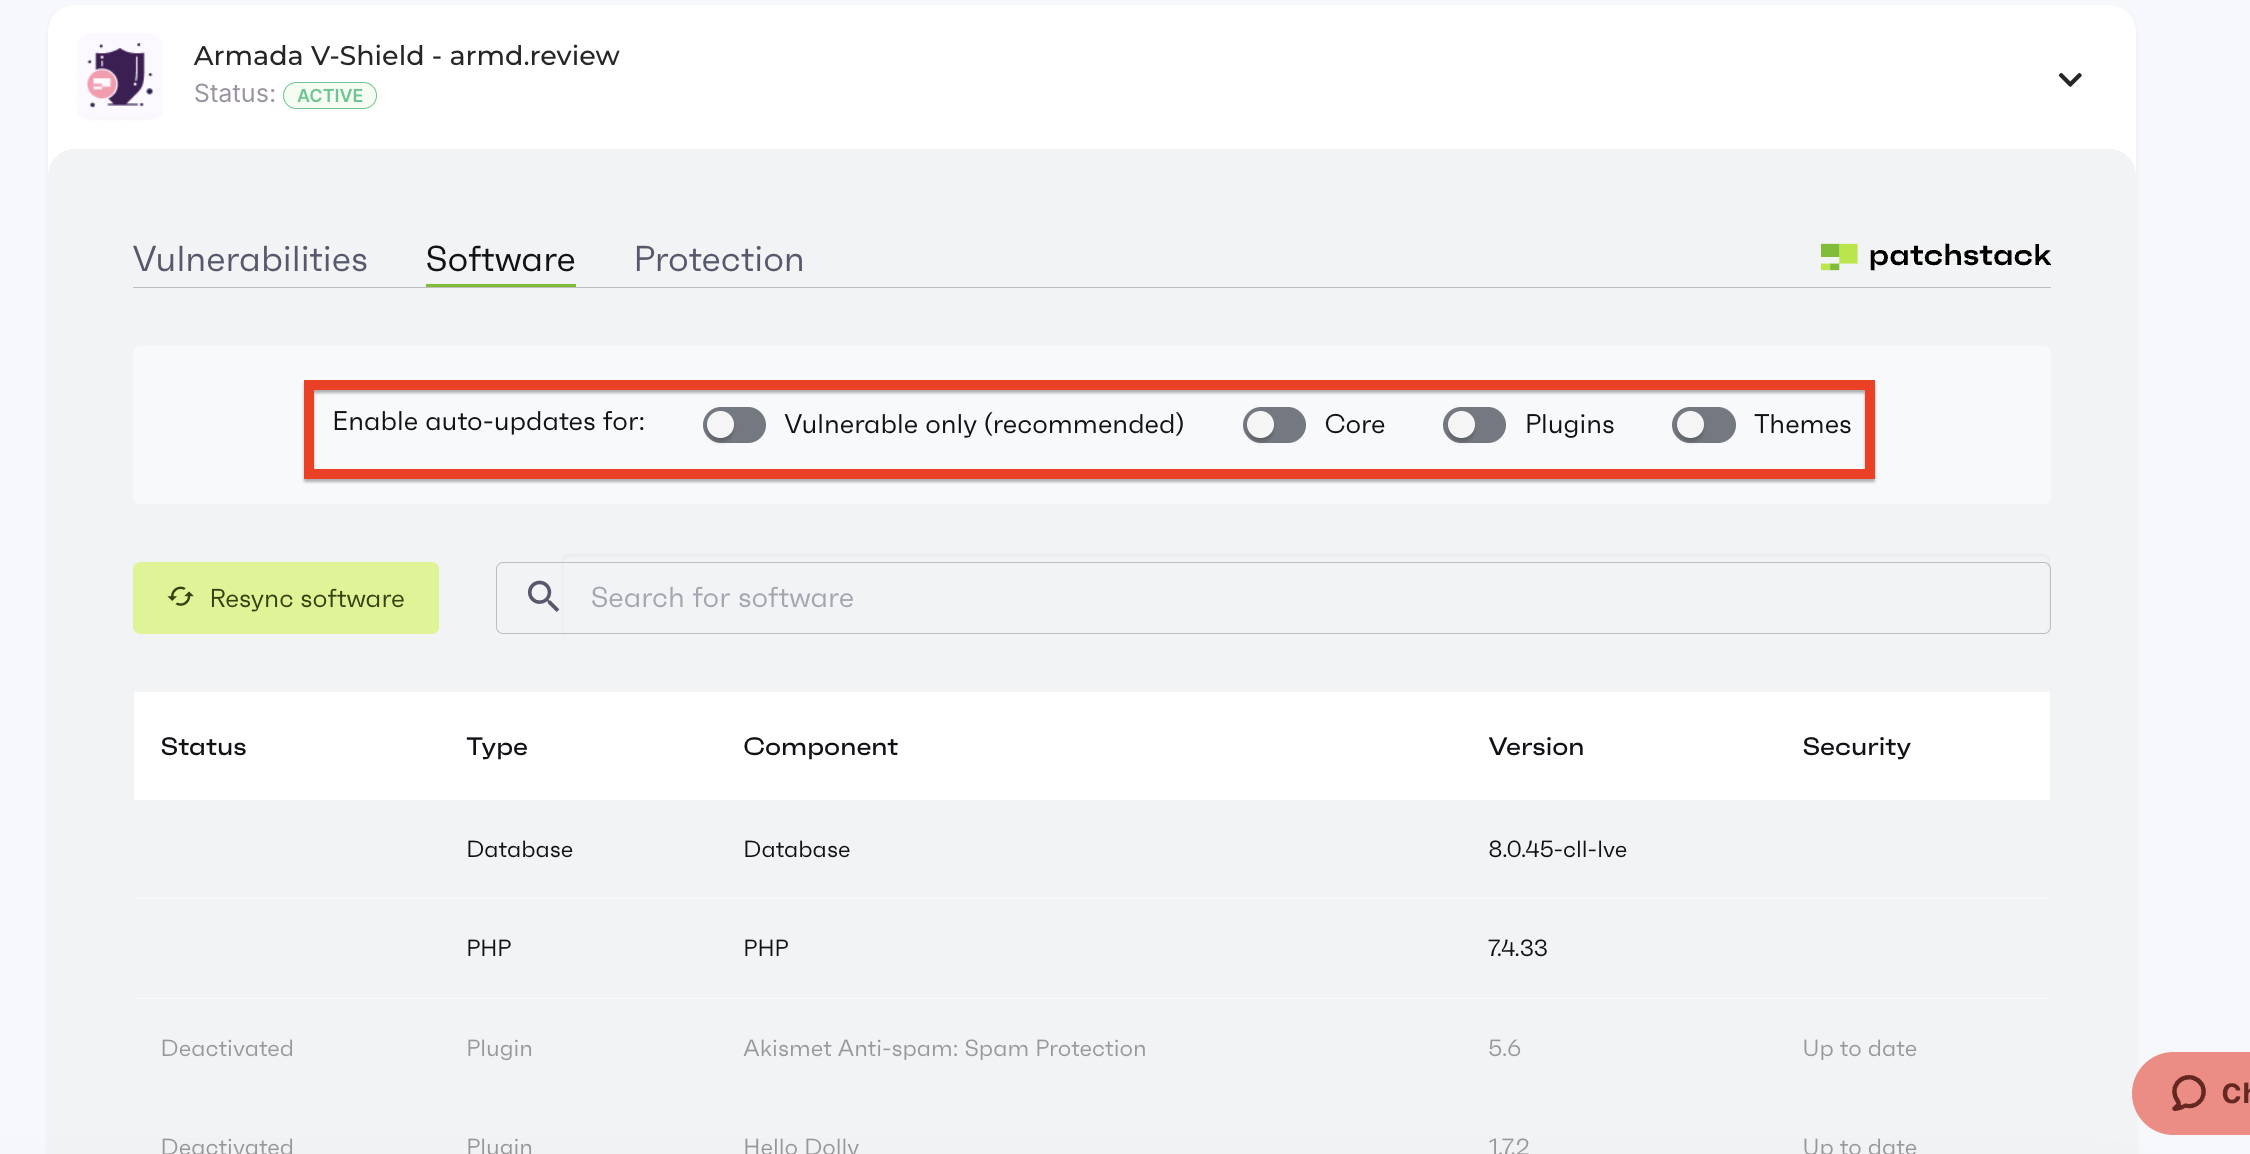
To access the Armada V-Shield addon, please click on the down-pointing arrow corresponding to the addon you have set up for your website.
If you do the above, a drop-down menu will unveil itself, and inside you will see the addon booster’s interface.
As we mentioned at the beginning of the tutorial, the aim of the Armada V-Shield addon booster is to locate, resolve, and block future security threats for your website.
The booster’s features are all neatly and conveniently divided amongst 3 tabs:
Each tab provides specific insights into your website’s security.
This tab displays all detected vulnerabilities inside a table section in the middle of the screen.
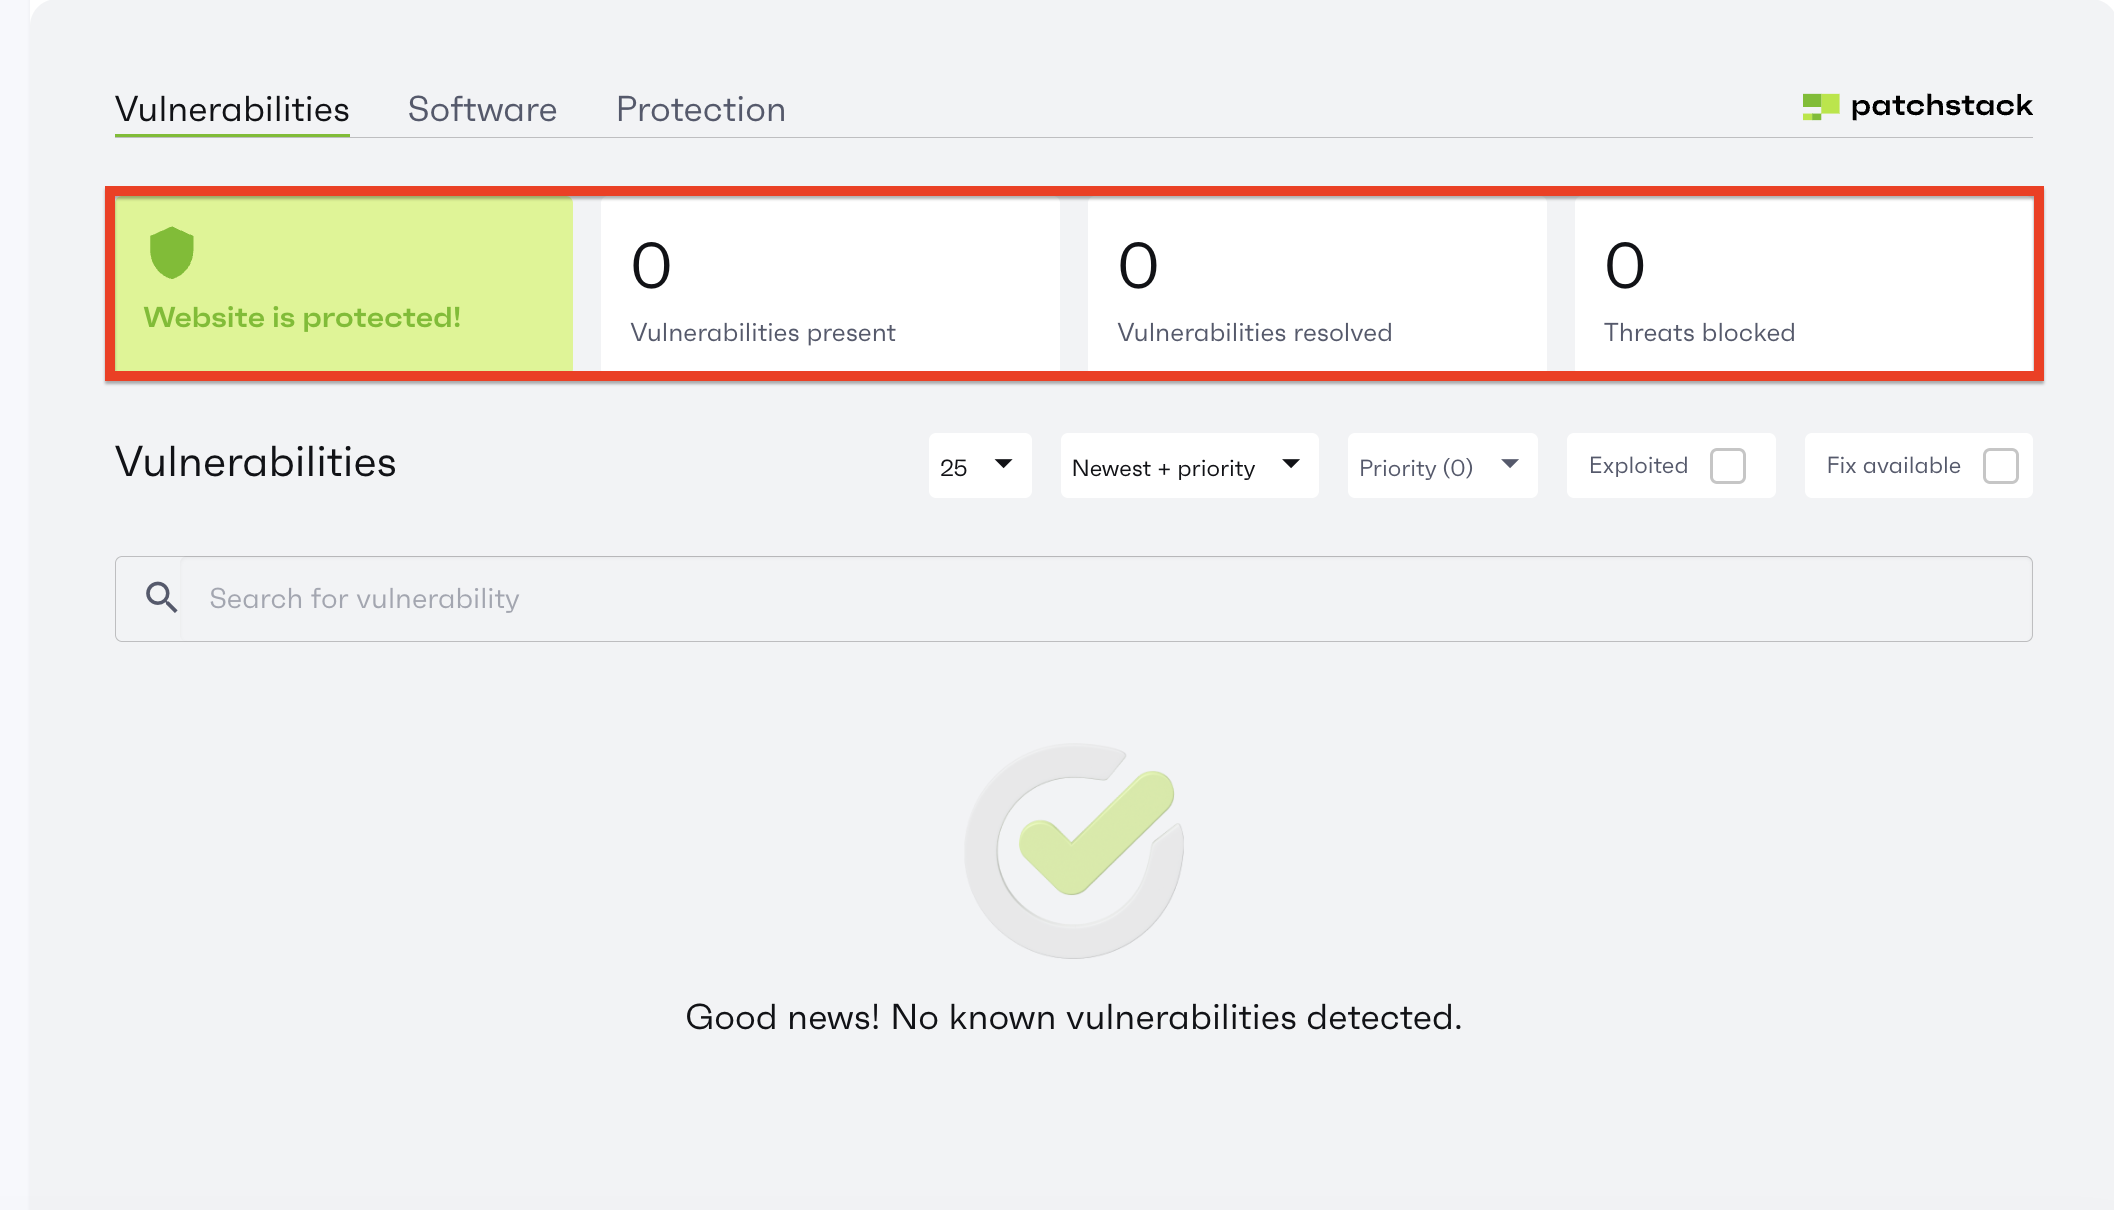
All of them will have different statuses:
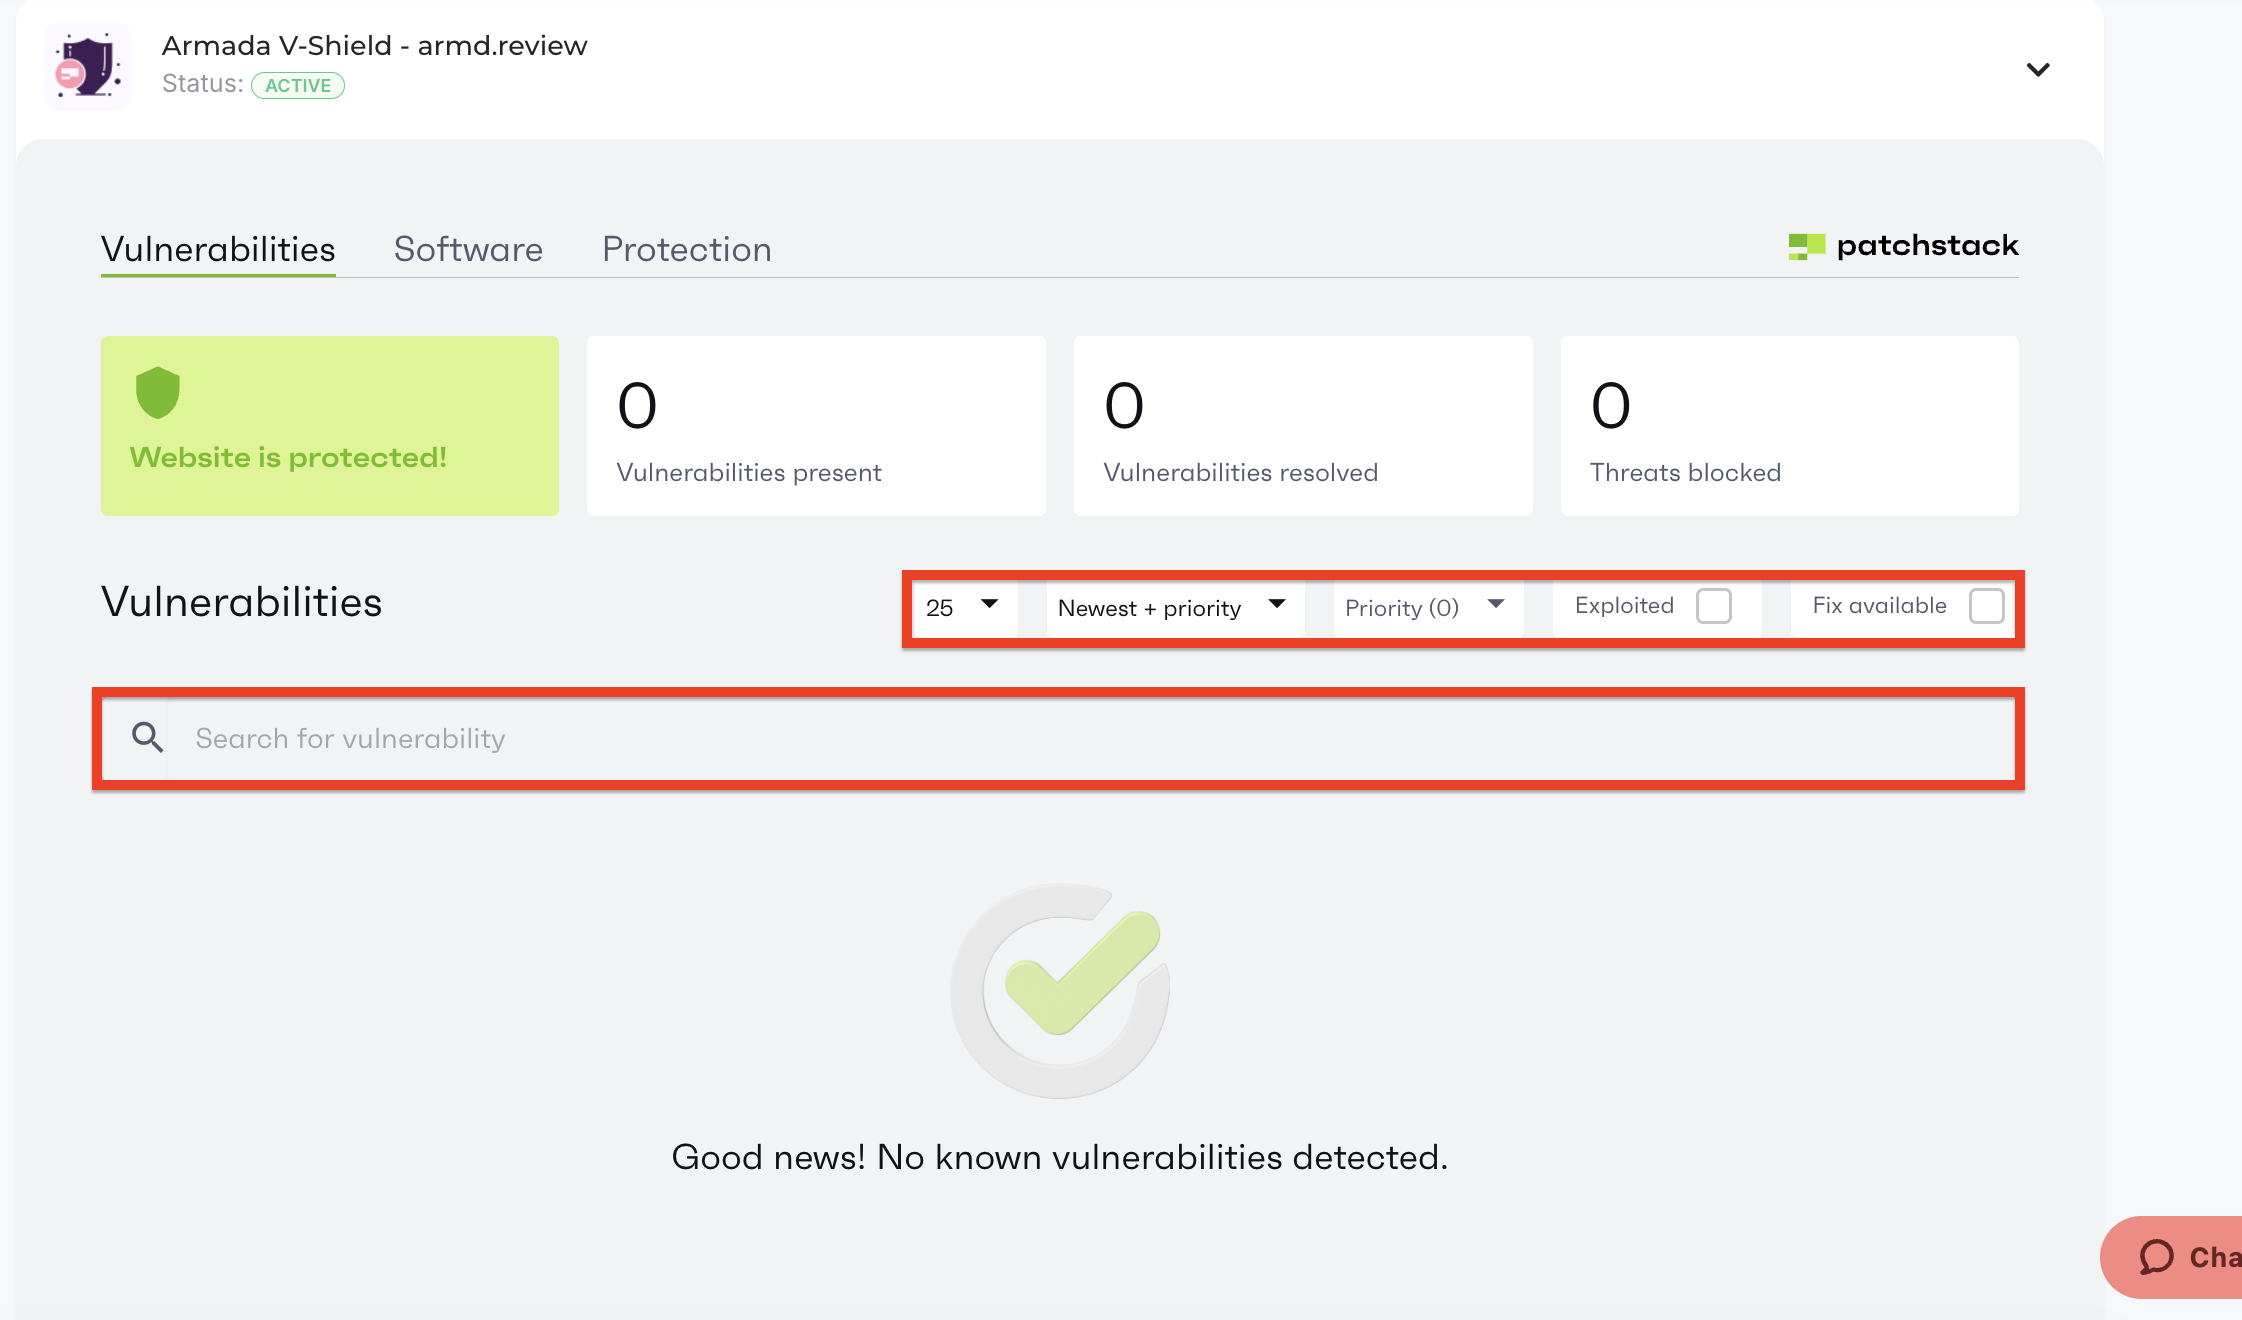
Above the table section, you will notice a search bar, and above it, filters that let you narrow down vulnerabilities to your needs.
That covers the “Vulnerabilities” tab. Let’s move on to the “Software” tab
As the tab suggests, the “Software Tab” will provide detailed information about the WordPress environment, such as:
This information is presented in the table section rows located in the middle of the add-on interface.
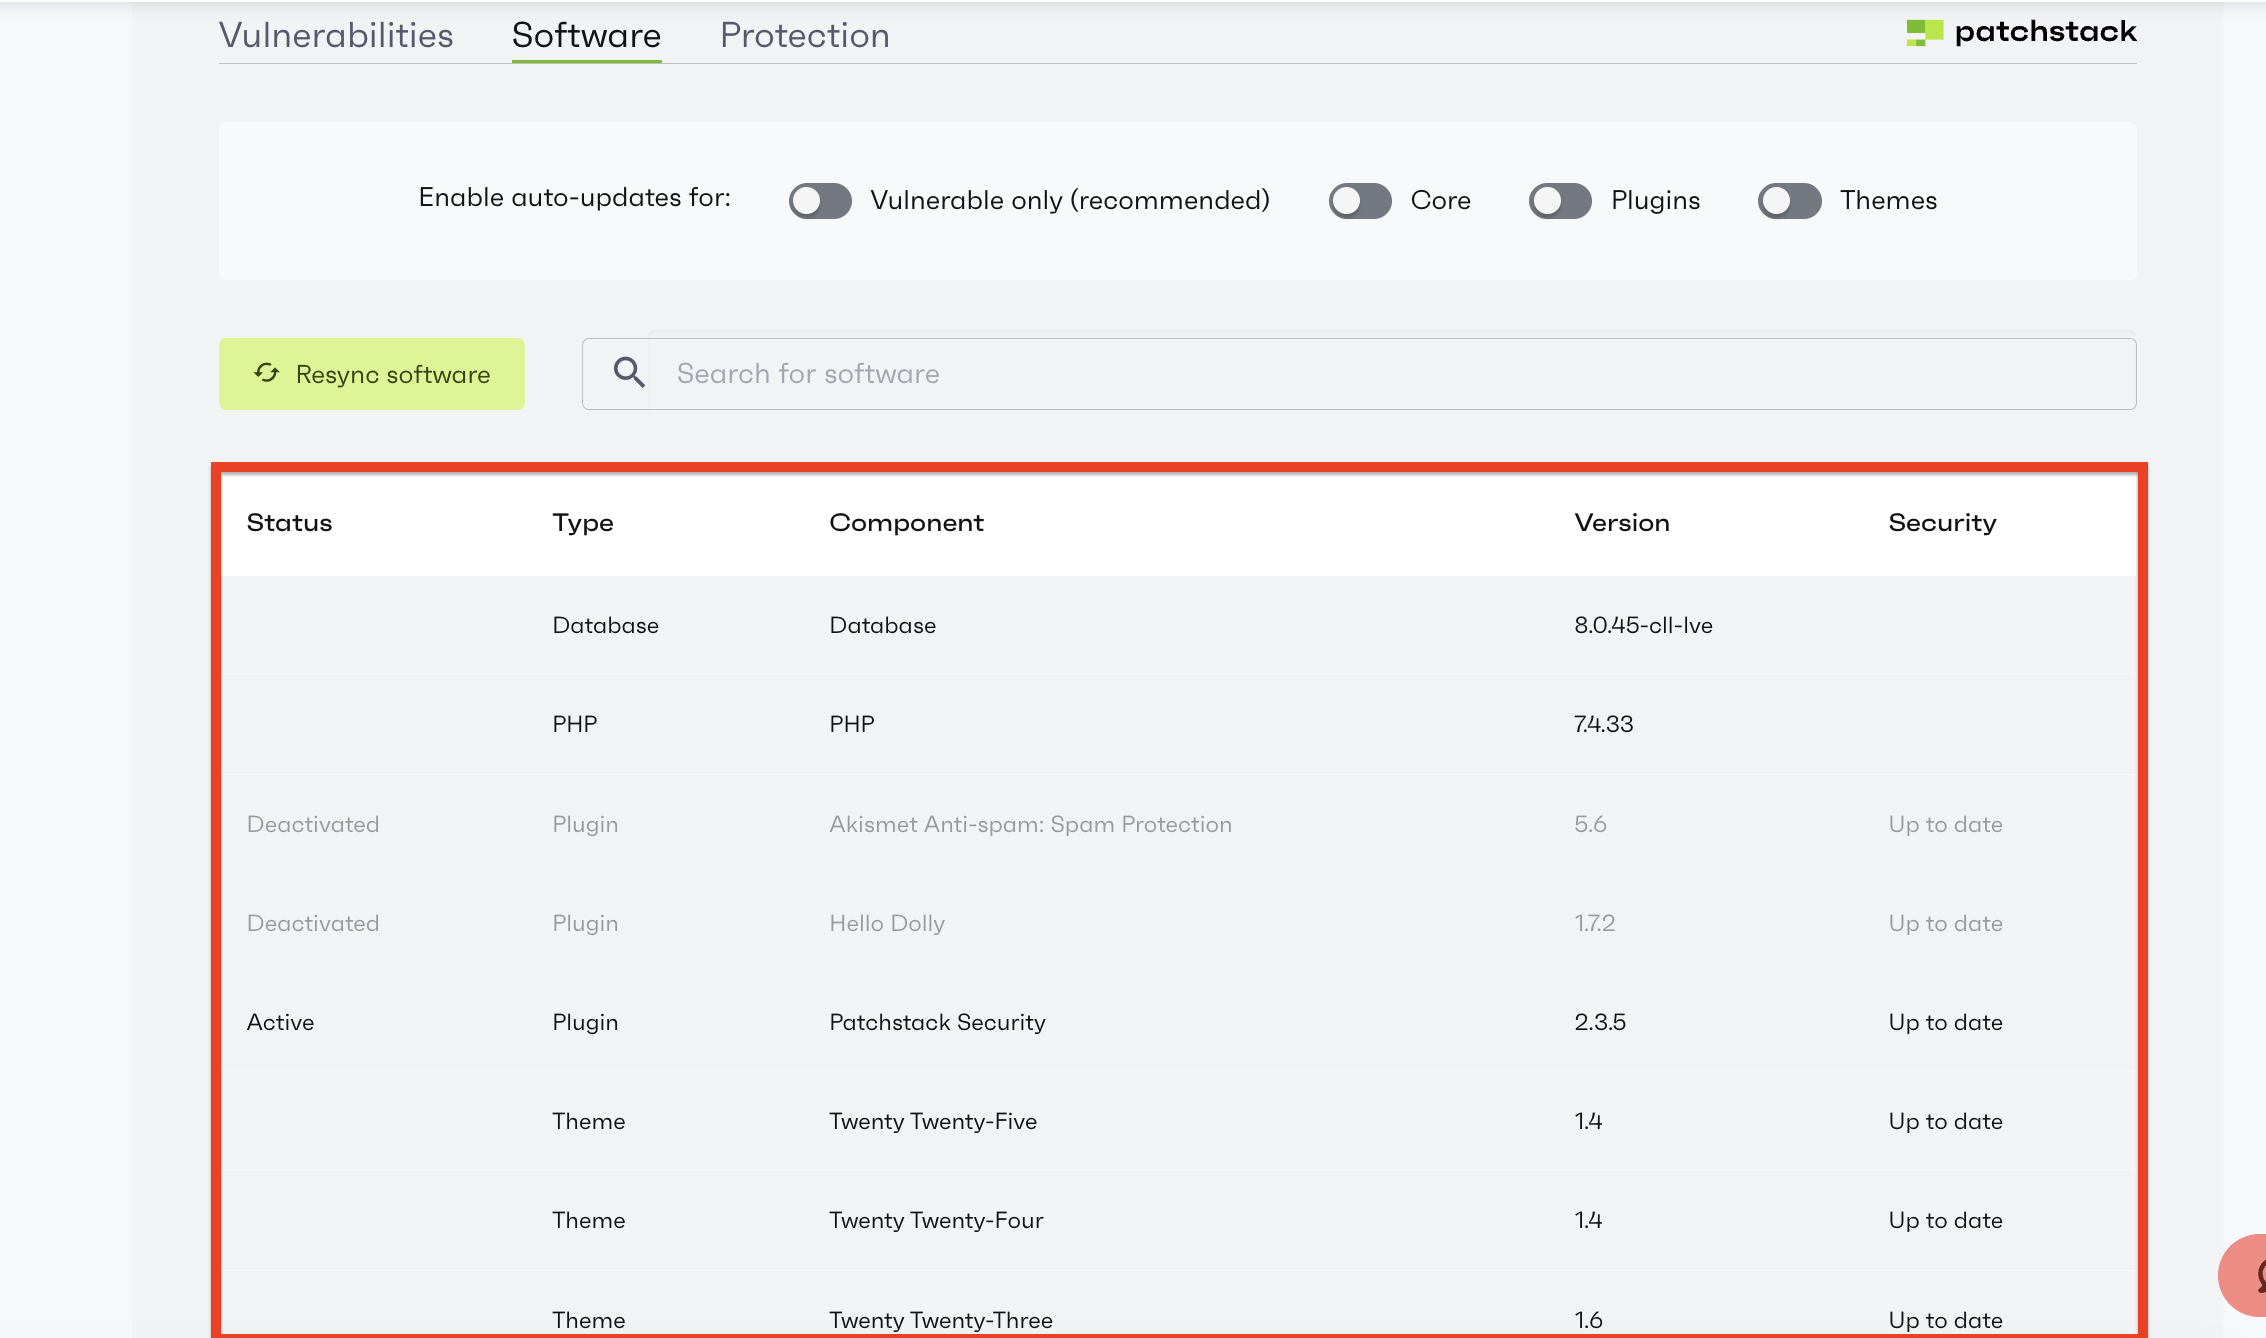
The columns, on the other hand, contain the following useful information:
At the top of the table section, you will see a search bar that lets you easily find a specific component you are interested in.
On the left side of the search bar, you will see a “Resync Software” button that will allow you to refresh the data, populating it with new information about the components.

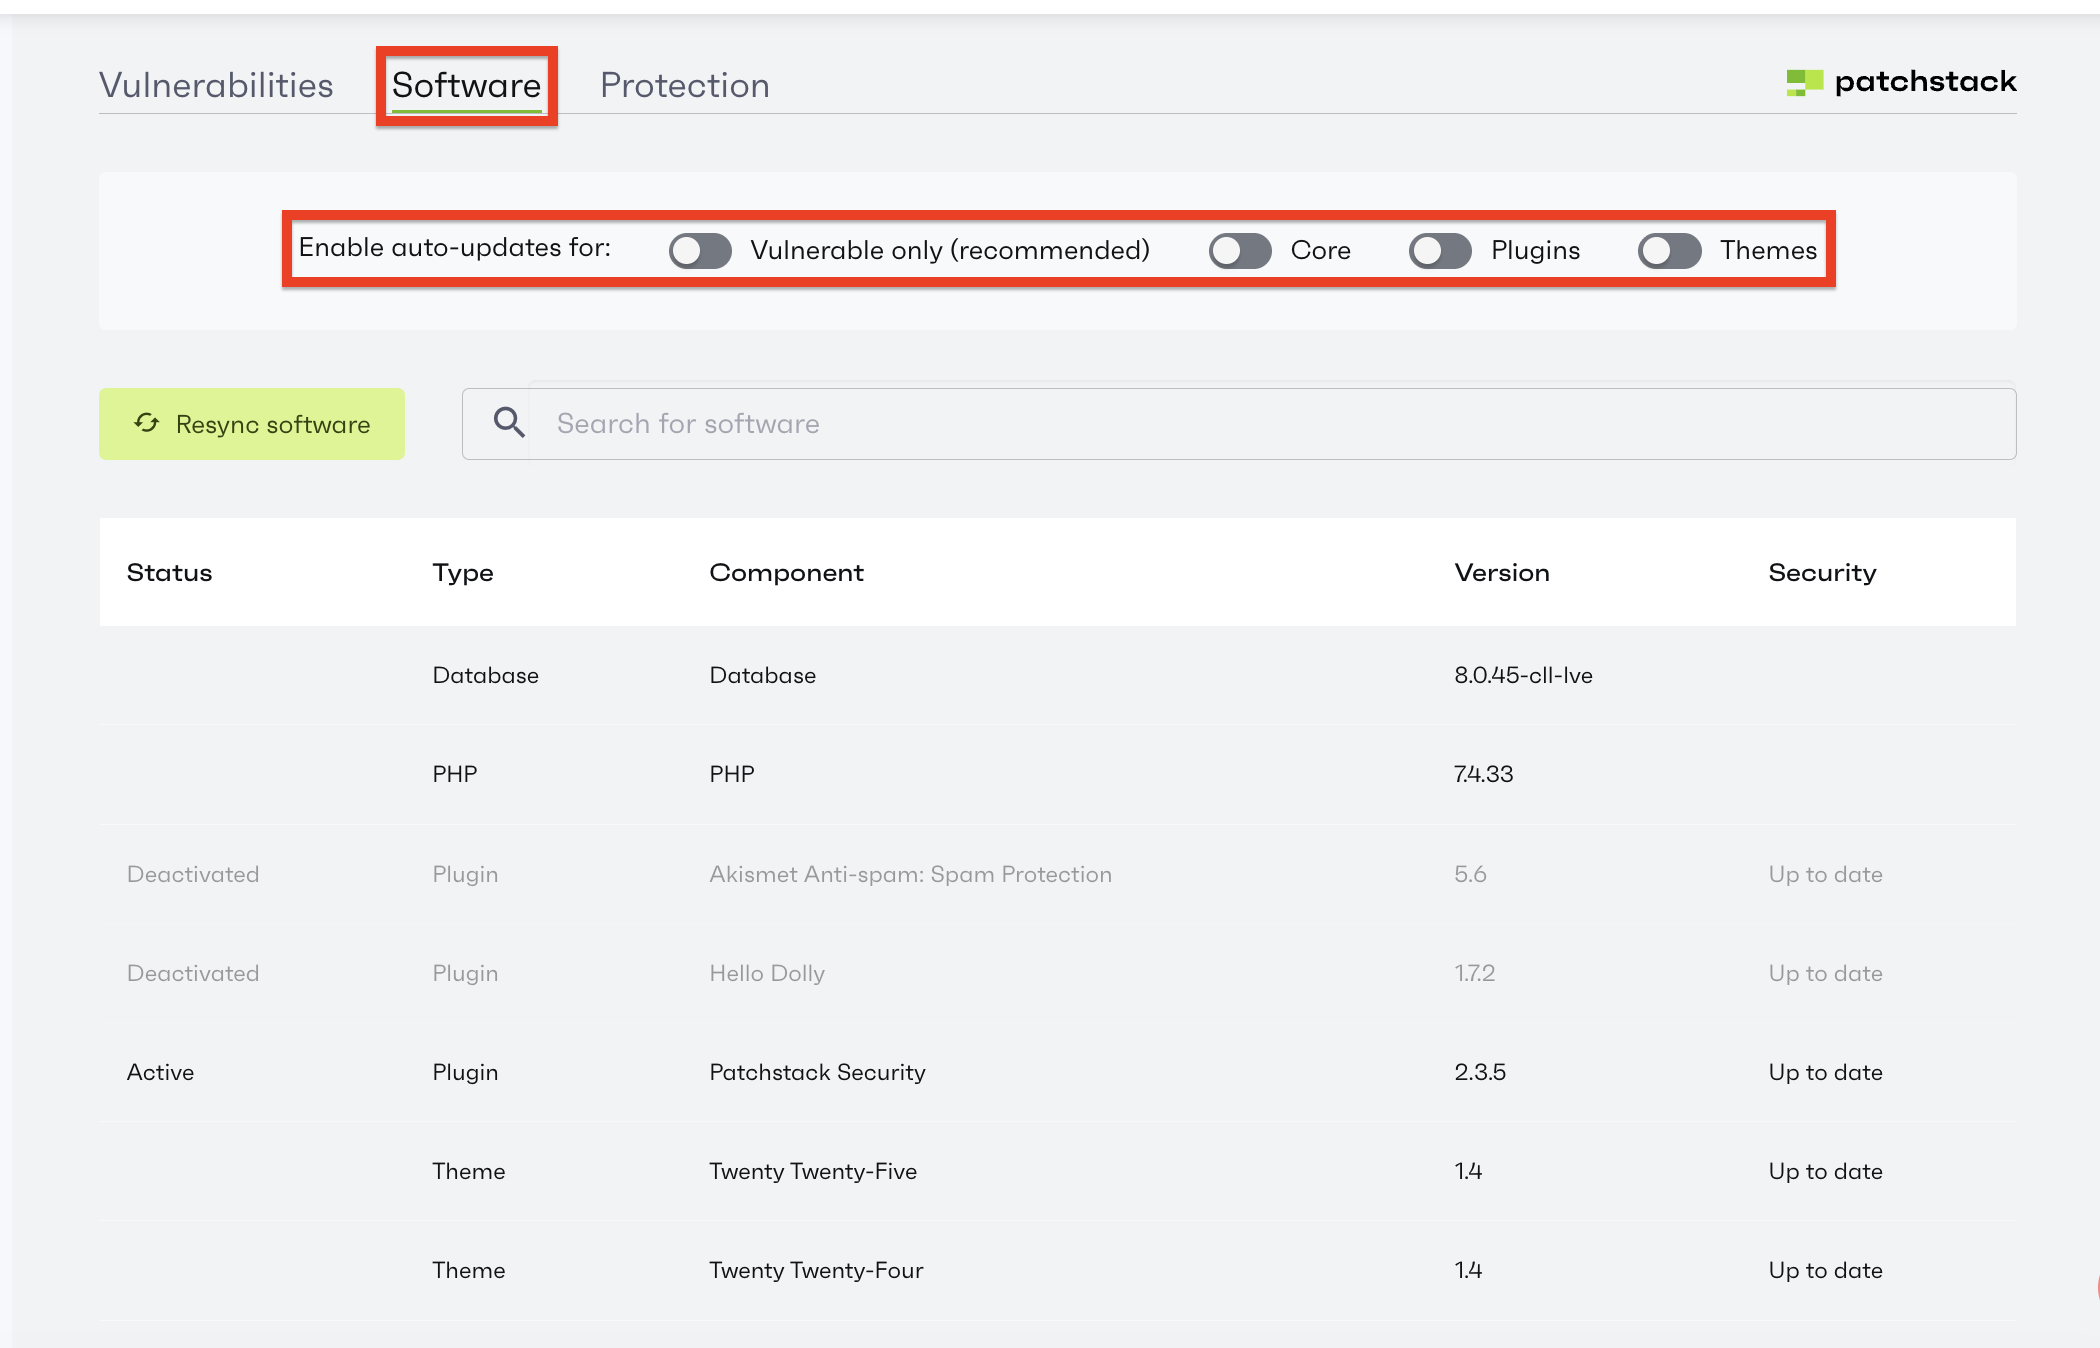
Above the search bar, you will find a couple of radio buttons that let you enable auto-update for your WordPress Core, Plugins, and Themes.
TIP: We recommend enabling auto-updates only for the vulnerable plugins/themes/core, as this will ensure your WordPress and its functionality remain protected, even if they are outdated.
Last but not least, we have the “Protection” tab, where you can see the currently enabled protection modules. These include:
Underneath these modules, you will see another table section where all the threats that the Armada V-Shield addon has blocked.
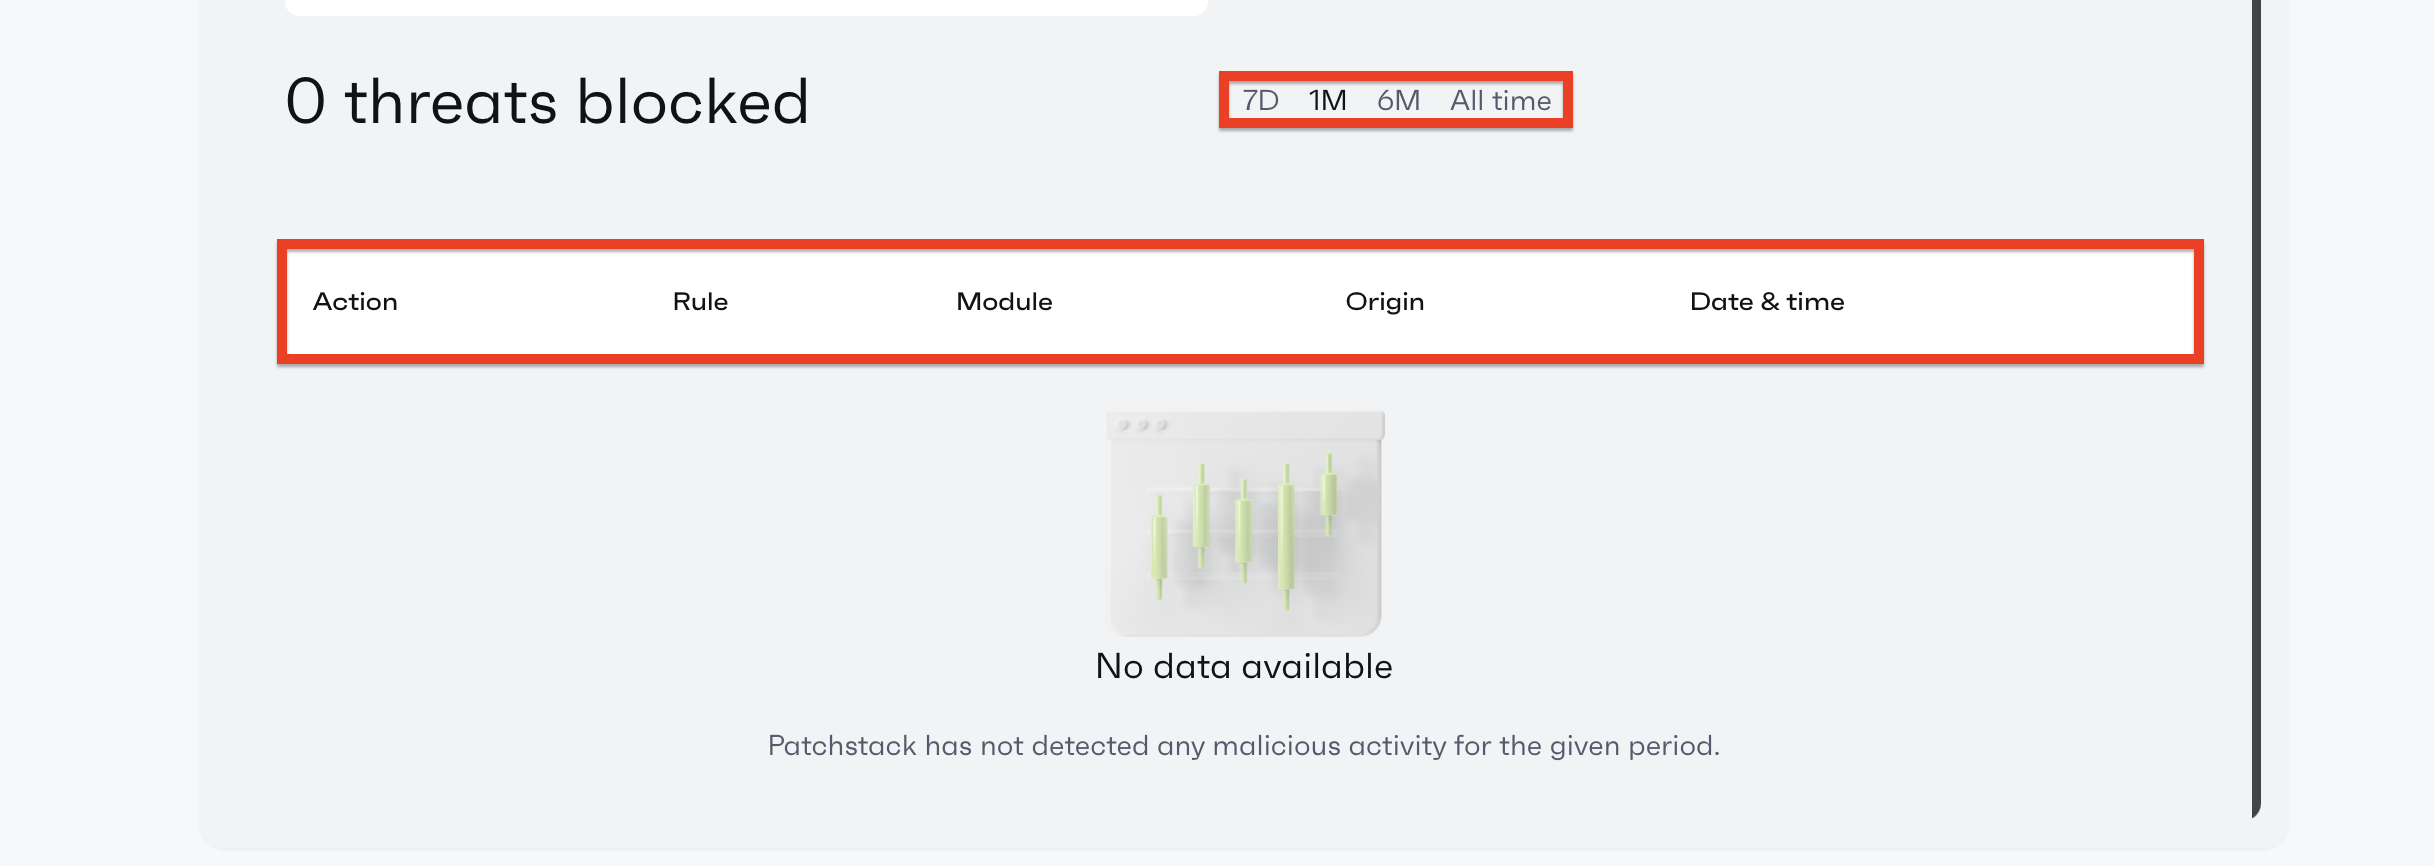
On top of the table section, you will have an option to filter out results from “7D”, “1M”, “6M”, and “All time”. To select the timeframe you need, please click the corresponding option.
We hope that our breakdown of the newest HostArmada security feature was helpful and that you are now fully capable of enabling and using the Armada V-Shield addon to its full extent! As always, our security team is 100% available to you if you have any questions or need assistance installing this or interpreting the information the addon booster provides. Please reach out to us via the live chat or by submitting a ticket if you have any questions or concerns!

Nikola is an accomplished tech-savvy extraordinaire with over six years of experience in the web hosting field. He started as a customer care representative and quickly rose the ranks to become a support supervisor and, eventually - the head of the technical department in HostArmada. His deep understanding of the client's needs, combined with his technical knowledge, makes him the perfect man to create the ideal harmony between client satisfaction and professional problem-solving. You will often find him creating helpful tutorials, articles, and blog posts that help existing customers get around.
Learn more about Client Area in the other tutorials that we have:
