
Now that you have your OpenCart Online Store up and running, the next step you should take is configuring its settings. In this tutorial, we will review the general settings of OpenCart 3 and we will guide you on how to configure your store information.
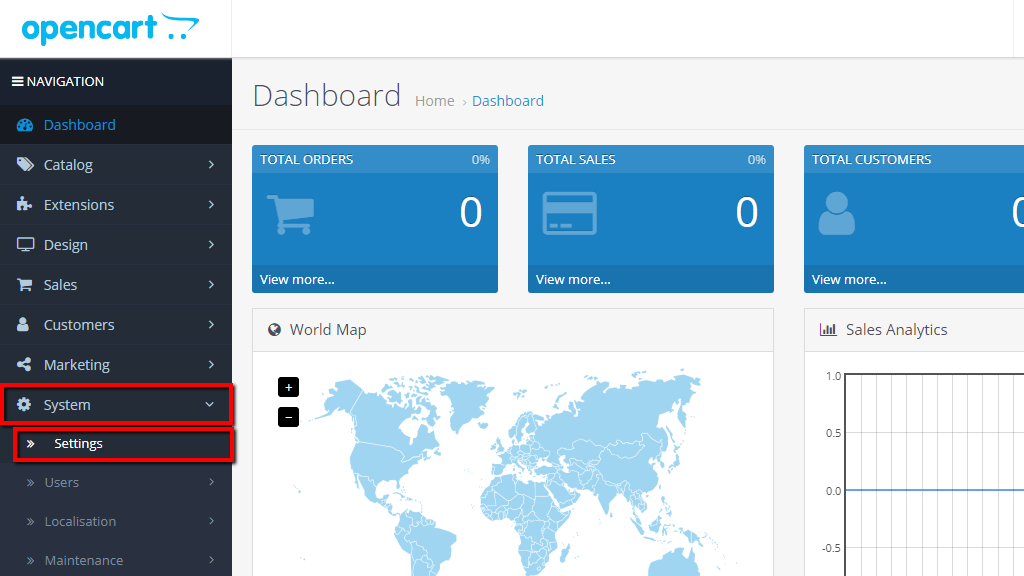
In order to begin, please log in to your OpenCart Admin Dashboard and navigate through the left menu bar to System > Settings.
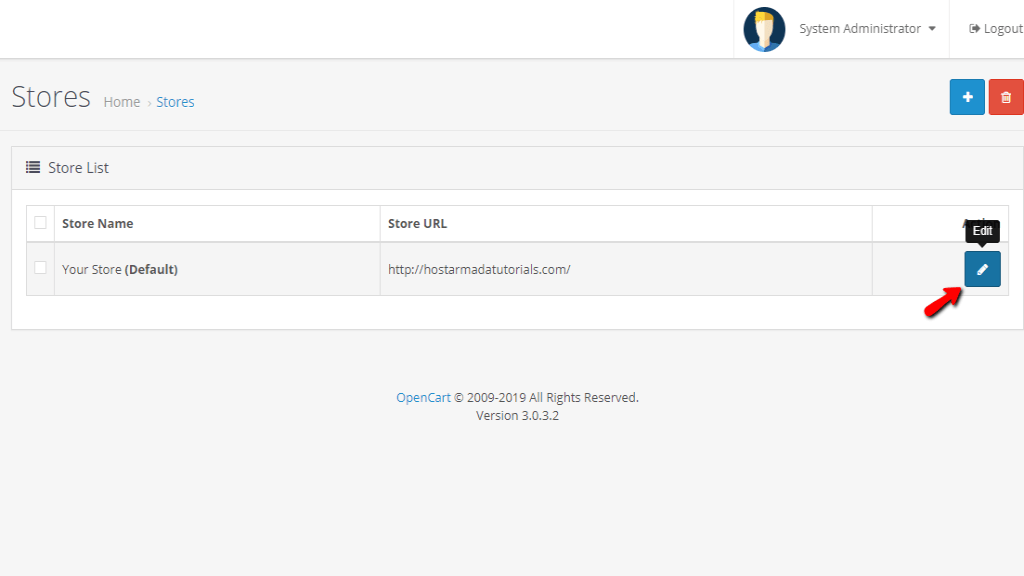
After you access the “Stores” page, please click on the “Edit” button (the pencil icon) next to your store name and you will be redirected to the “Edit Settings” page.
On this page, you will see a number of tabs containing the system settings of the store. In this guide, we will review the first two “General” and “Store” tabs.
Under the “General” tab you will be able to enter the metadata which will be used by search engines to index your website, to change the default store theme, and to select a default layout.

Please specify the following details:
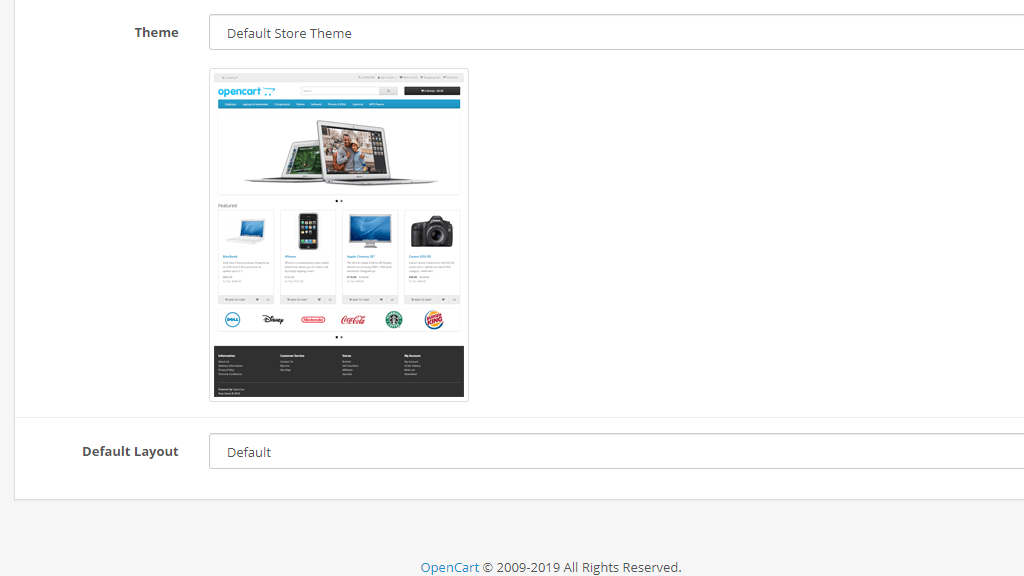
The “Theme” dropdown menu will list all currently installed themes in your OpenCart store. You can easily change the theme by selecting a new one. The “Default Layout” setting determines the layout used for the store. If you want to change it, please select the desired one from the dropdown menu.
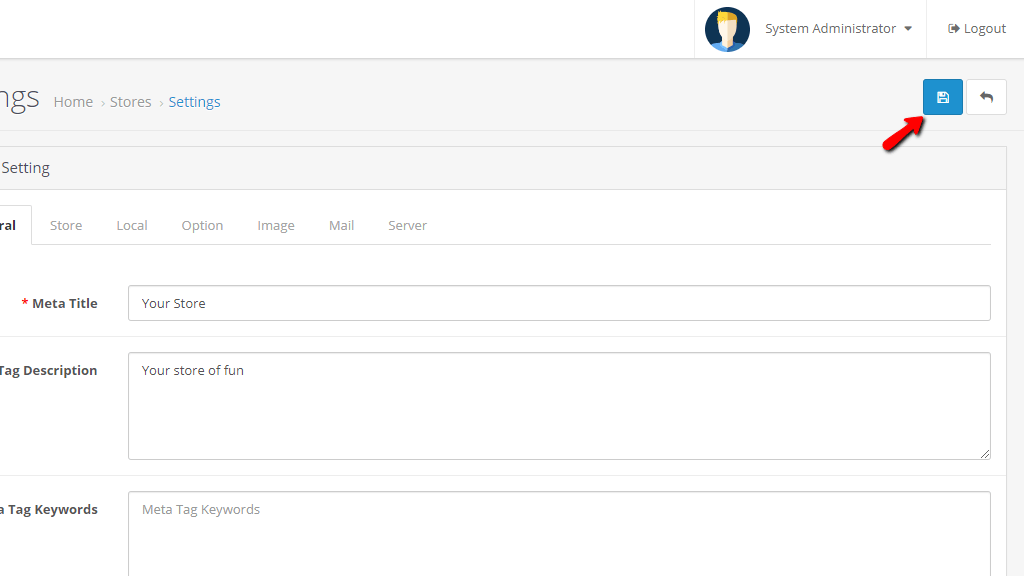
After you are ready, please click on the blue "Save" icon located at the top right corner of the page.
Once this is done, you will be all set with the configuration of the “General” settings.
Under the second “Store” tab you will be able to configure your store information.
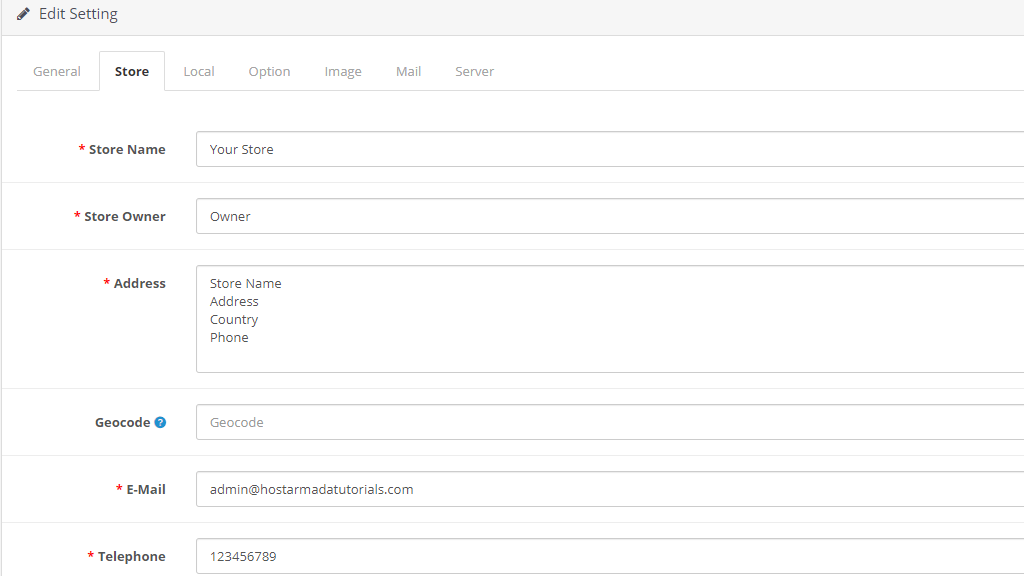
Please specify the following details:
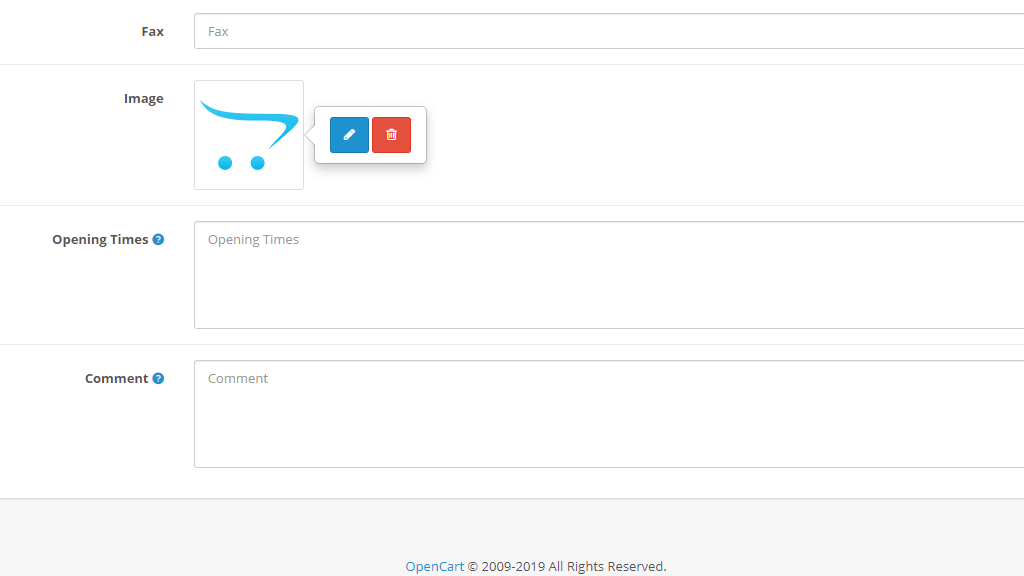
Once you are ready, please do not forget to click on the blue save icon in order to record your changes.
Please go ahead and double-check if everything appears as expected on your store frontend. If you are satisfied with the result - you are all set!
Congratulations! You have successfully configured the first part of your OpenCart system settings. We would like to thank for trusting our guidance and welcome you to check the rest of our tutorials based on OpenCart 3.

Sebahat is a young and bright woman who has become an invaluable part of our team. She started as a Customer Care Representative, mastering that role and, along the way, growing into a tech-savvy individual who is well acquainted with every support layer of the company. Driven by her aim to improve our customers’ experience constantly, she is committed to enhancing the extraordinary support we deliver.
Learn more about Opencart 3 in the other tutorials that we have:
