
In this tutorial, we will guide you on how to edit the default Information pages preconfigured by OpenCart. The “About Us”, “Delivery Information”, “Privacy Policy”, and “Terms & Conditions” pages are displayed on the store frontend under the “Information” section positioned at the bottom-left corner (the footer). We will show you how to customize them and configure your store information, as well as, how to remove them and add new pages.
In order to edit the Information pages, please log in to your OpenCart Admin Dashboard and navigate through the left menu bar to Catalog > Information.

This is the page where you will be managing your OpenCart Information pages. You will be able to create and delete pages by clicking on the corresponding “Add New” and “Delete” buttons (upper-right corner) and customize the existing pages by clicking on the “Edit” button next to each of them.

In the following lines, we will explain in detail how to change the content of these pages and set them up depending on your store’s needs.
All of the pages are structured exactly the same, therefore we will review the first “About Us” as an example. Please feel free to select whichever page you are aiming to customize and click on the corresponding “Edit” button. When you access the “Edit” dashboard you will notice that it is split into four tabs that contain different settings.
From the first “General” tab you will be able to customize the page information and the metadata related to the page.


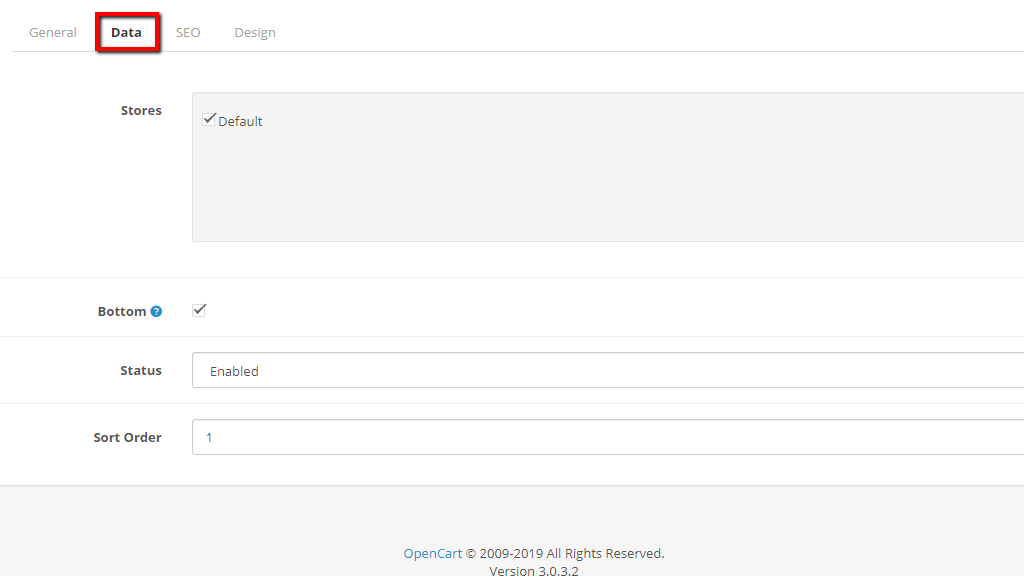
When you are ready, please switch to the next “Data” tab. From here, you will be able to maintain the appearance of the page.
When you are ready, please switch to the following “SEO” tab. You will see only one field here which will allow you to customize the SEO URL of the page. More information about how to set up SEO friendly URLs in OpenCart you can find in our guide available here.

Once you are done, please switch to the last “Design” tab. From the “Layout Override” dropdown menu you will be able to select a different layout for the page if needed.

Once you are ready, please click on the blue “Save” button at the upper-right corner to record the changes you have made.
When that is done, please go ahead and check if the page appears properly on the storefront. If you are pleased with the result - you are all set! We hope you have found the information provided in this guide useful and our instructions easy to follow. In case you have any additional questions you are always welcome to contact our Support Team.

Sebahat is a young and bright woman who has become an invaluable part of our team. She started as a Customer Care Representative, mastering that role and, along the way, growing into a tech-savvy individual who is well acquainted with every support layer of the company. Driven by her aim to improve our customers’ experience constantly, she is committed to enhancing the extraordinary support we deliver.
Learn more about Opencart 3 in the other tutorials that we have:
