
In WordPress, Tags are intended for categorizing your posts based on specific criteria. When a tag is assigned to a particular post, it is shown within the post page, and the user will be aware of how this post is classified. WordPress also comes with a build-in "Tag Cloud" widget, which allows you to display the most popular tags on your home page and lets your users filter your posts based on a given tag.
In this tutorial, we will show you how to add the widget within the desired area on your website and how to configure it, so it displays the intended tags.
For a start, please log into your WordPress Admin Dashboard. You can do that by accessing your domain followed by "/wp-admin", i.e., "yourdomain.com/wp-admin", where "yourdomain.com" stands for your actual domain name.
Once logged, please navigate through the left-hand side menu bar to Appearance > Widgets.

Upon doing that, you will be redirected to the "Widgets" management section, where you will be able to configure your widgets.
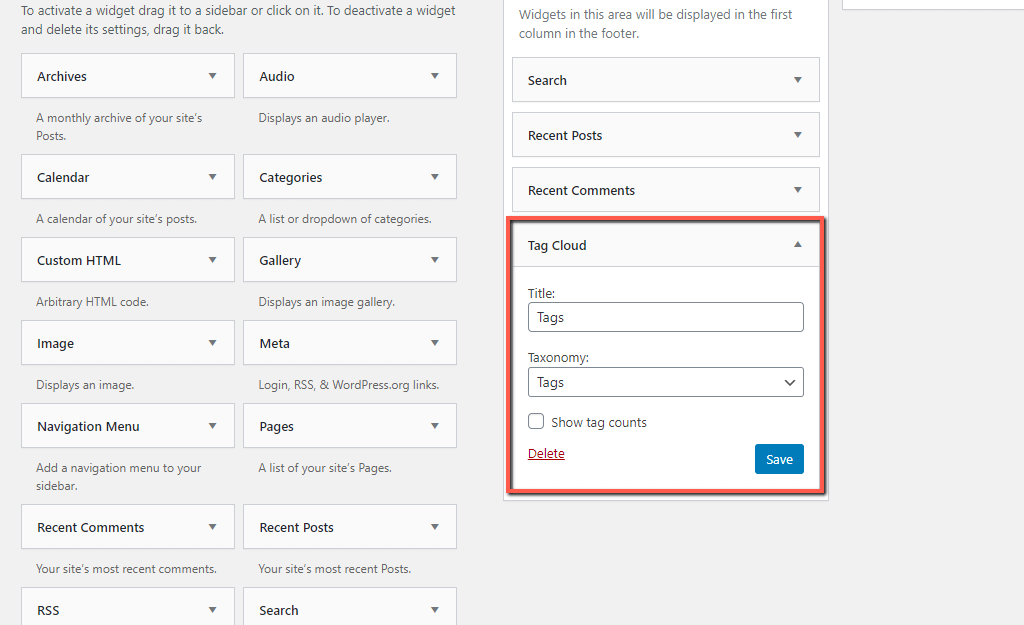
Within the "Widgets" page, you will be presented with two sections. Under the left "Available Widgets" section, you will be able to locate the "Tag Cloud" widget. Within the right section, you can see all the widget-ready areas your theme supports. They determine where exactly on your website frontend the widget(s) will be shown.
The easiest way of adding a widget to a widget-ready area is simply by dragging and dropping it. To do that, please click on the "Tag Cloud" widget within the left section and drag it to the desired widget area on the right end of the page.

When the "Tag Cloud" widget is placed within the desired widget area, please specify a "Title" for it, make sure that "Tags" is selected for "Taxonomy" and click on the "Save" button.
Once this is done, you are ready to go ahead and check how the tags appear on your website frontend.

And Voilà! Your users will be able to filter your posts and easily find the information they are most interested in.
Note that the size of the tags depends on how many posts they are assigned to. The more posts they are used for, the more popular they are considered and displayed in a larger size.
With this done, you have managed to successfully display your tags on your website frontend and allow users to easily browse your content. We hope this information was useful to you and our instructions clear enough to catch up with.

Sebahat is a young and bright woman who has become an invaluable part of our team. She started as a Customer Care Representative, mastering that role and, along the way, growing into a tech-savvy individual who is well acquainted with every support layer of the company. Driven by her aim to improve our customers’ experience constantly, she is committed to enhancing the extraordinary support we deliver.
Learn more about Wordpress in the other tutorials that we have:
